创建您的第一个模板
本教程介绍如何创建您的第一个模板并在 Walrus 上使用, 示例模板将会基于 kubernetes 创建一个 deployment 资源。
前提条件
- 一个用于存储模板的 GitHub 仓库。
- 部署 Walrus。
在 GitHub 上创建仓库
- 在 GitHub 上创建您自己的新仓库,这里我们使用仓库 first-template 作为示例。
- 您可以选择创建一个新的仓库或者直接 fork 示例的 first-template 仓库。
创建模板文件
mkdir first-template
cd first-template
在目录中创建如下文件,具体文件内容可以参考 first-template:
- first-template
├── icon.svg
├── main.tf
├── outputs.tf
├── variables.tf
...
main.tf 文件定义了要创建的资源,这里我们为模板定义了一个 kubernetes deployment 创建相关的资源.
resource "kubernetes_deployment" "example" {
  metadata {
    name = "example-deployment"
    labels = {
      app = "example"
    }
  }

  spec {
    replicas = 1
    selector {
      match_labels = {
        app = "example"
      }
    }

    template {
      metadata {
        labels = {
          app = "example"
        }
      }

      spec {
        container {
          image = var.image
          name  = "example"
        }
      }
    }
  }
}
variables.tf 文件定义了模板中使用的变量,Walrus 将使用这些变量生成模板表单, 我们可以定义 image 变量, 用于指定 Kubernetes deployment 的镜像,您可以根据实际情况定义其他变量。
variable "image" {
  description = "The image to use for the Kubernetes deployment."
  type        = string
}
outputs.tf 文件定义了模板中的输出变量。当资源创建成功后,Walrus 将会在资源详情页面显示输出变量。我们定义了两个输出变量,分别是 deployment_name 和 deployment_generation 作为输出。您可以根据需求定义更多的输出变量, 例如输出资源的 ID,名称等。
output "deployment_name" {
  description = "The name of the Deployment."
  value       = kubernetes_deployment.example.metadata[0].name
}

output "deployment_generation" {
  description = "The generation of the Deployment."
  value       = kubernetes_deployment.example.metadata[0].generation
}
README.md 文件是模板的描述。在使用此模板创建资源时,可以在模板详情页面查看该模板的具体功能参数及定义,可以使用工具 terraform-docs 来生成模板的描述。
terraform-docs markdown . > README.md
生成的 README.md 文件如下:
## Requirements

No requirements.

## Providers

| Name | Version |
|------|---------|
| <a name="provider_kubernetes"></a> [kubernetes](#provider\_kubernetes) | n/a |

## Modules

No modules.

## Resources

| Name | Type |
|------|------|
| [kubernetes_deployment.example](https://registry.terraform.io/providers/hashicorp/kubernetes/latest/docs/resources/deployment) | resource |

## Inputs

| Name | Description | Type | Default | Required |
|------|-------------|------|---------|:--------:|
| <a name="input_image"></a> [image](#input\_image) | The image to use for the Kubernetes deployment. | `string` | n/a | yes |

## Outputs

| Name | Description |
|------|-------------|
| <a name="output_deployment_generation"></a> [deployment\_generation](#output\_deployment\_generation) | The generation of the Deployment. |
| <a name="output_deployment_name"></a> [deployment\_name](#output\_deployment\_name) | The name of the Deployment. |
提交模板版本
git init
git add .
git commit -m "add template files"
git remote add origin https://github.com/yourname/first-template.git # 替换为您的仓库地址
git push -u origin main
为模板创建一个标签作为版本
git tag v0.1.0
git push --tags
模板图标
模板图标是模板的标识,用于在 Walrus 上显示, 您可以在当前模板目录下创建一个 icon.svg 文件作为模板图标。目前支持的格式有 svg,png,jpg,jpeg, 添加一个 icon.svg 文件到模板目录下。
git add icon.svg
git commit -m "add icon.svg"
git push -u origin main
创建新的版本标签
git tag v0.1.1
git push --tags
模板 UI 渲染样式
默认情况下,Walrus 会根据模板中定义的变量自动生成表单组和标签的渲染。您可以通过自定义模板样式来自定义表单组和标签的渲染。
在 Walrus 上创建模板
- 在浏览器中打开 Walrus 并登录。
- 转到
运维中心下的模板管理,使用刚刚创建的模板新建一个模板,这里将模板命名为first-template。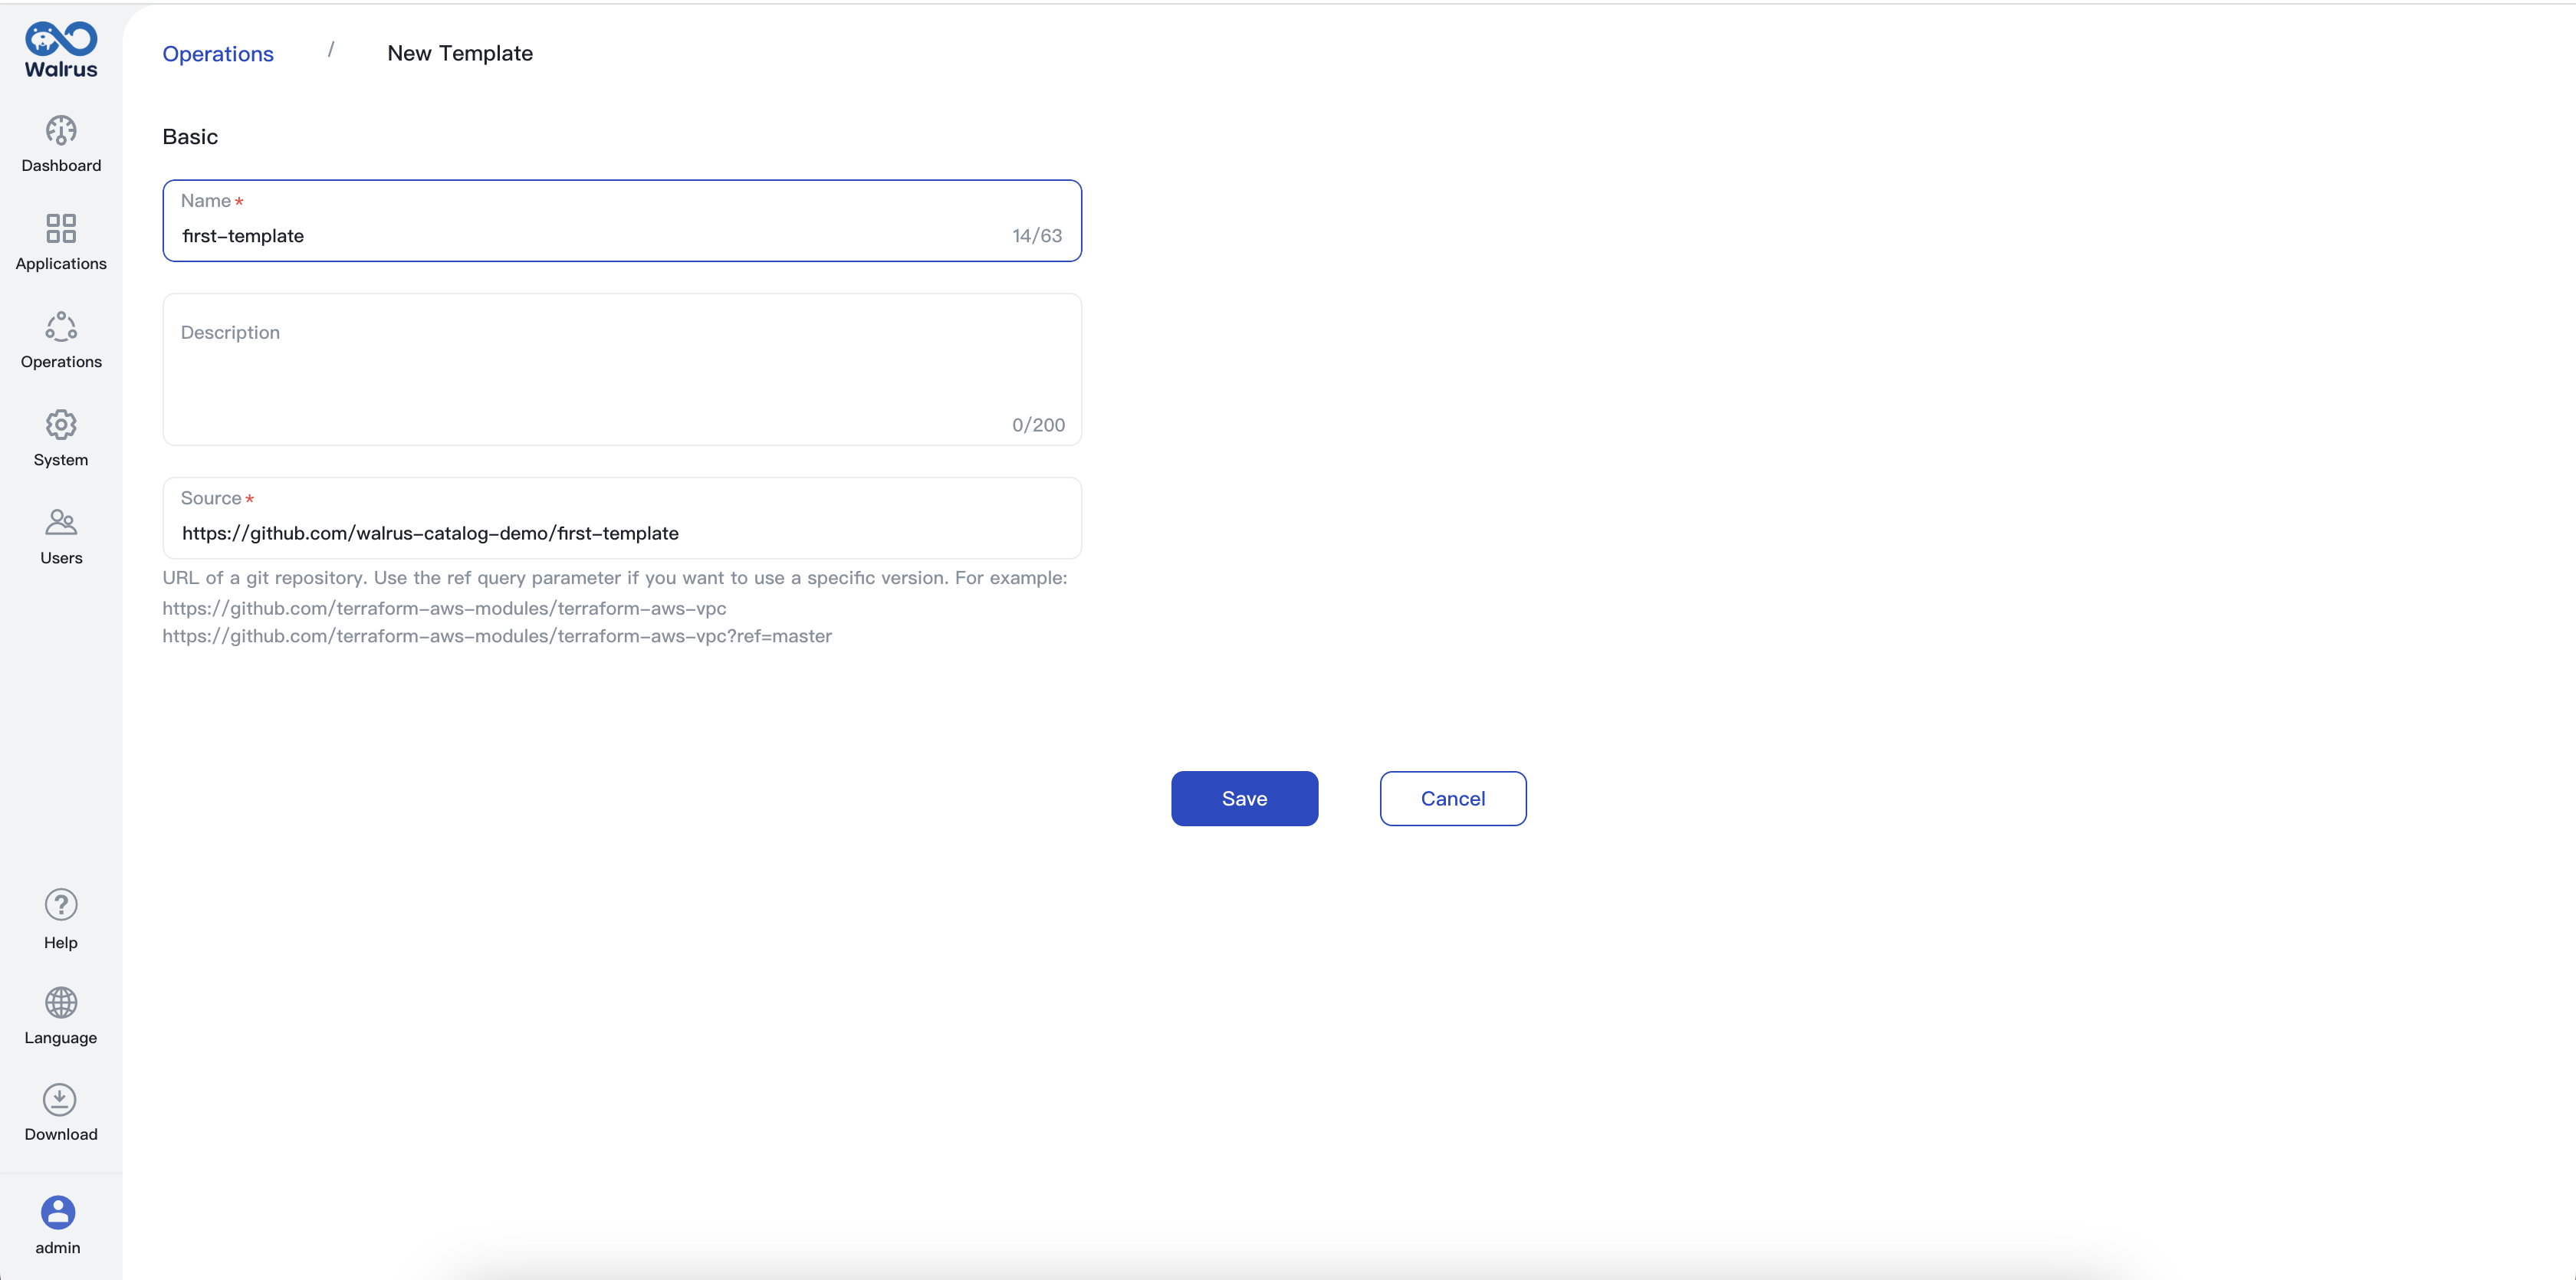 导入任务完成后,模板将显示在模板列表中,可以看到模板版本为刚刚创建的版本
v0.1.1。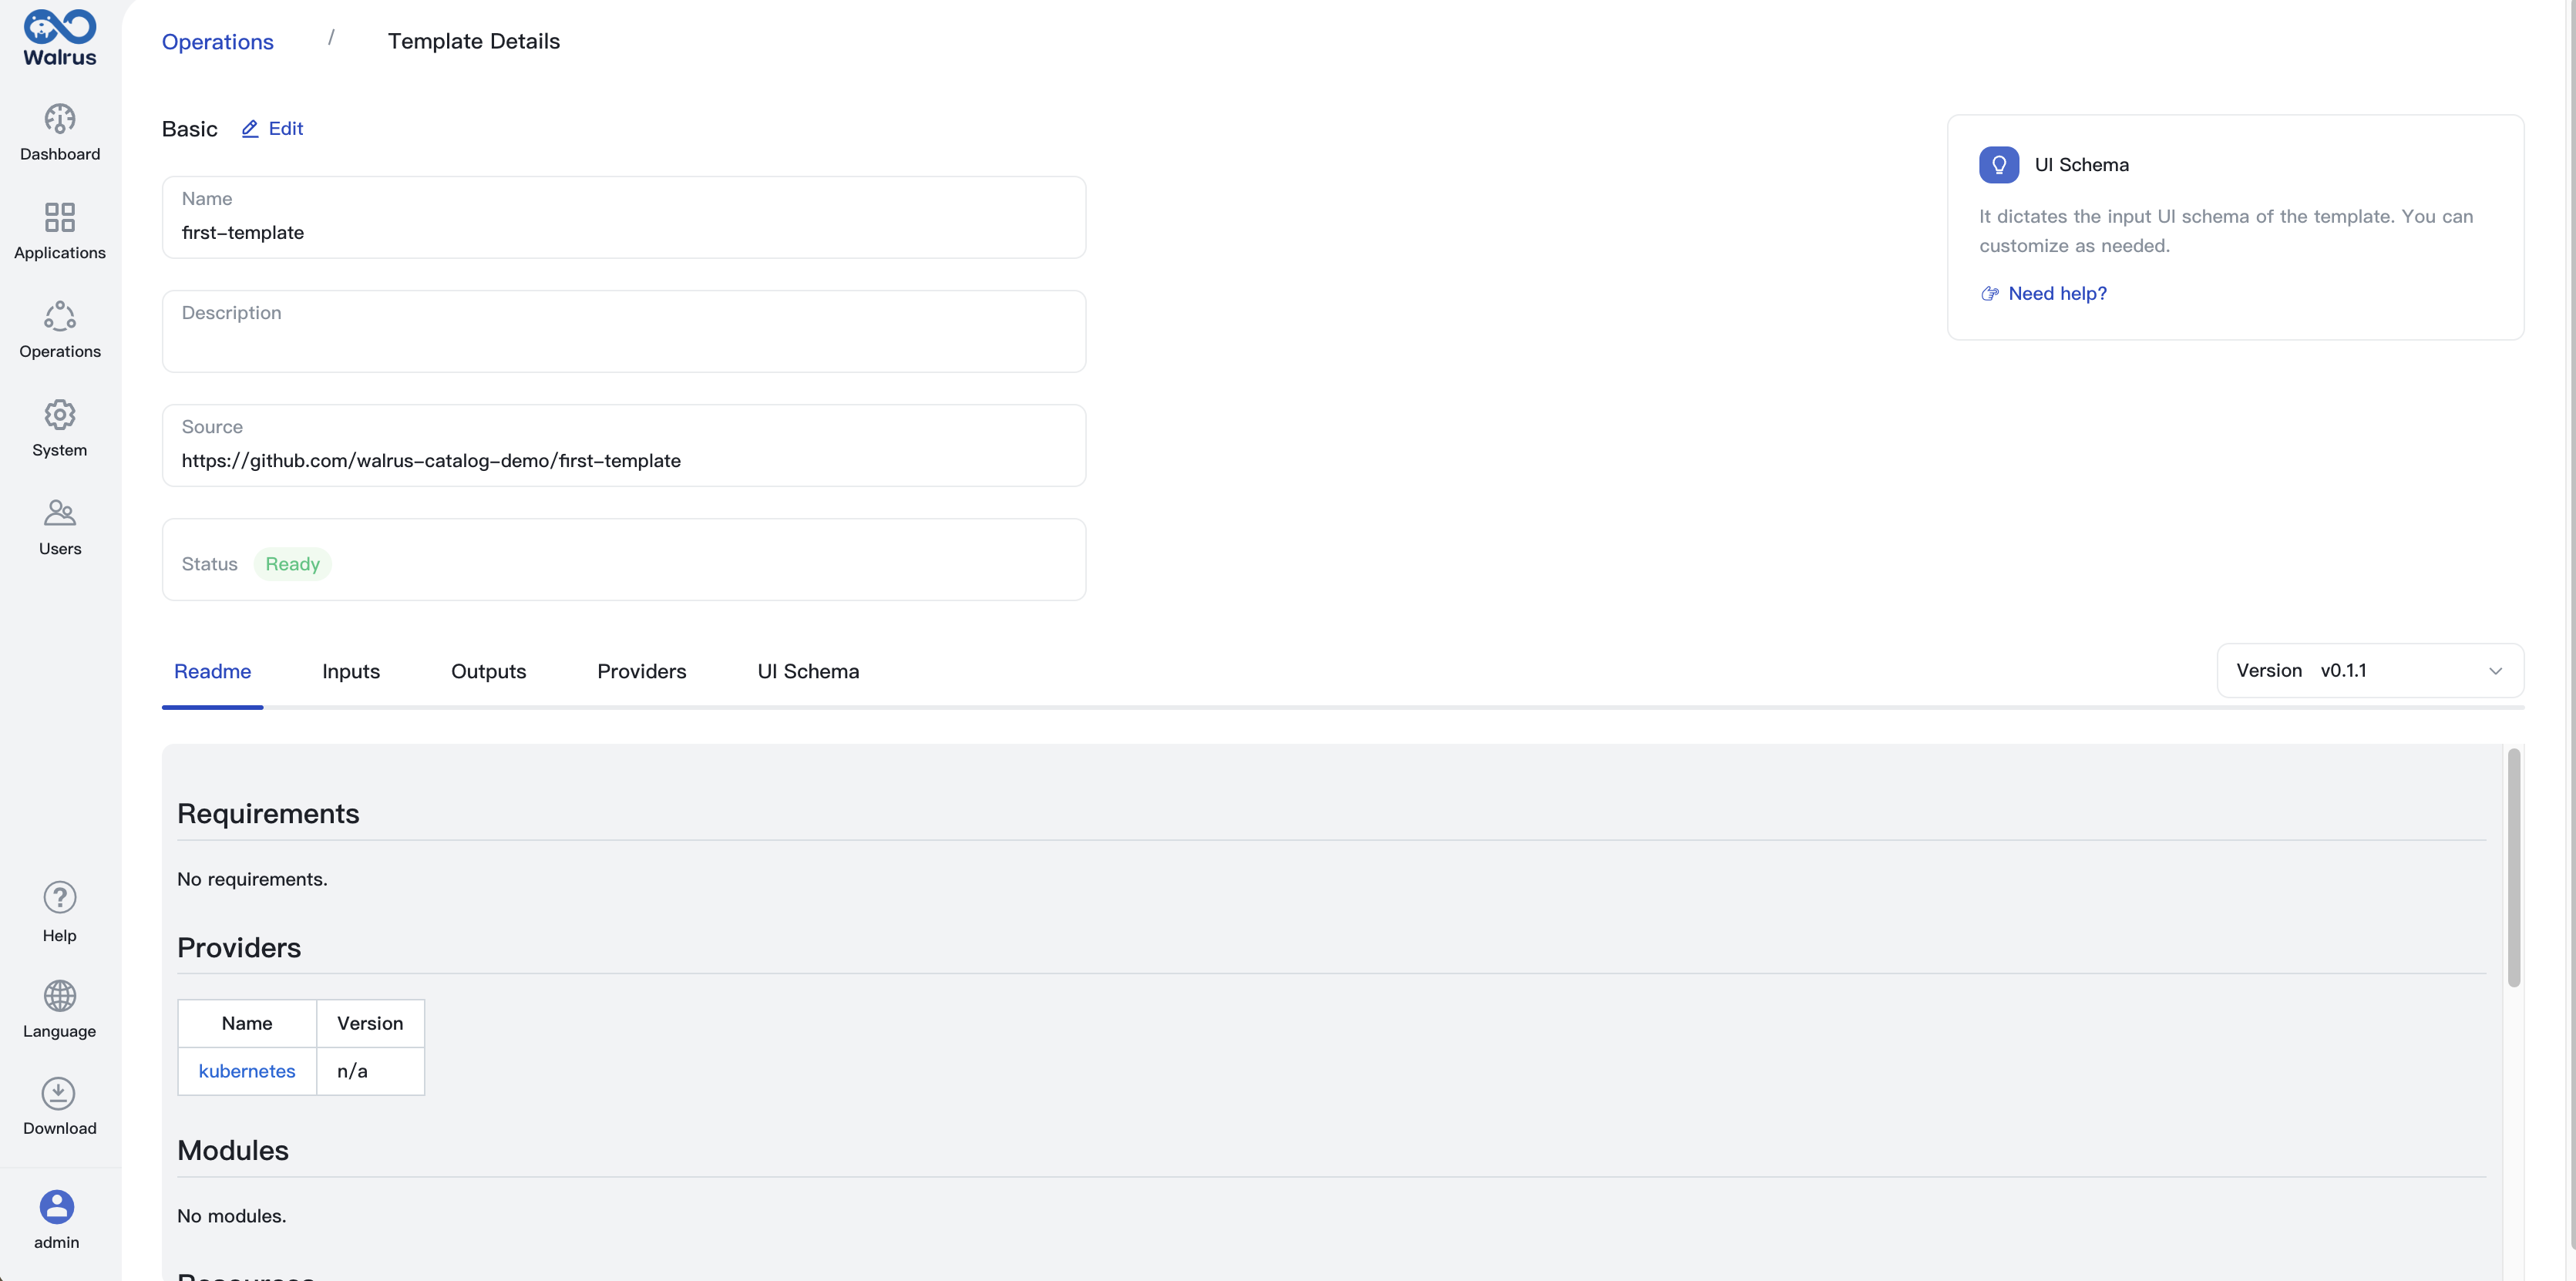
- 在
运维中心的连接器下添加 k8s 连接器。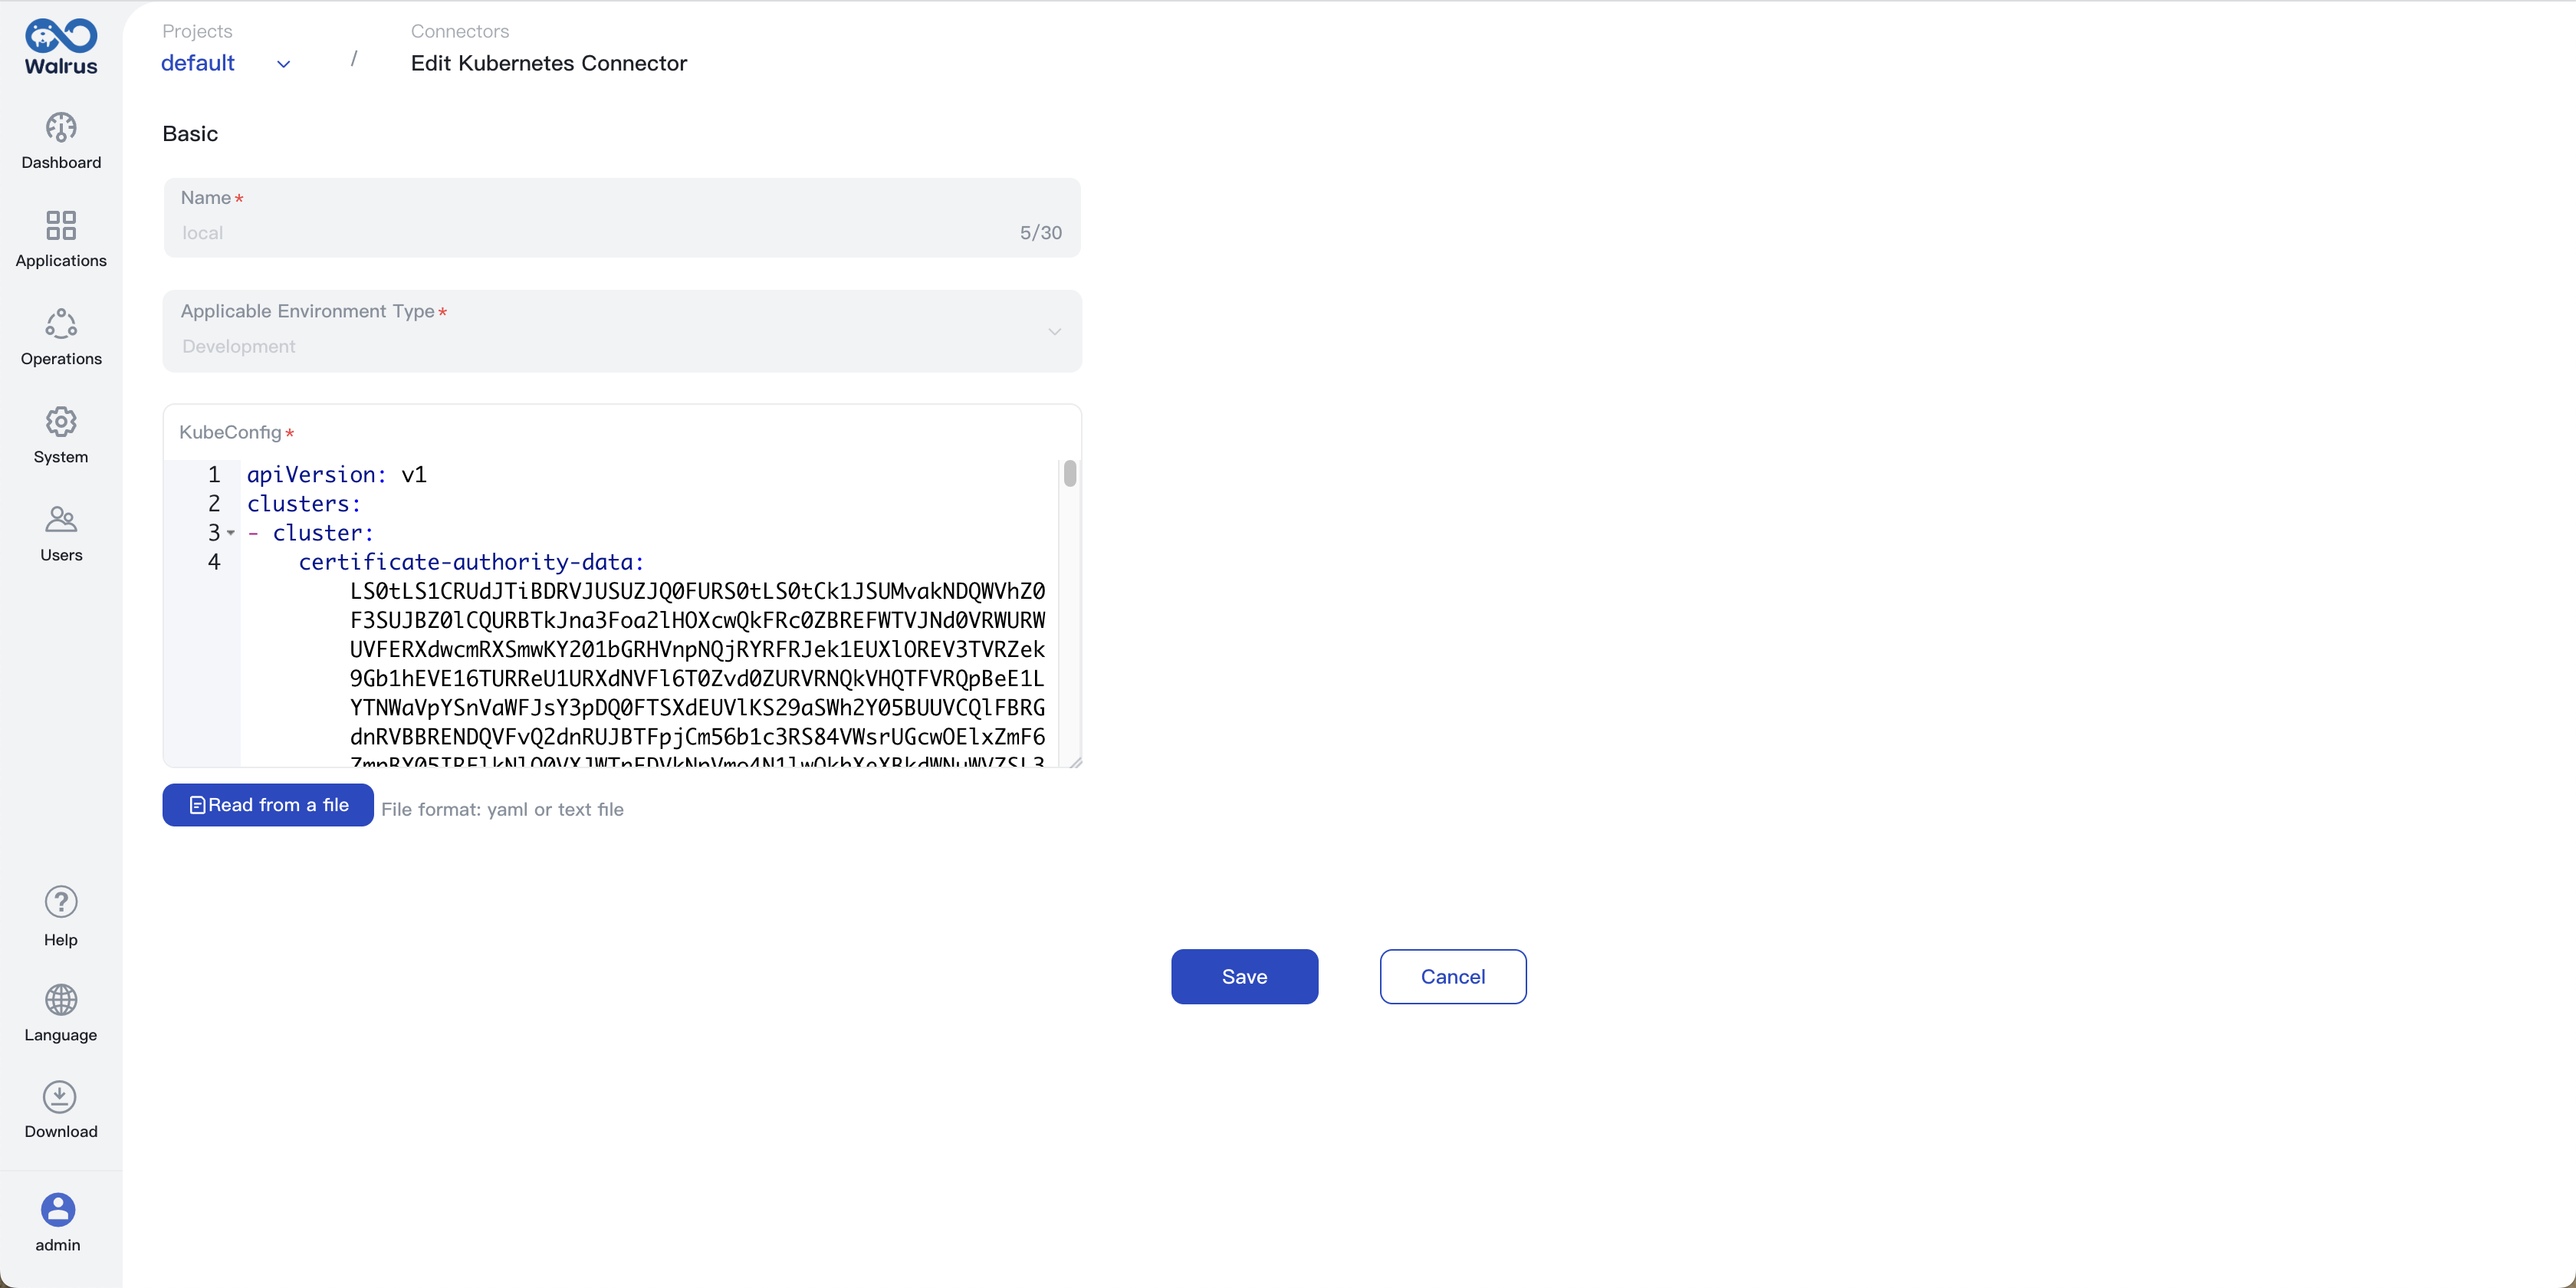
- 配置 k8s 连接器到需要创建资源的环境.
- 使用模板
first-template创建一个资源, 表单渲染是根据上述模板中定义的变量自动生成的。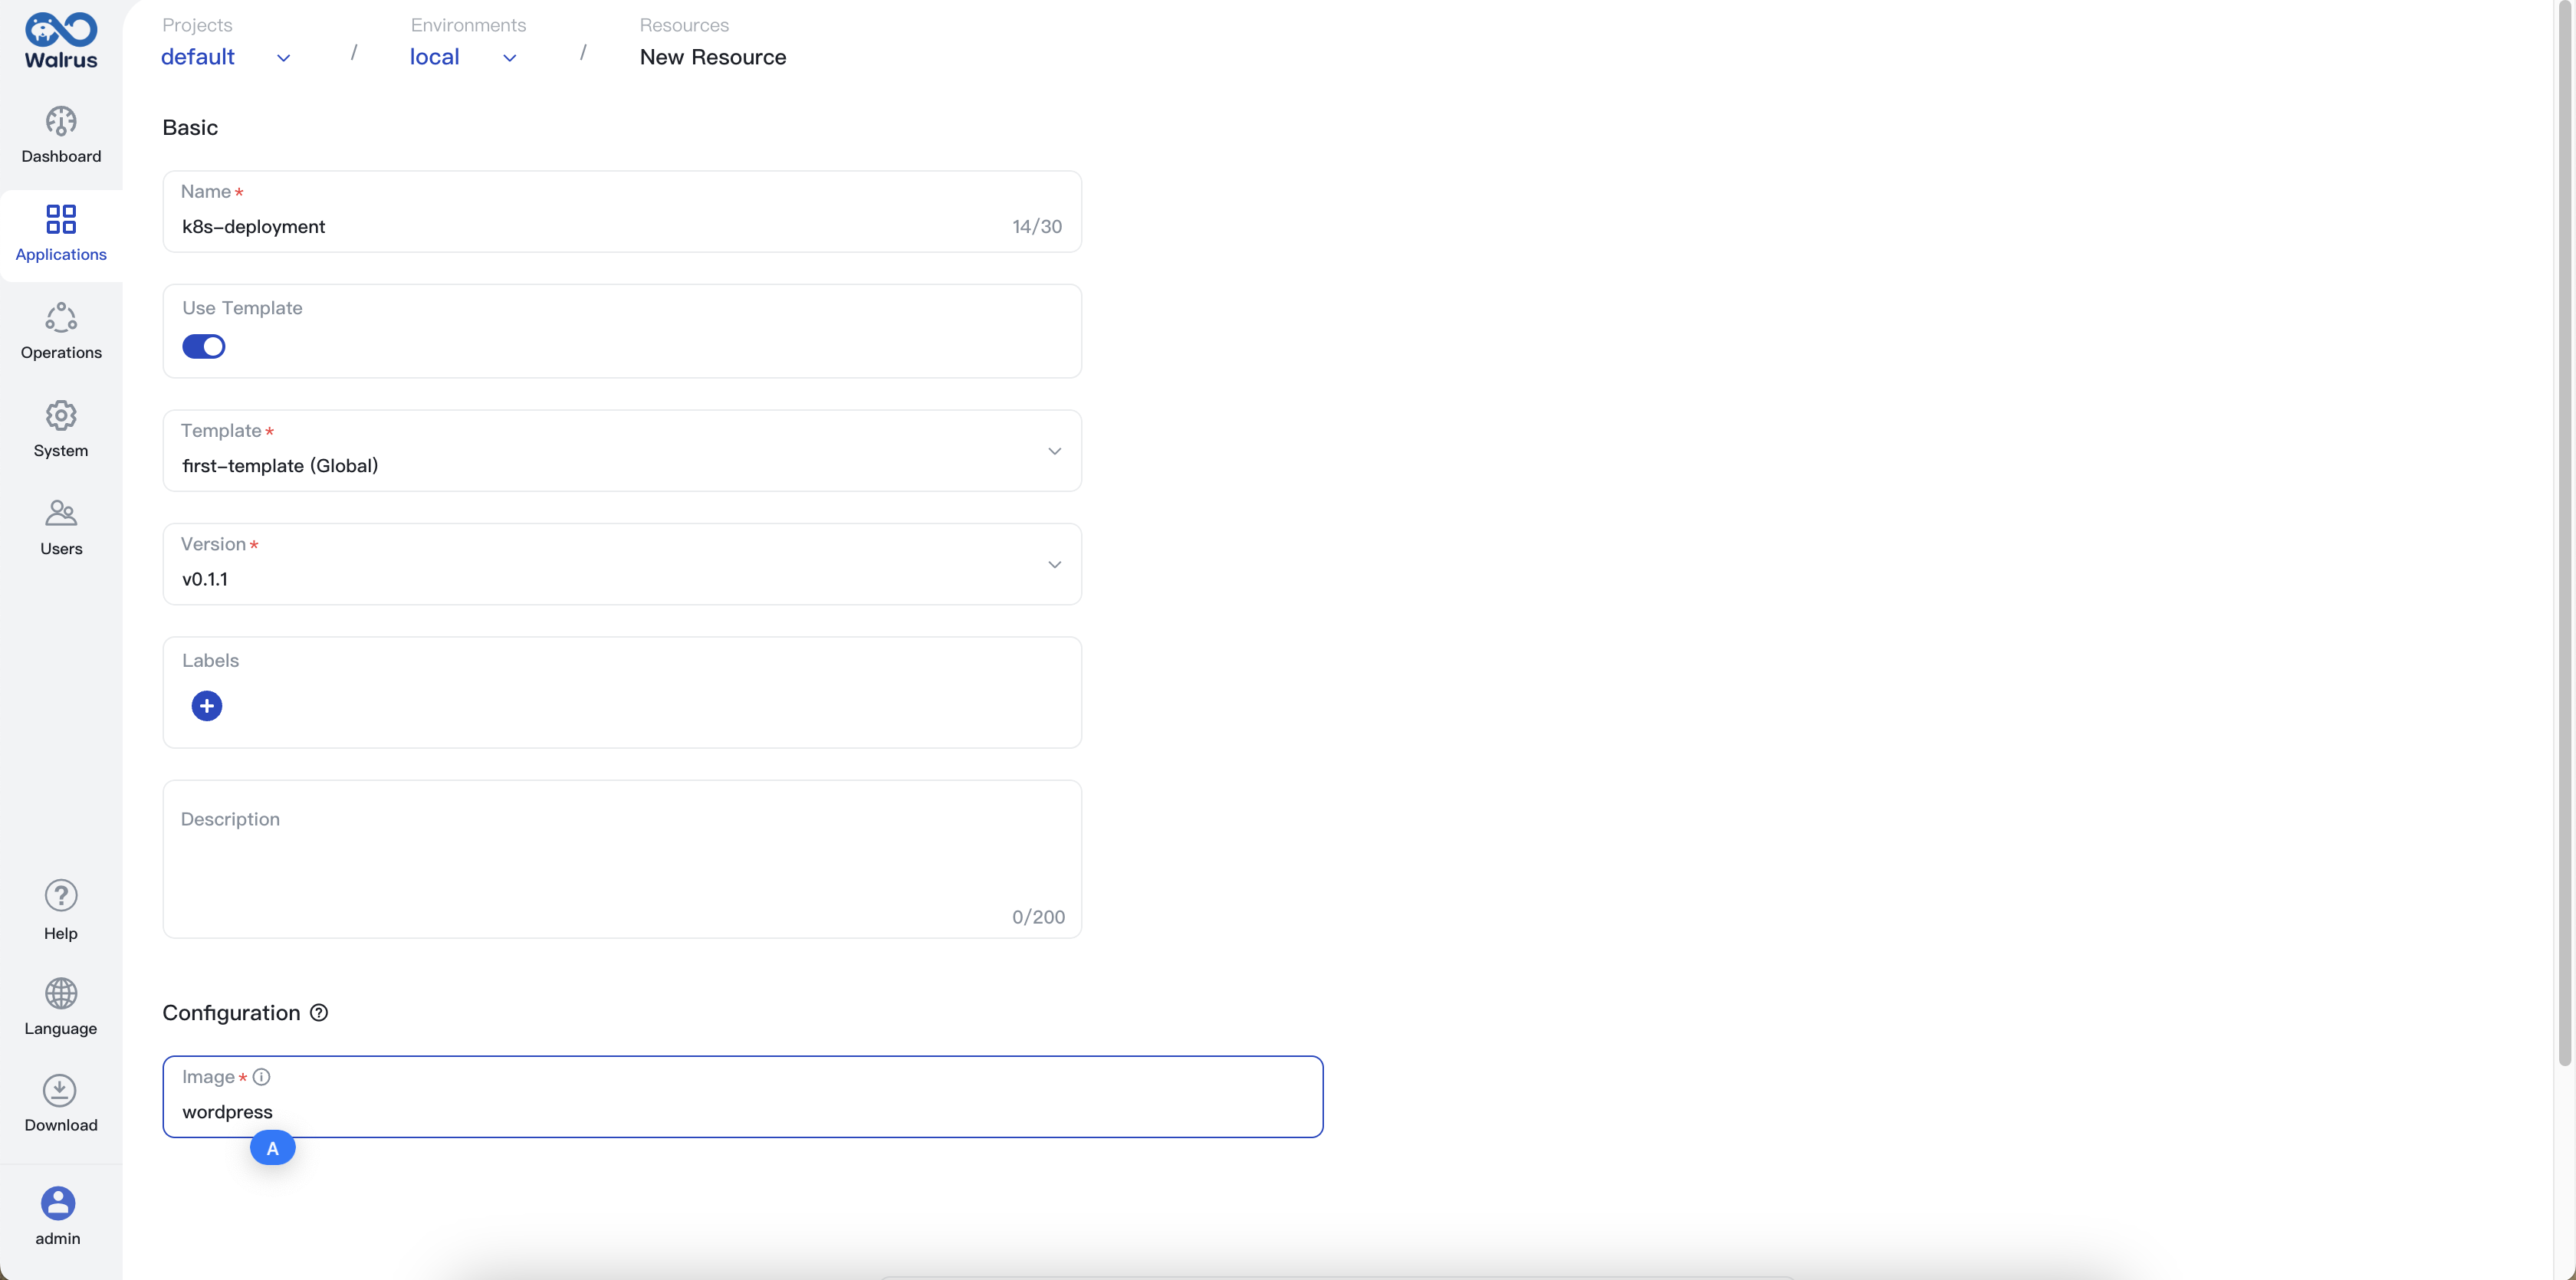 资源创建后,我们可以在资源详情页面查看资源详情。
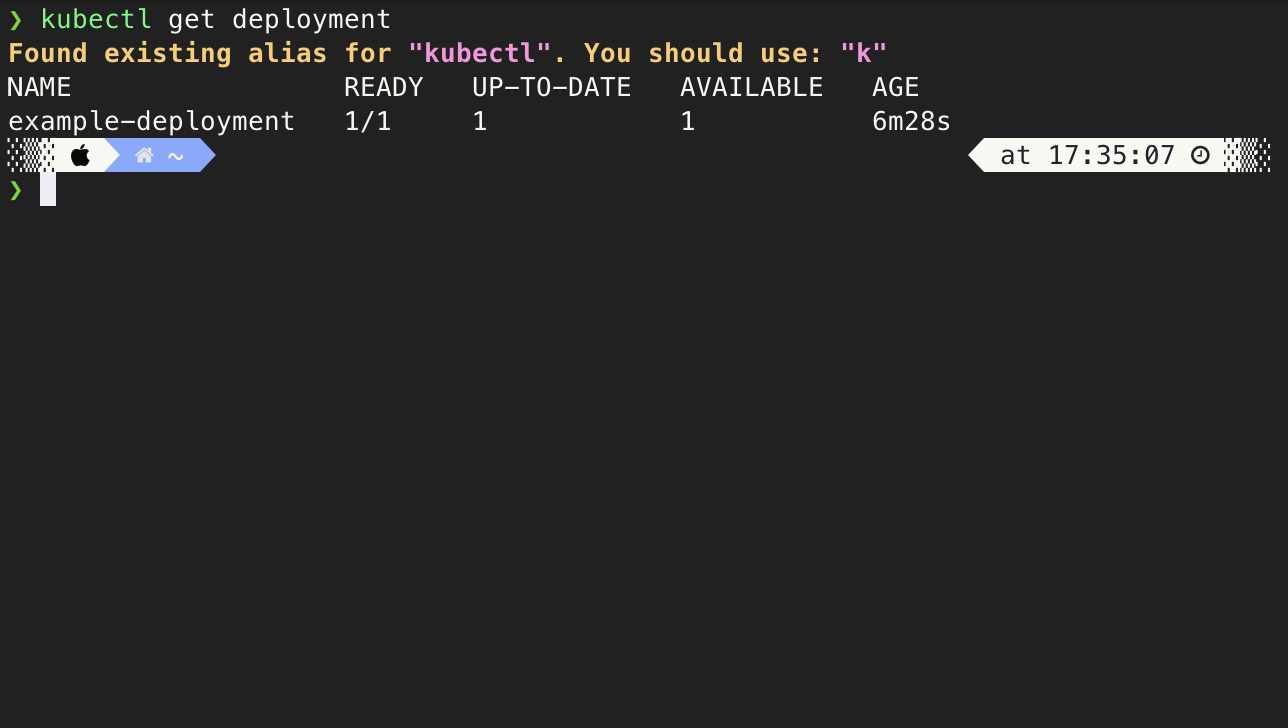
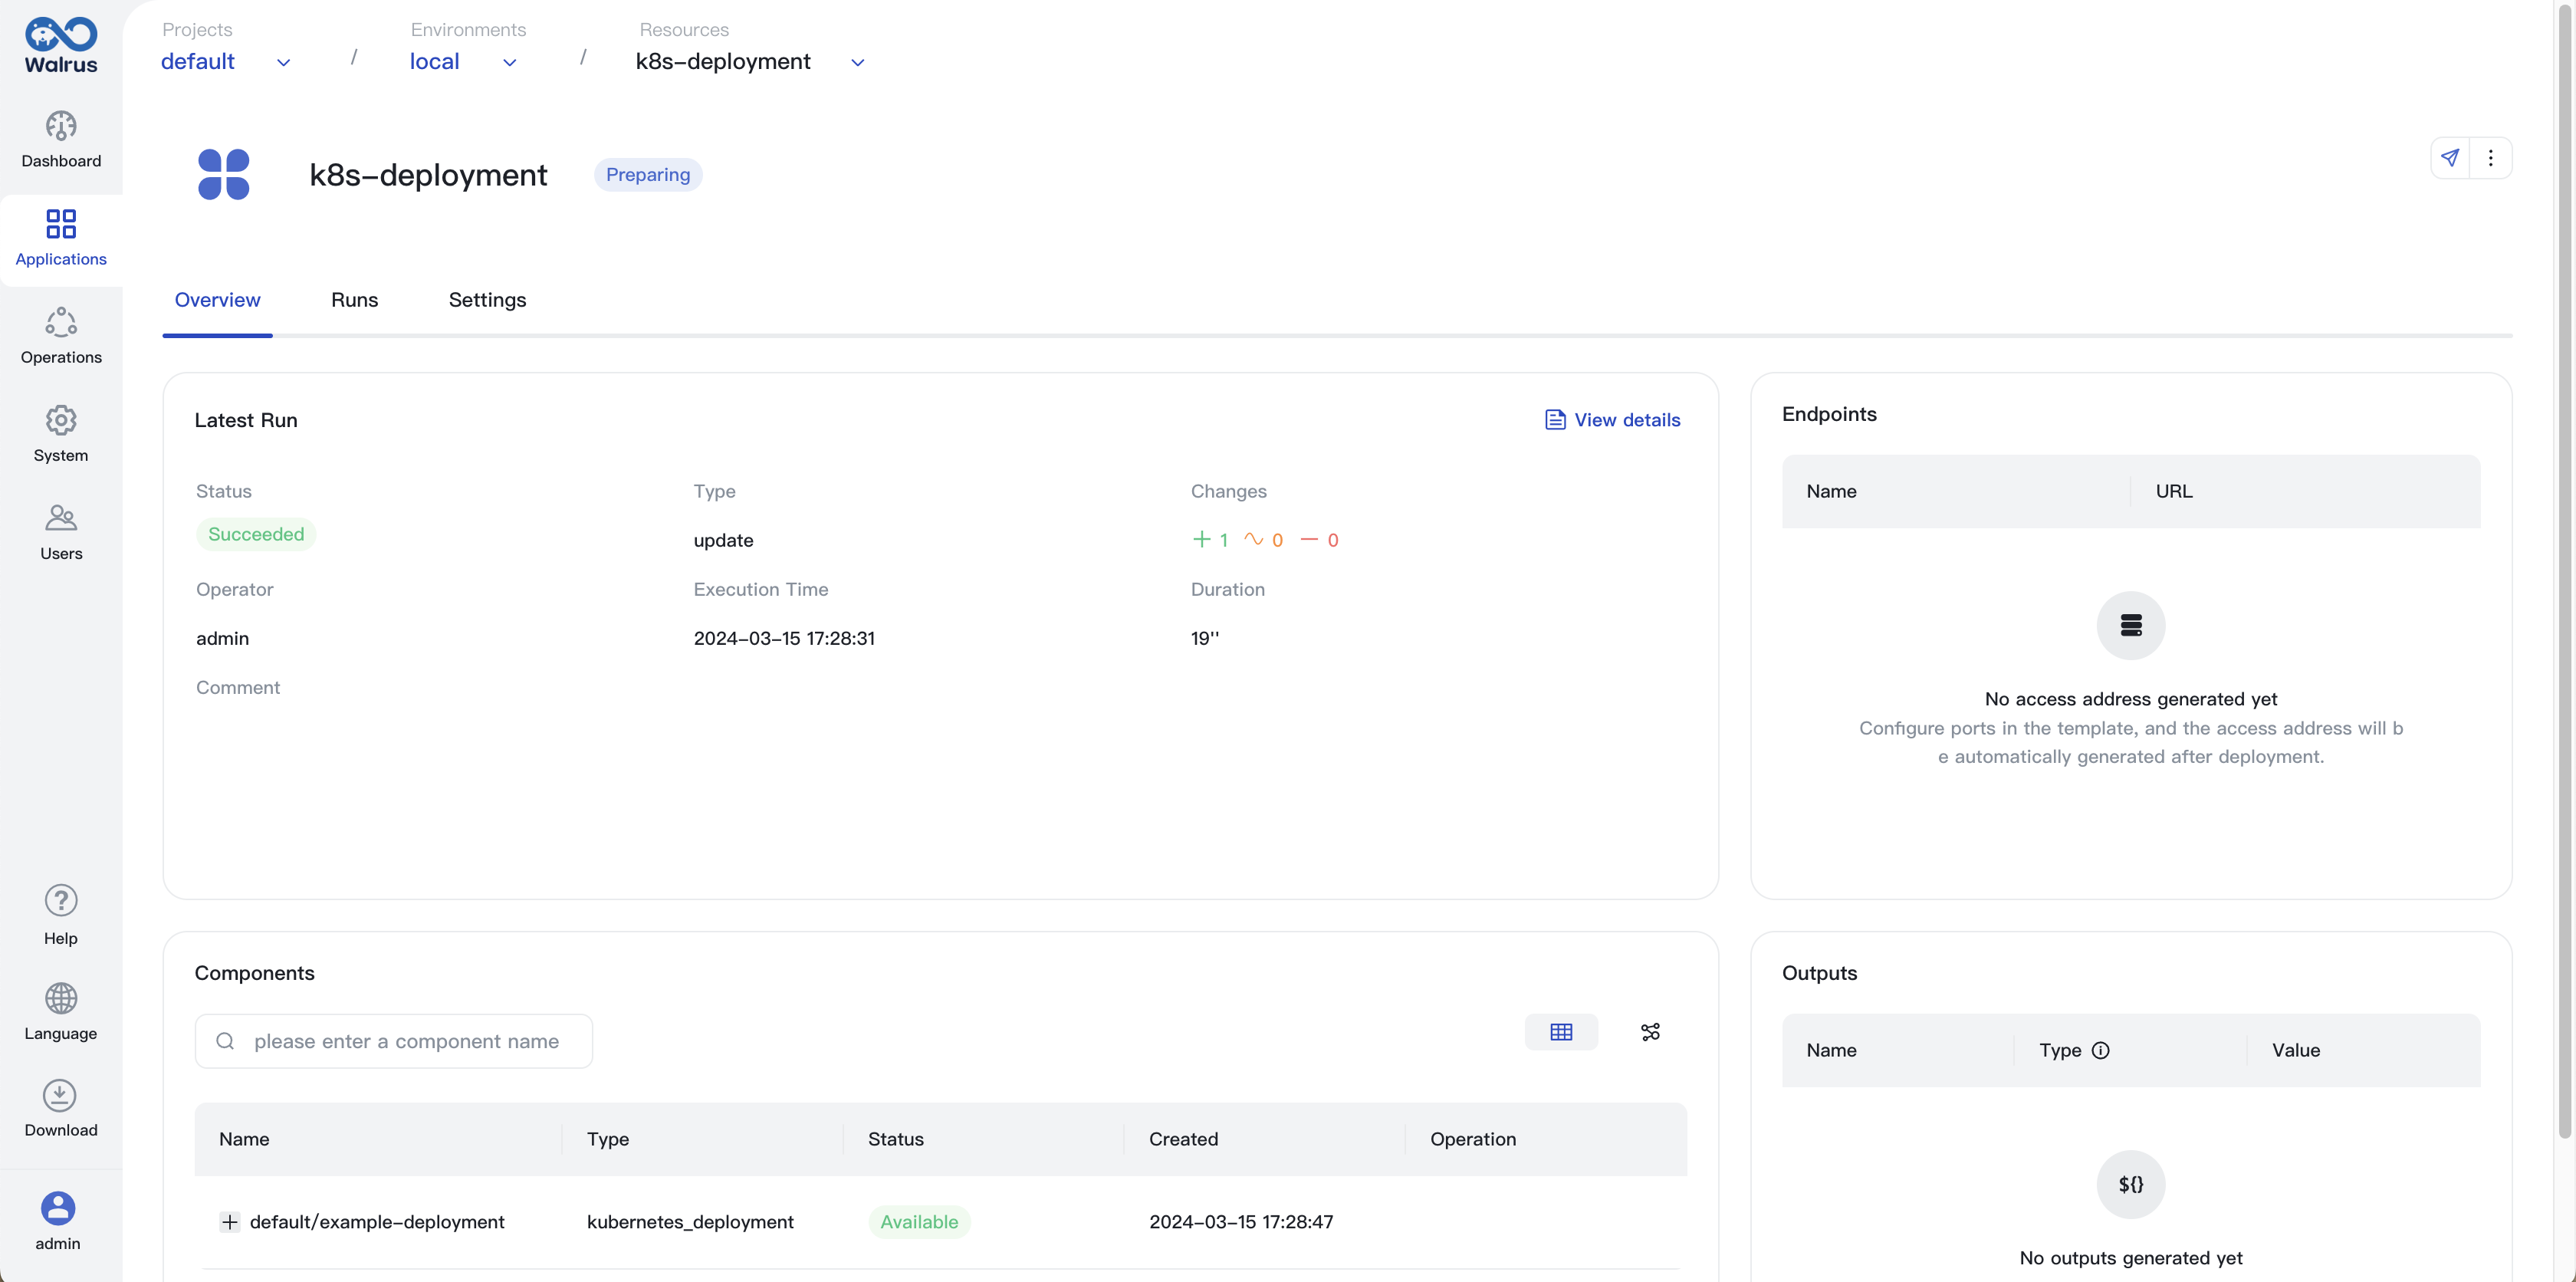 检查 k8s deployment,可以看到 deloyment 已成功创建。
