Create Your First Template
This tutorial will guide you through the process of creating your first template and using it with Walrus. The example template will create a Kubernetes deployment resource.
Prerequisites
- A GitHub Repository for storing the template.
- Walrus installed.
Create a repository on GitHub
- Create your own new repository on GitHub. Here we are using the repository first-template as an example.
- You can choose to create a new repository or fork the first-template repository.
Create Template Files
mkdir first-template
cd first-template
Create the following files in the directory, the specific content of which can refer to first-template:
- first-template
├── icon.svg
├── main.tf
├── outputs.tf
├── variables.tf
...
The main.tf file defines the resources to be created. Here we define a Kubernetes deployment resource for the template.
resource "kubernetes_deployment" "example" {
  metadata {
    name = "example-deployment"
    labels = {
      app = "example"
    }
  }

  spec {
    replicas = 1
    selector {
      match_labels = {
        app = "example"
      }
    }

    template {
      metadata {
        labels = {
          app = "example"
        }
      }

      spec {
        container {
          image = var.image
          name  = "example"
        }
      }
    }
  }
}
The variables.tf file defines the variables used in the template. Walrus will use these variables to generate a template form. Here we define the image variable to specify the image of the Kubernetes deployment, you can define other variables as needed.
variable "image" {
  description = "The image to use for the Kubernetes deployment."
  type        = string
}
The outputs.tf file defines the output variables of the template. Once the resources are successfully created, Walrus will display the output variables on the resource details page. We have defined two output variables, deployment_name and deployment_generation. You can define more output variables as needed, such as the ID and name of the resource.
output "deployment_name" {
  description = "The name of the Deployment."
  value       = kubernetes_deployment.example.metadata[0].name
}

output "deployment_generation" {
  description = "The generation of the Deployment."
  value       = kubernetes_deployment.example.metadata[0].generation
}
The README.md file is a description of the template. This file makes explanation of definitions of the template, parameters and outputs, which can be viewed on the template's details page after you import your own template in Walrus. You can use the tool terraform-docs to generate the template description.
terraform-docs markdown . > README.md
The generated README.md file is as follows:
## Requirements

No requirements.

## Providers

| Name | Version |
|------|---------|
| <a name="provider_kubernetes"></a> [kubernetes](#provider\_kubernetes) | n/a |

## Modules

No modules.

## Resources

| Name | Type |
|------|------|
| [kubernetes_deployment.example](https://registry.terraform.io/providers/hashicorp/kubernetes/latest/docs/resources/deployment) | resource |

## Inputs

| Name | Description | Type | Default | Required |
|------|-------------|------|---------|:--------:|
| <a name="input_image"></a> [image](#input\_image) | The image to use for the Kubernetes deployment. | `string` | n/a | yes |

## Outputs

| Name | Description |
|------|-------------|
| <a name="output_deployment_generation"></a> [deployment\_generation](#output\_deployment\_generation) | The generation of the Deployment. |
| <a name="output_deployment_name"></a> [deployment\_name](#output\_deployment\_name) | The name of the Deployment. |
Commit and Tag Version
git init
git add .
git commit -m "add template files"
git remote add origin https://github.com/yourname/first-template.git # replace with your repository address
git push -u origin main
Create a tag for the template version.
git tag v0.1.0
git push --tags
Template Icon
The template icon of the template will be displayed on Walrus template list. You can create an icon.svg file in the current template directory as the template icon. The image file formats supported are svg, png, jpg, and jpeg. For example, you can add an icon.svg file to the template directory.
Commit the icon file to the repository.
git add icon.svg
git commit -m "add icon.svg"
git push -u origin main
Template UI Schema
By default, Walrus will automatically generate form groups and label rendering based on the variables defined in the template. If you already have Walrus cli installed, you can follow the Walrus schema generate to generate the schema file. You can follow the customizing-template-ui-schema to customize the form group and labels. After the schema file is generated, you can commit it to the repository and create a new tag for the template version.
walrus schema generate --dir .
git add schema.yaml
git commit -m "add schema.yaml"
git push -u origin main
git tag v0.1.1
git push --tags
Create a Template on Walrus
- Open Walrus in your browser and log in.
- Go to the
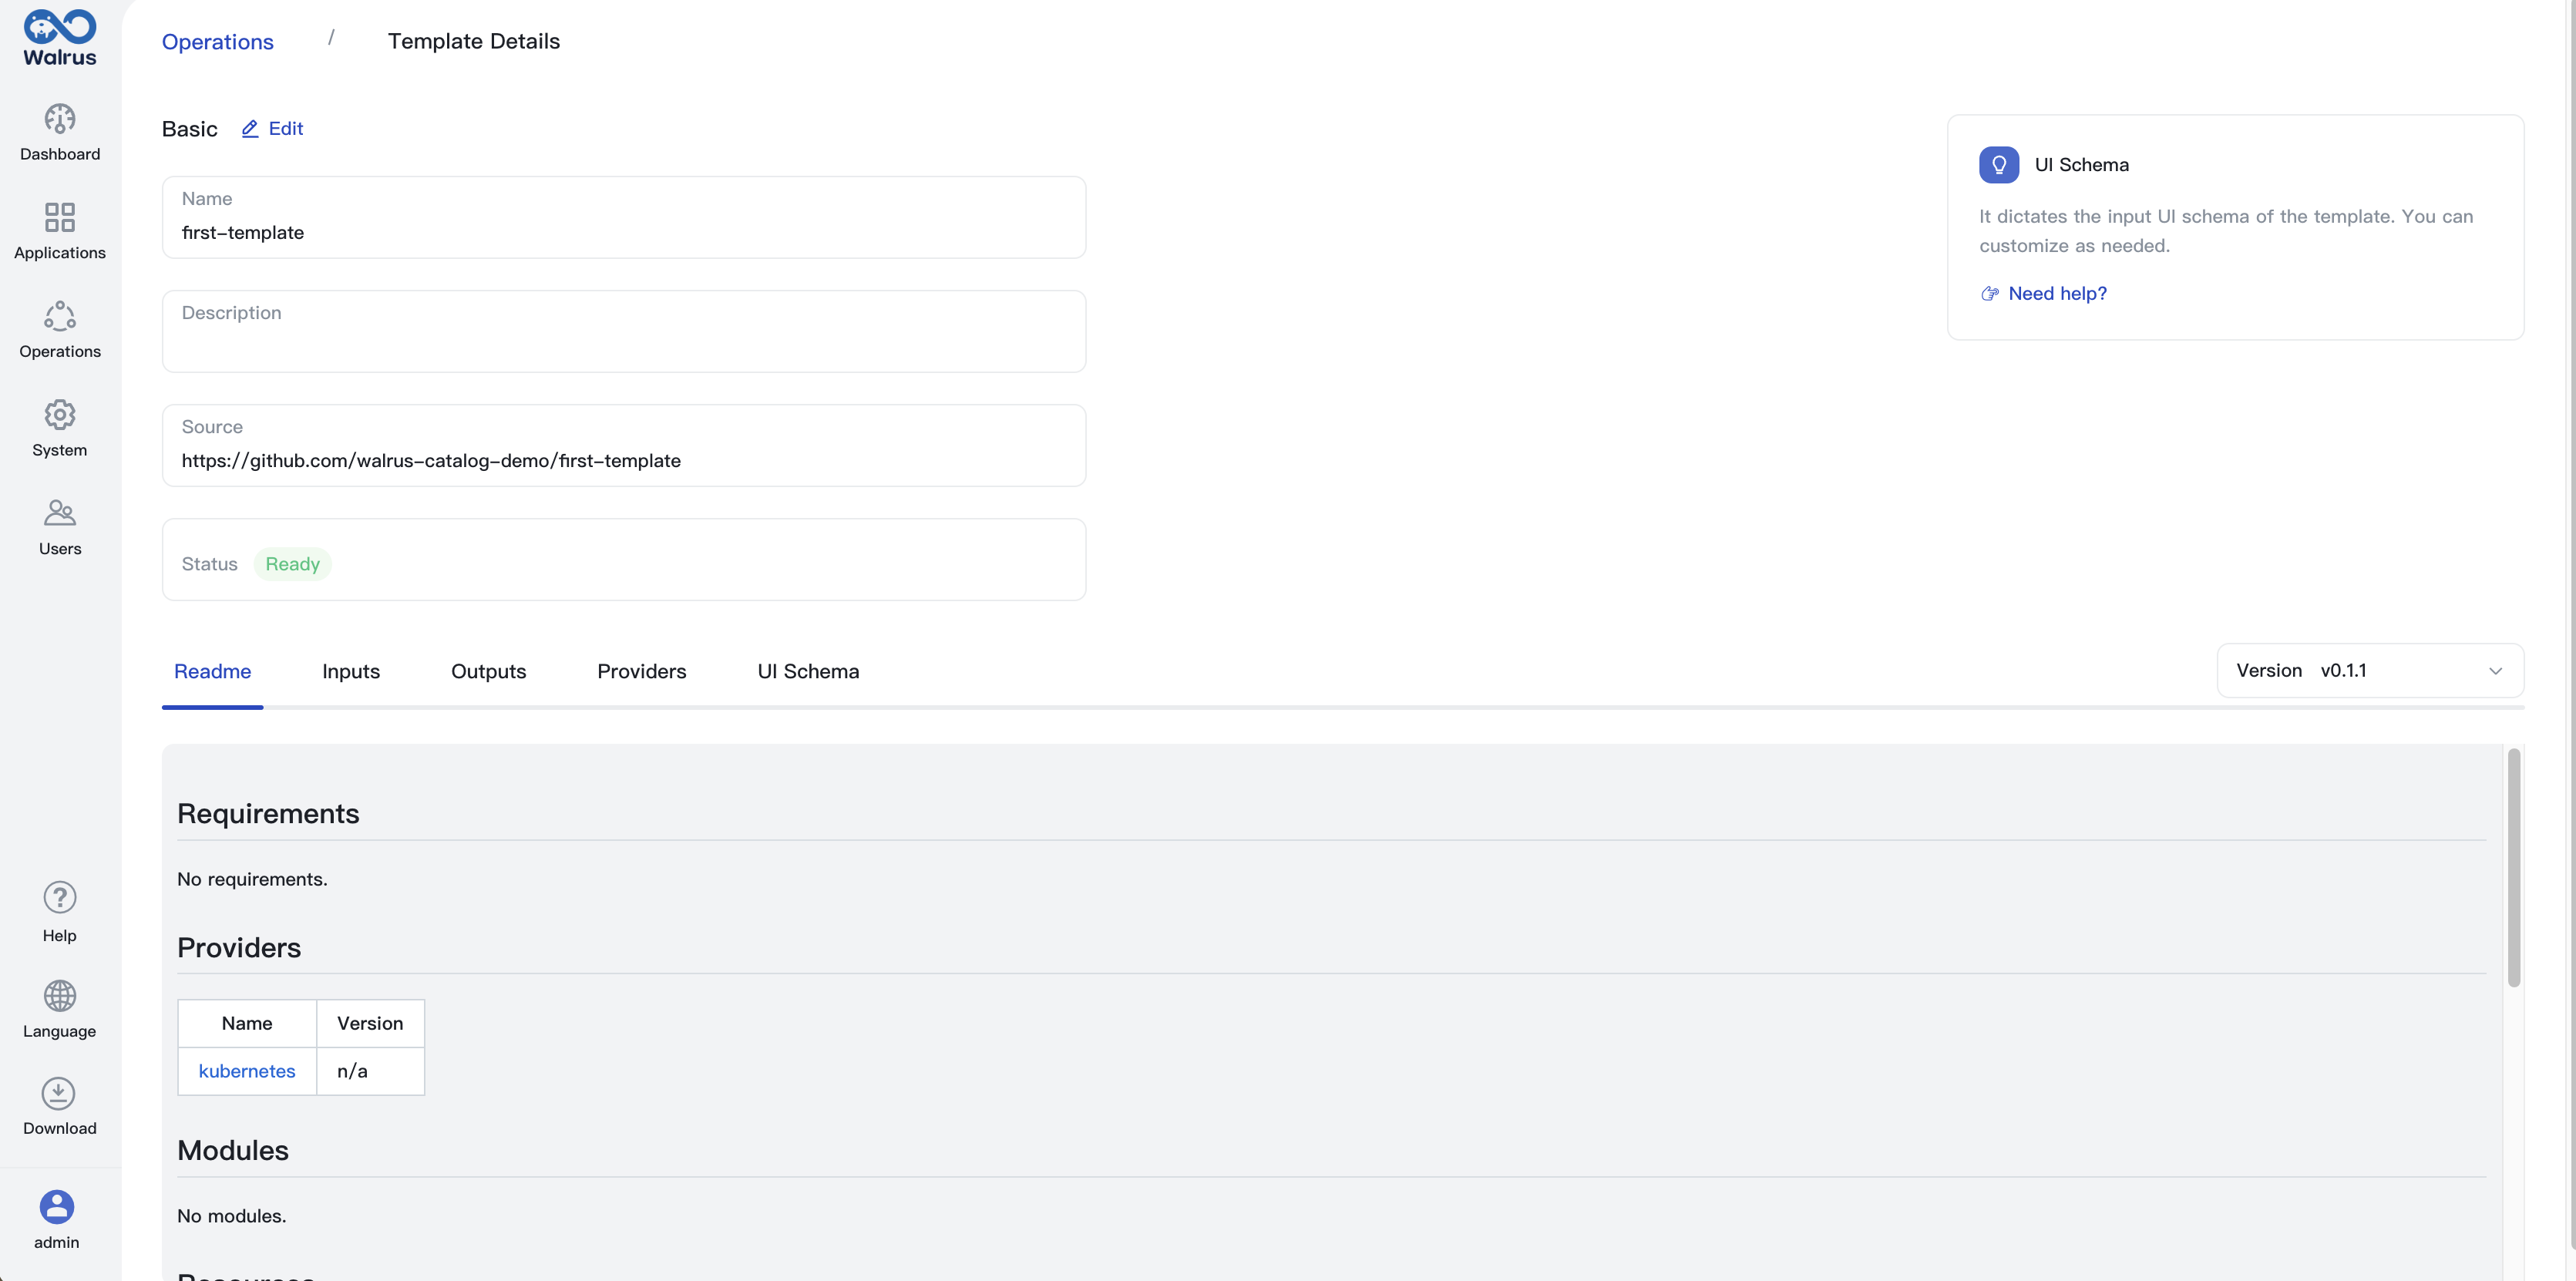
Templatetab underOperationsand create a template by using the template we just created, here we name the templatefirst-template.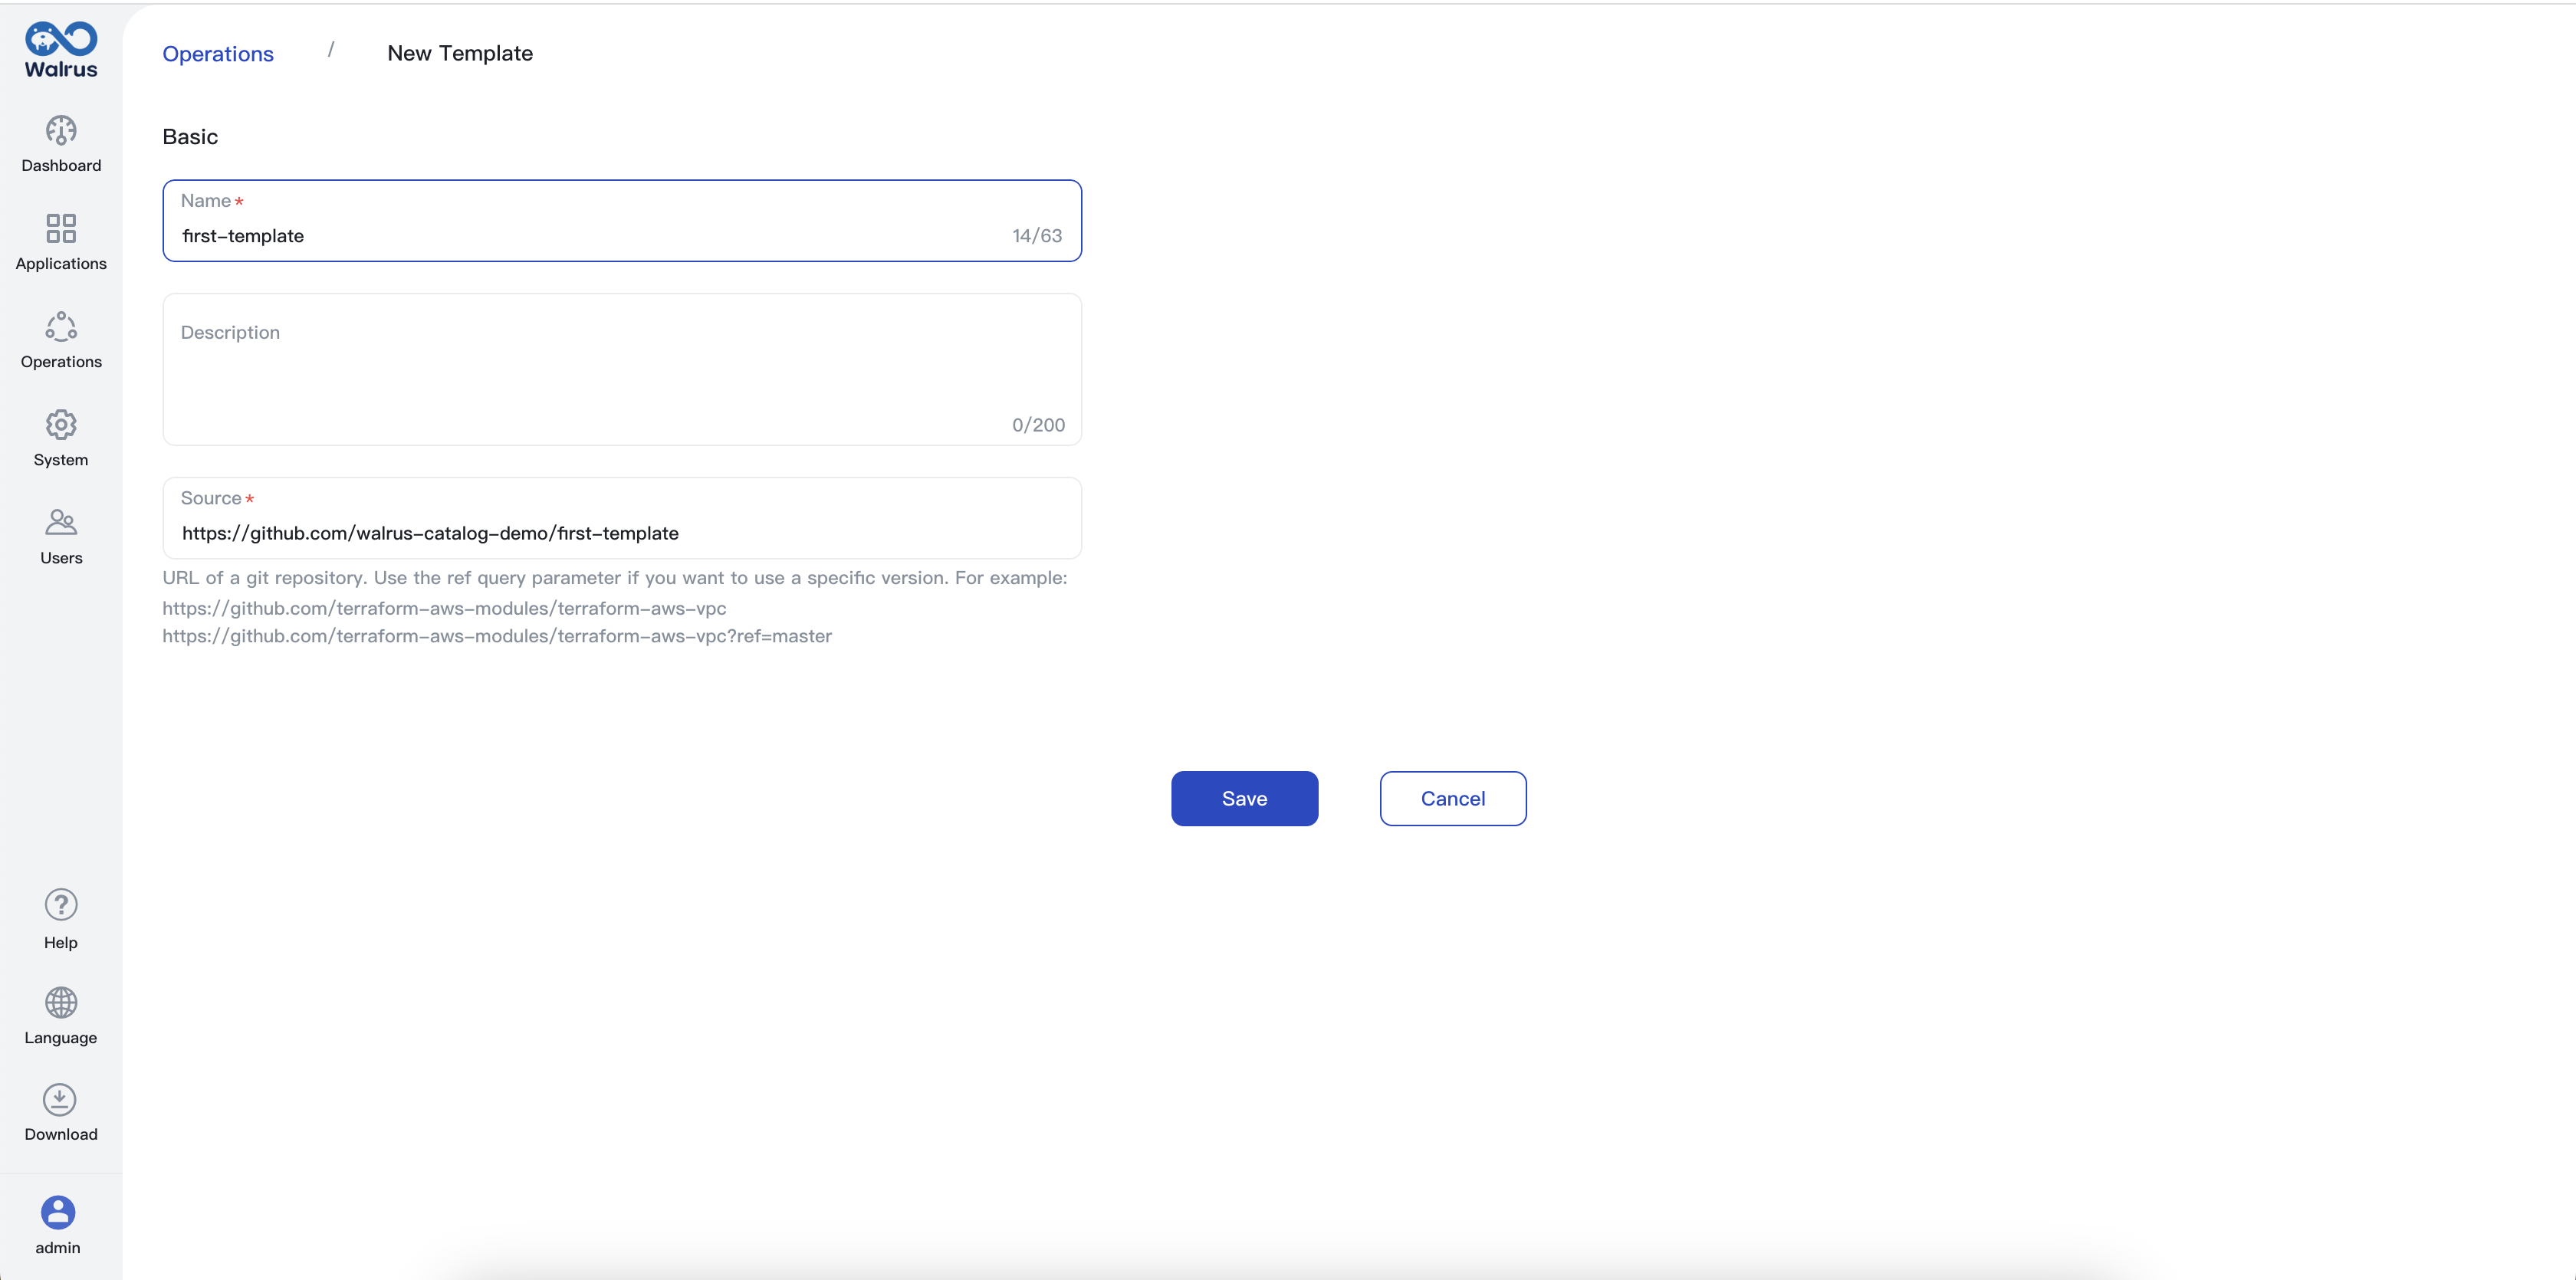 Once the import task is completed, the template will be displayed in the template list. You can see that the template version is the newly created version v0.1.1.
- Add k8s Provider in the
Connectorstab underOperations.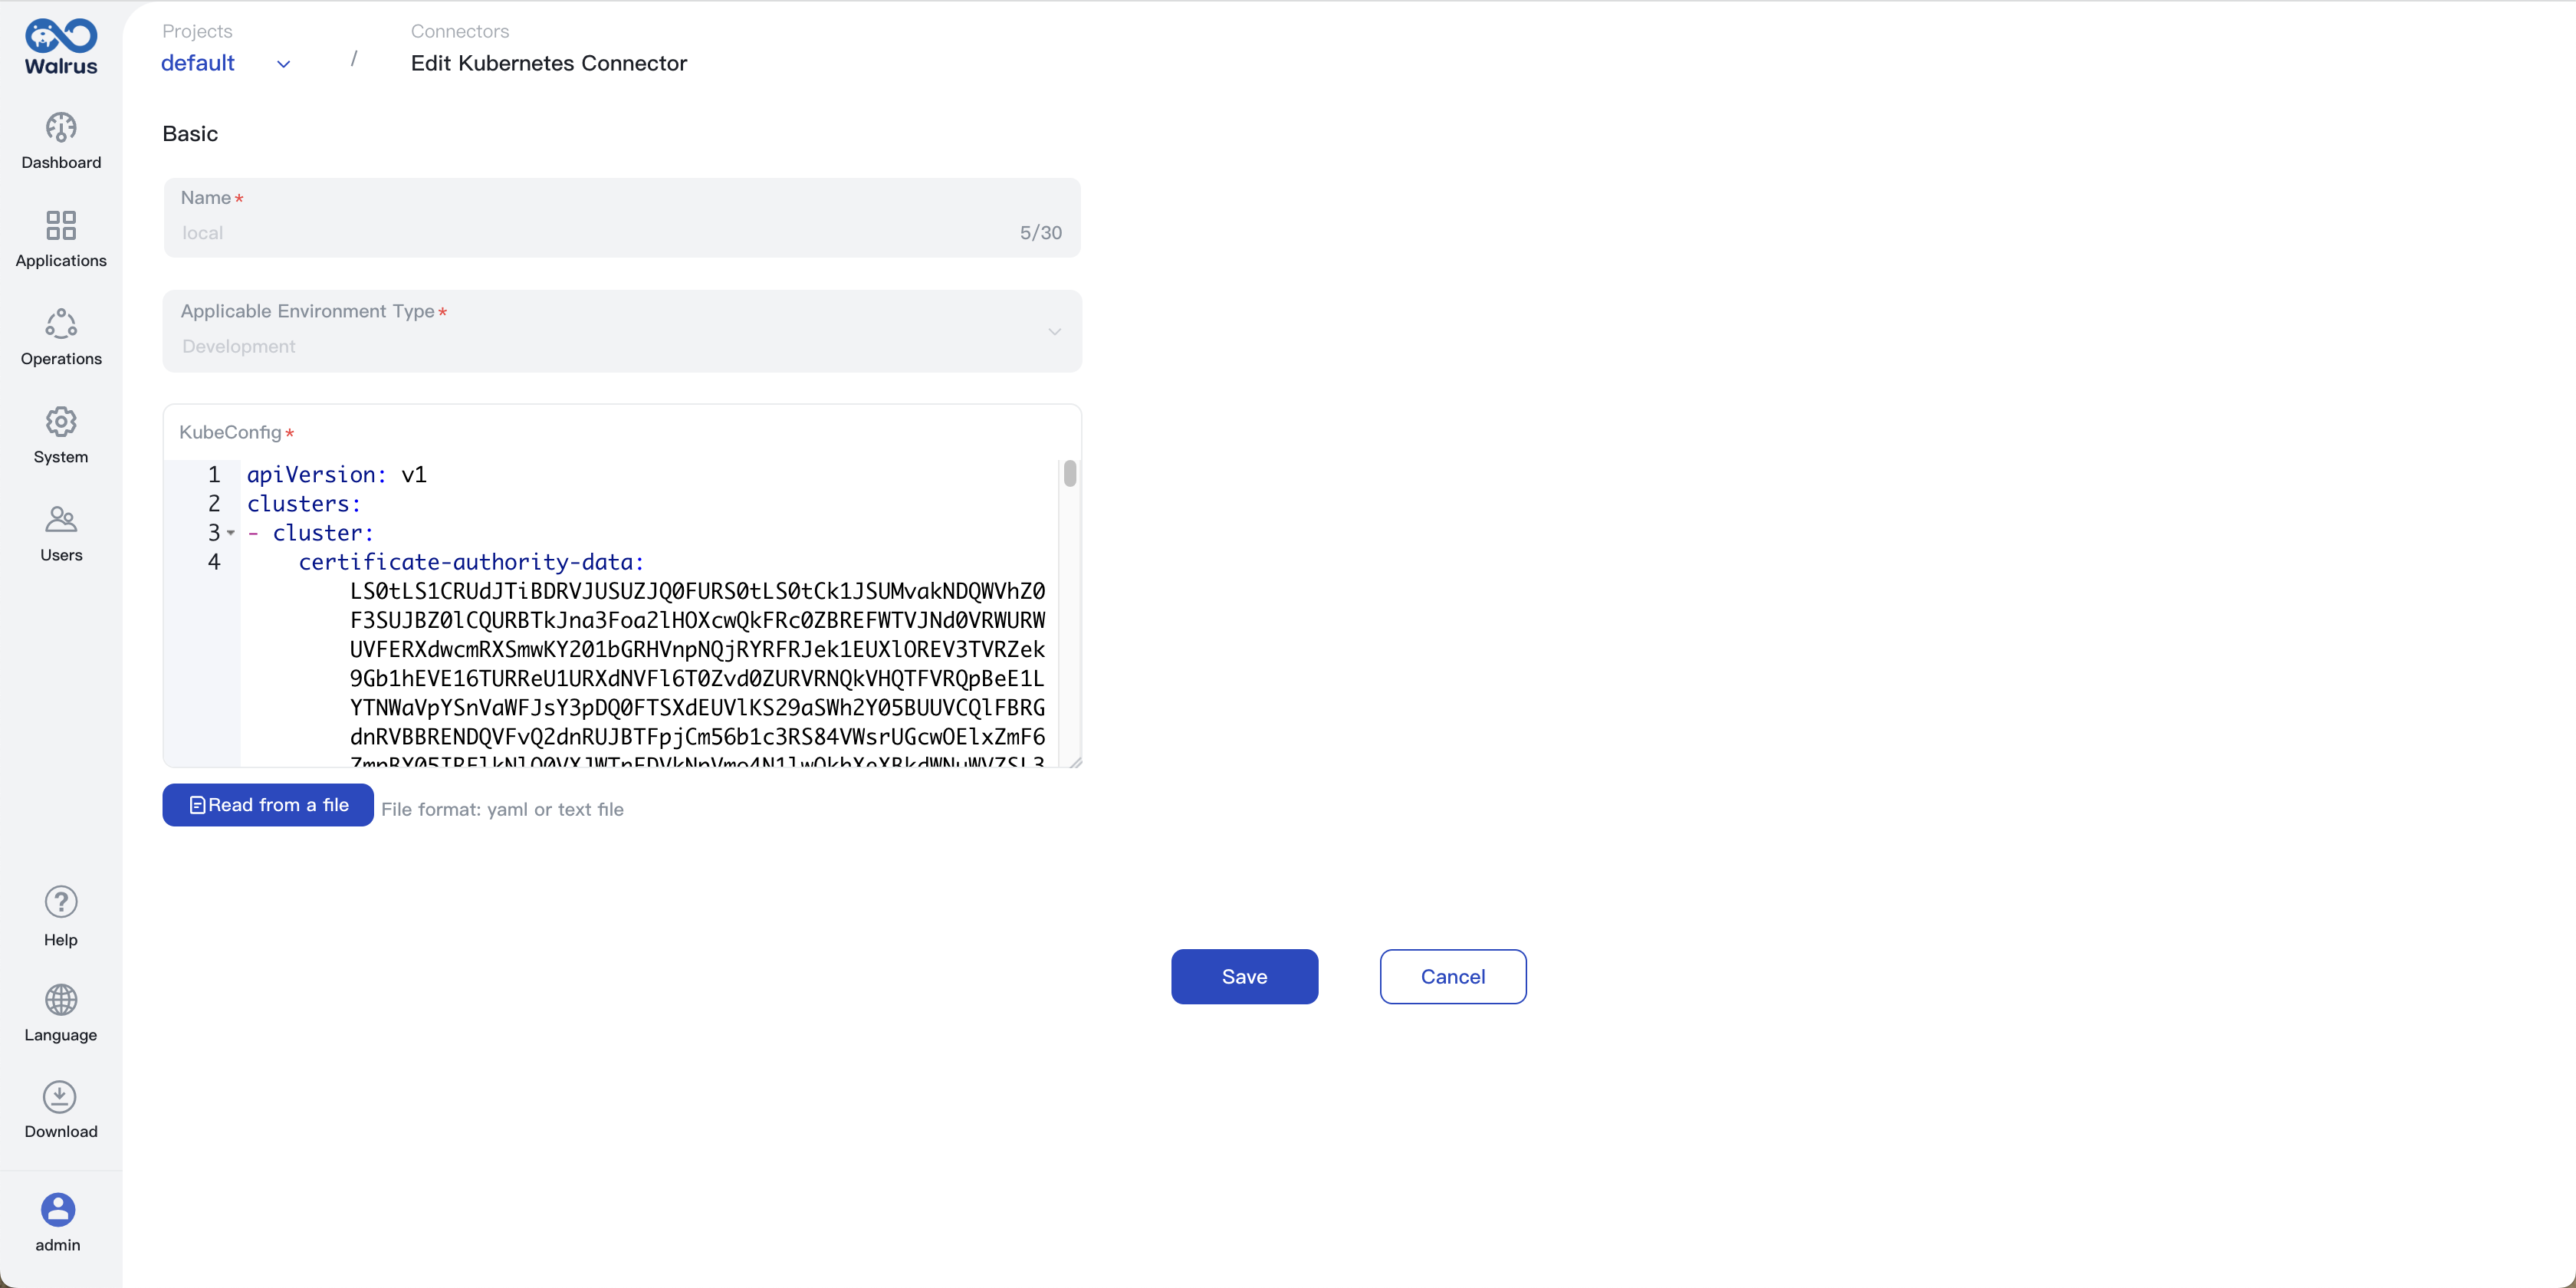
- Configure the k8s connector to the environment where you want to create resources.
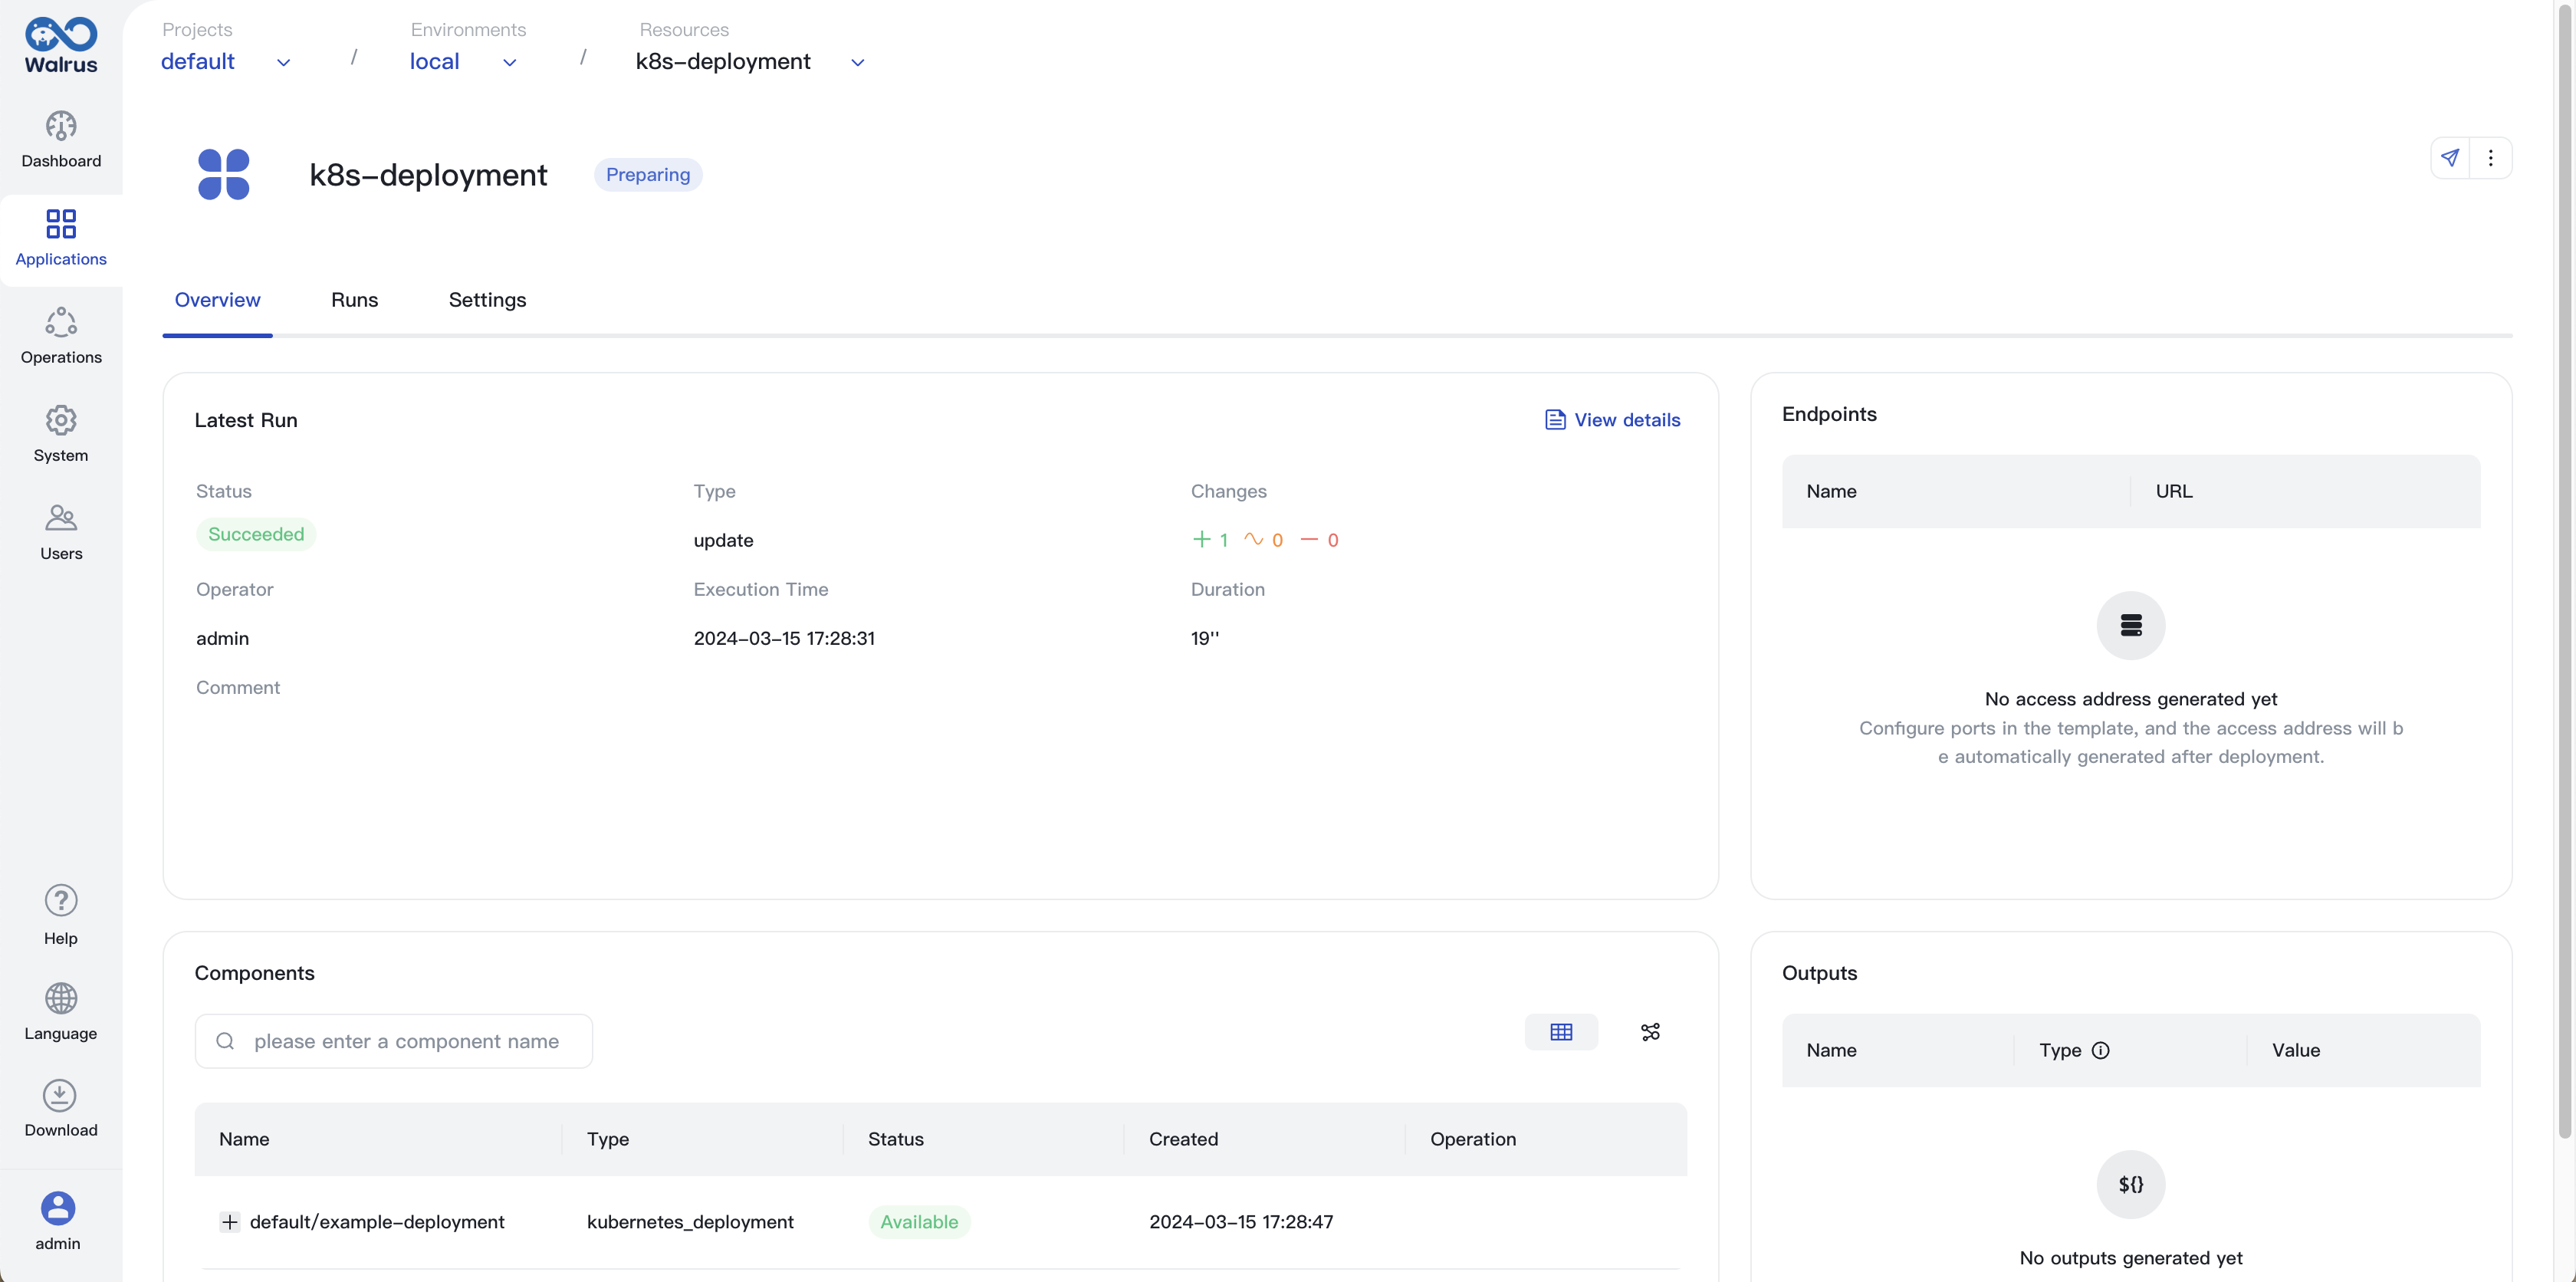
- Create a resource using the template
first-template, the form is generated according to the template variables we defined.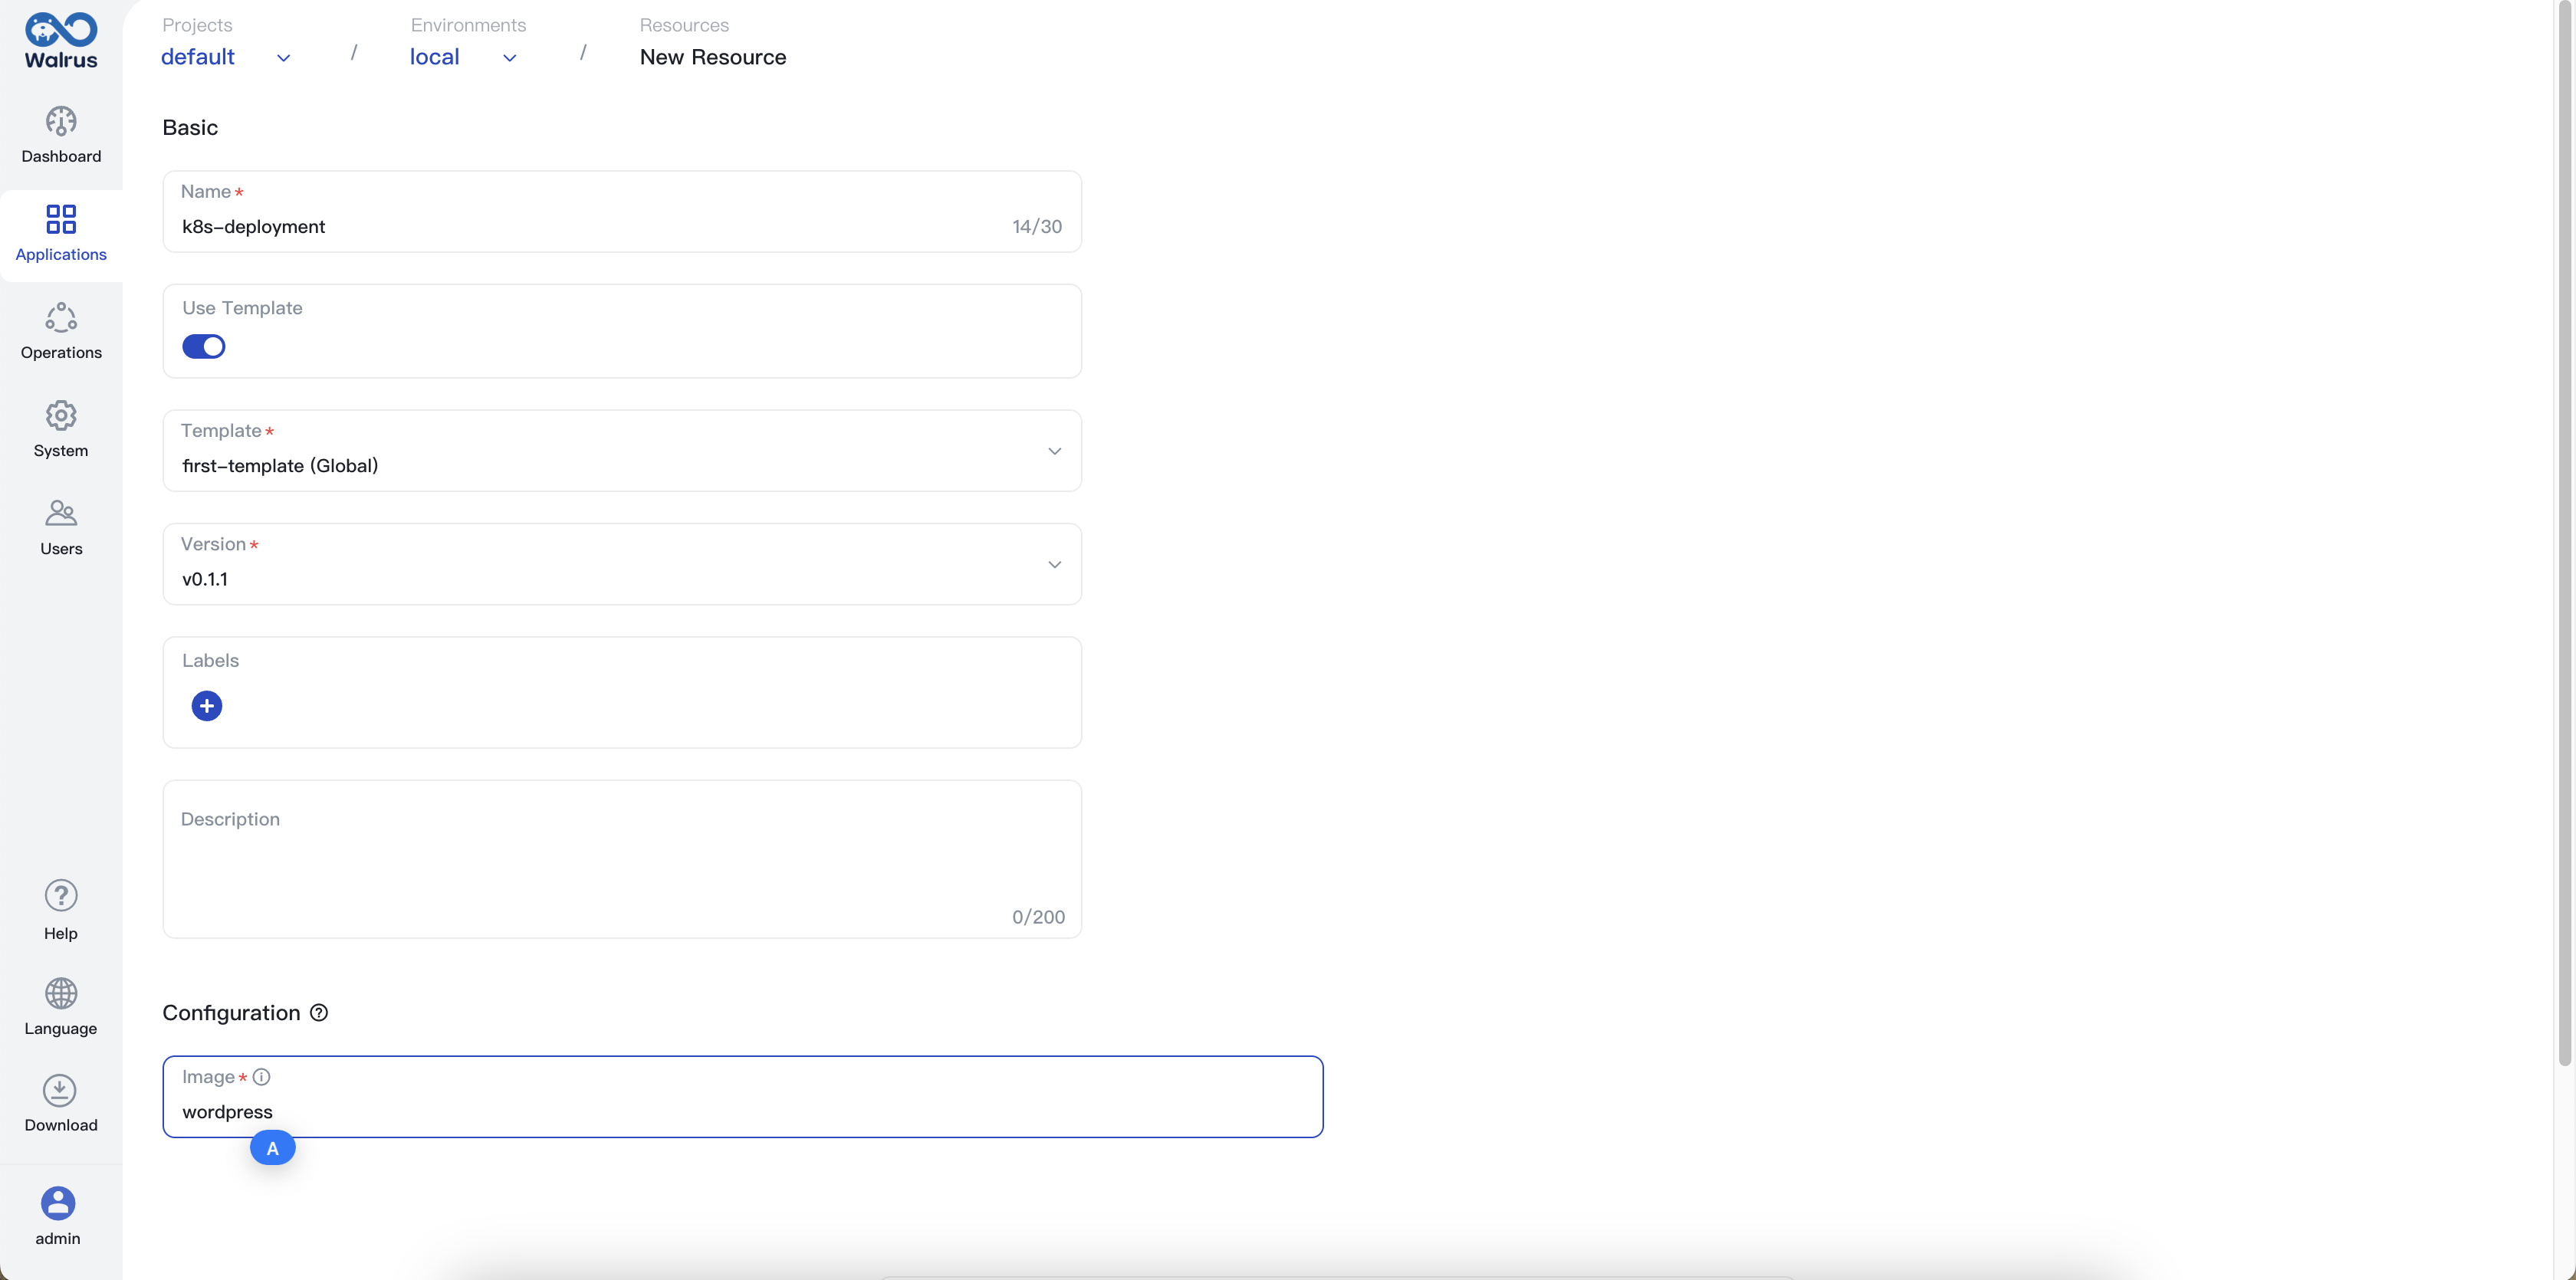 After the resource is created, the details of the resource and the outputs of the template.
 Check the k8s deployment, the deployment is created successfully.
