Workflows
A workflow is a set of tasks that are executed in a specific order. The tasks can be executed in parallel or sequentially. Workflows can be used to automate the deployment of applications. For example, deploying a web application requires deploying multiple services in a specific order. You can create a workflow to automate the deployment of the web application.
View Workflow List
- Click
Applications->Workflowson the left navigation bar. - The workflow list under this project can be viewed on the workflow list page.
- Use the search bar on the workflow list page to quickly search for related workflows.
Create Workflow
- Access the list page by viewing the workflow list.
- Click
New Workflow, enter thenameto identify your workflow. Ensure the workflow name is unique for easy identification in the workflow list.
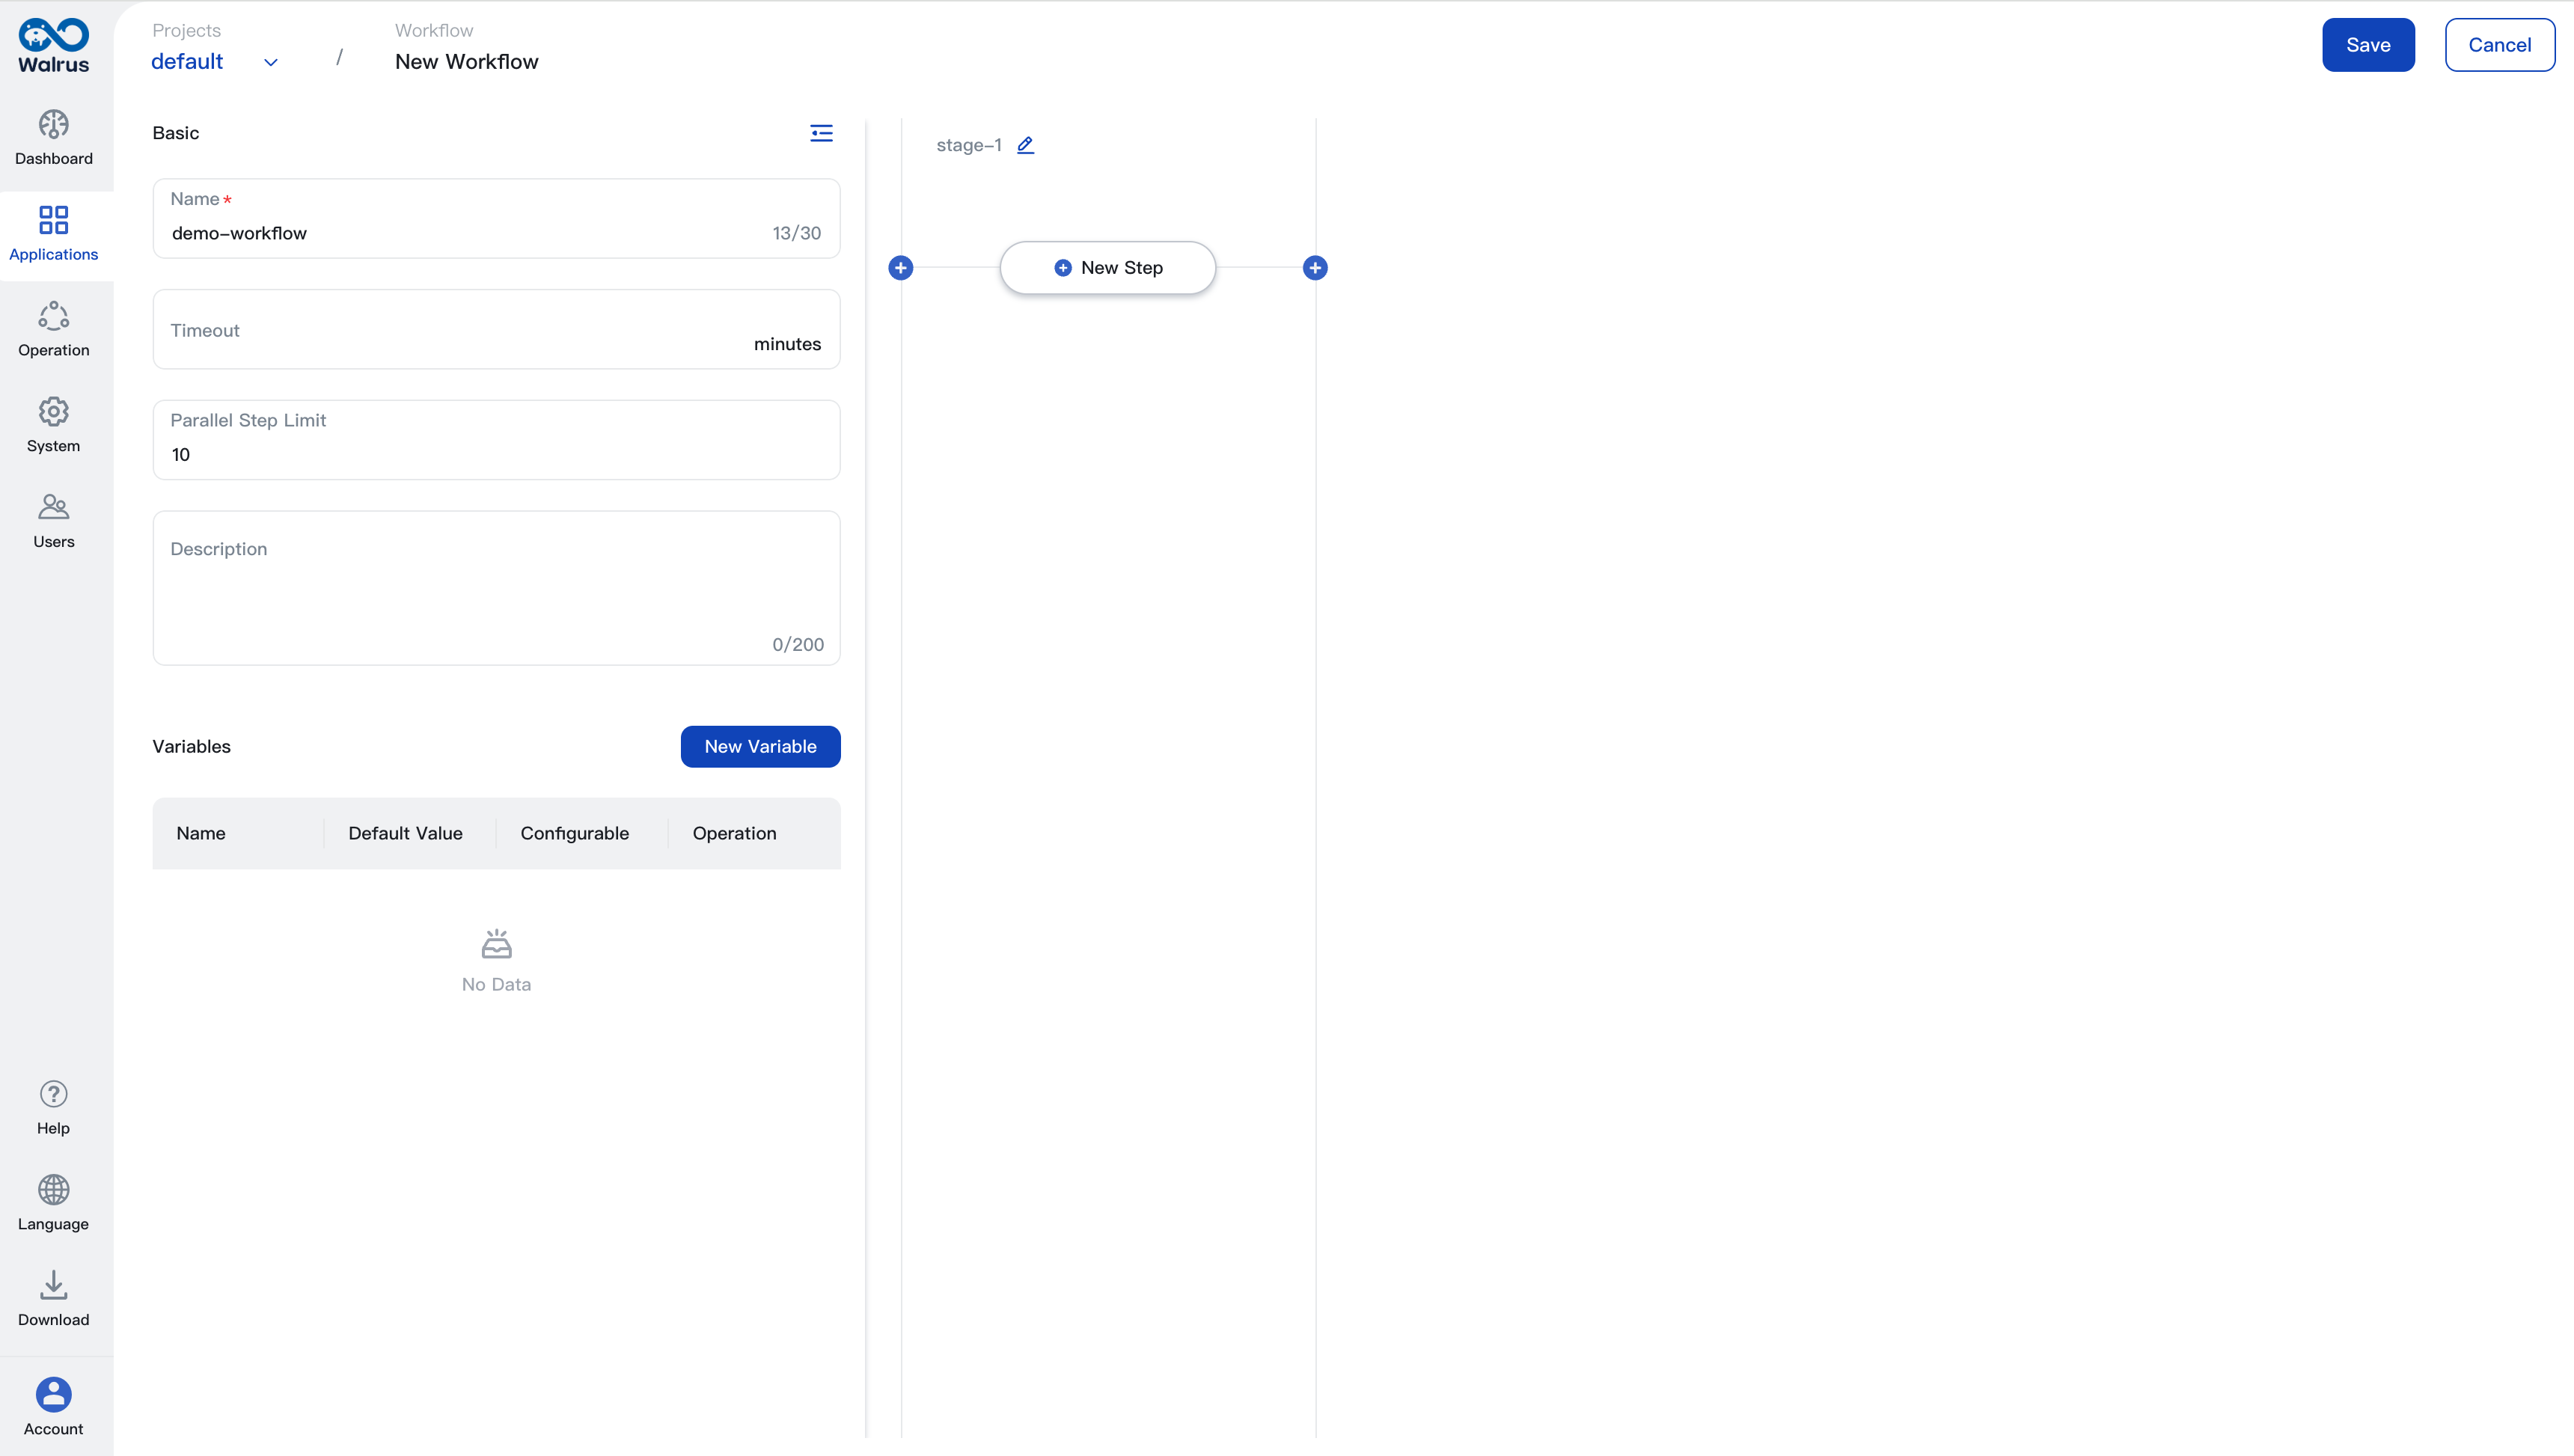
- Add
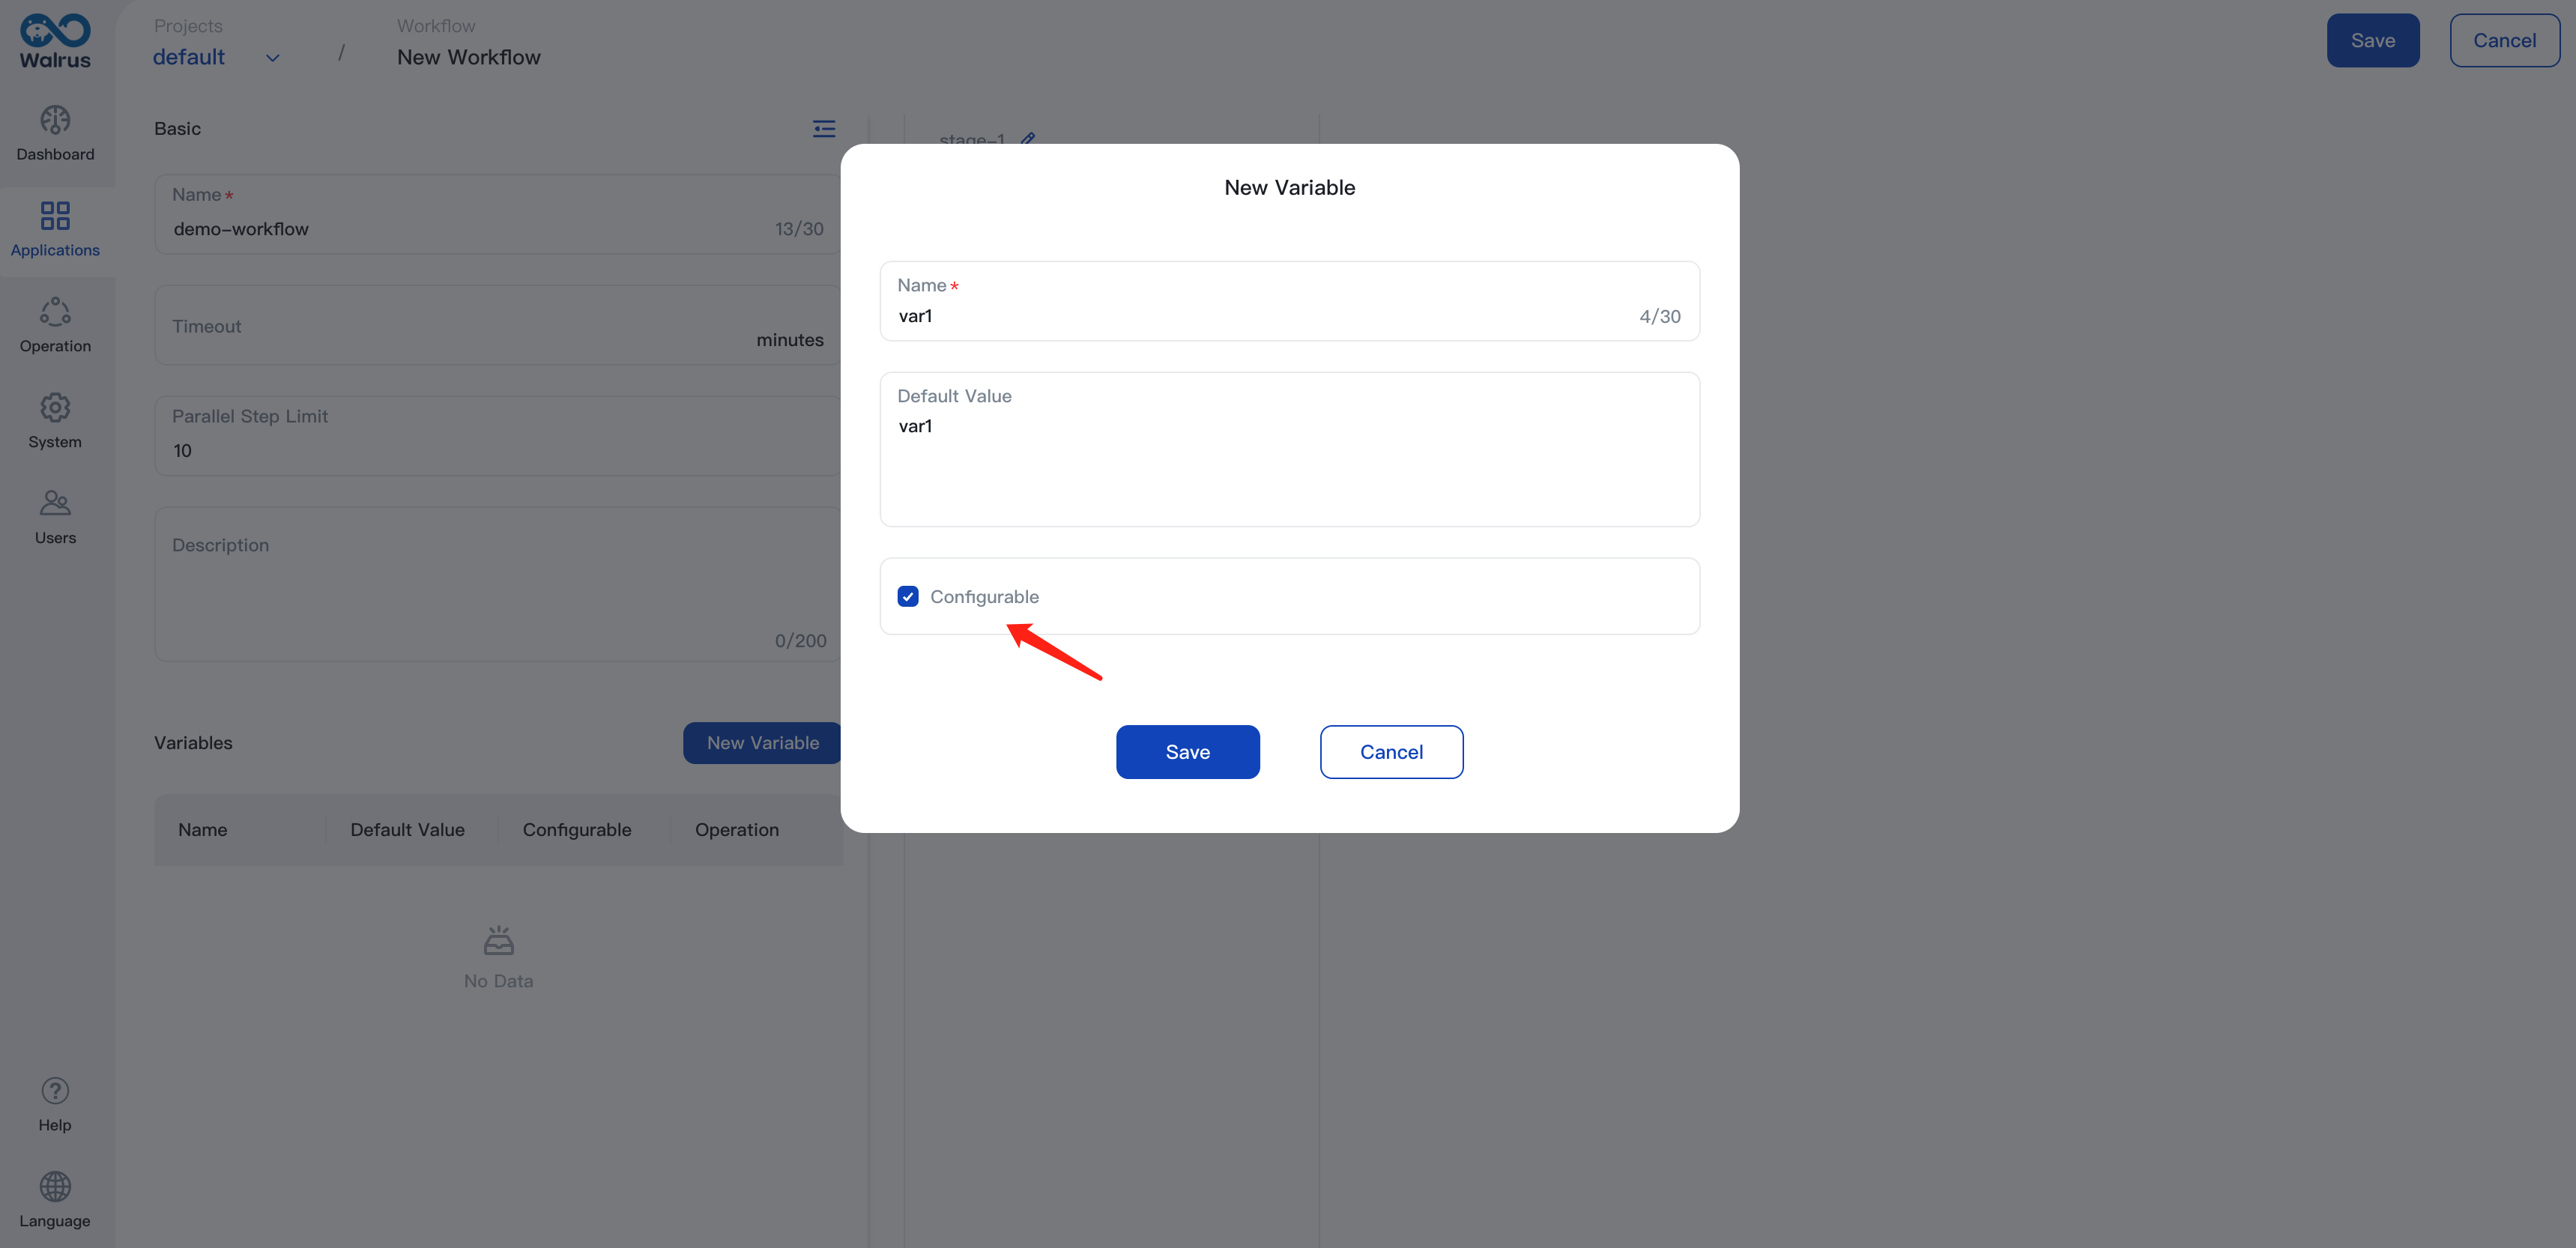
Workflow NameandWorkflow Descriptionof the workflow, specify theWorkflow TimeoutandWorkflow Parallelismto limit the timeout and the number of tasks that can run simultaneously. - Add Variables. Click
New Variable, enter the variable name and value, and configure the variable. Checking theRuntime Configurablecheckbox to make variables could be reset if you want to change the variable value when the workflow is executed.
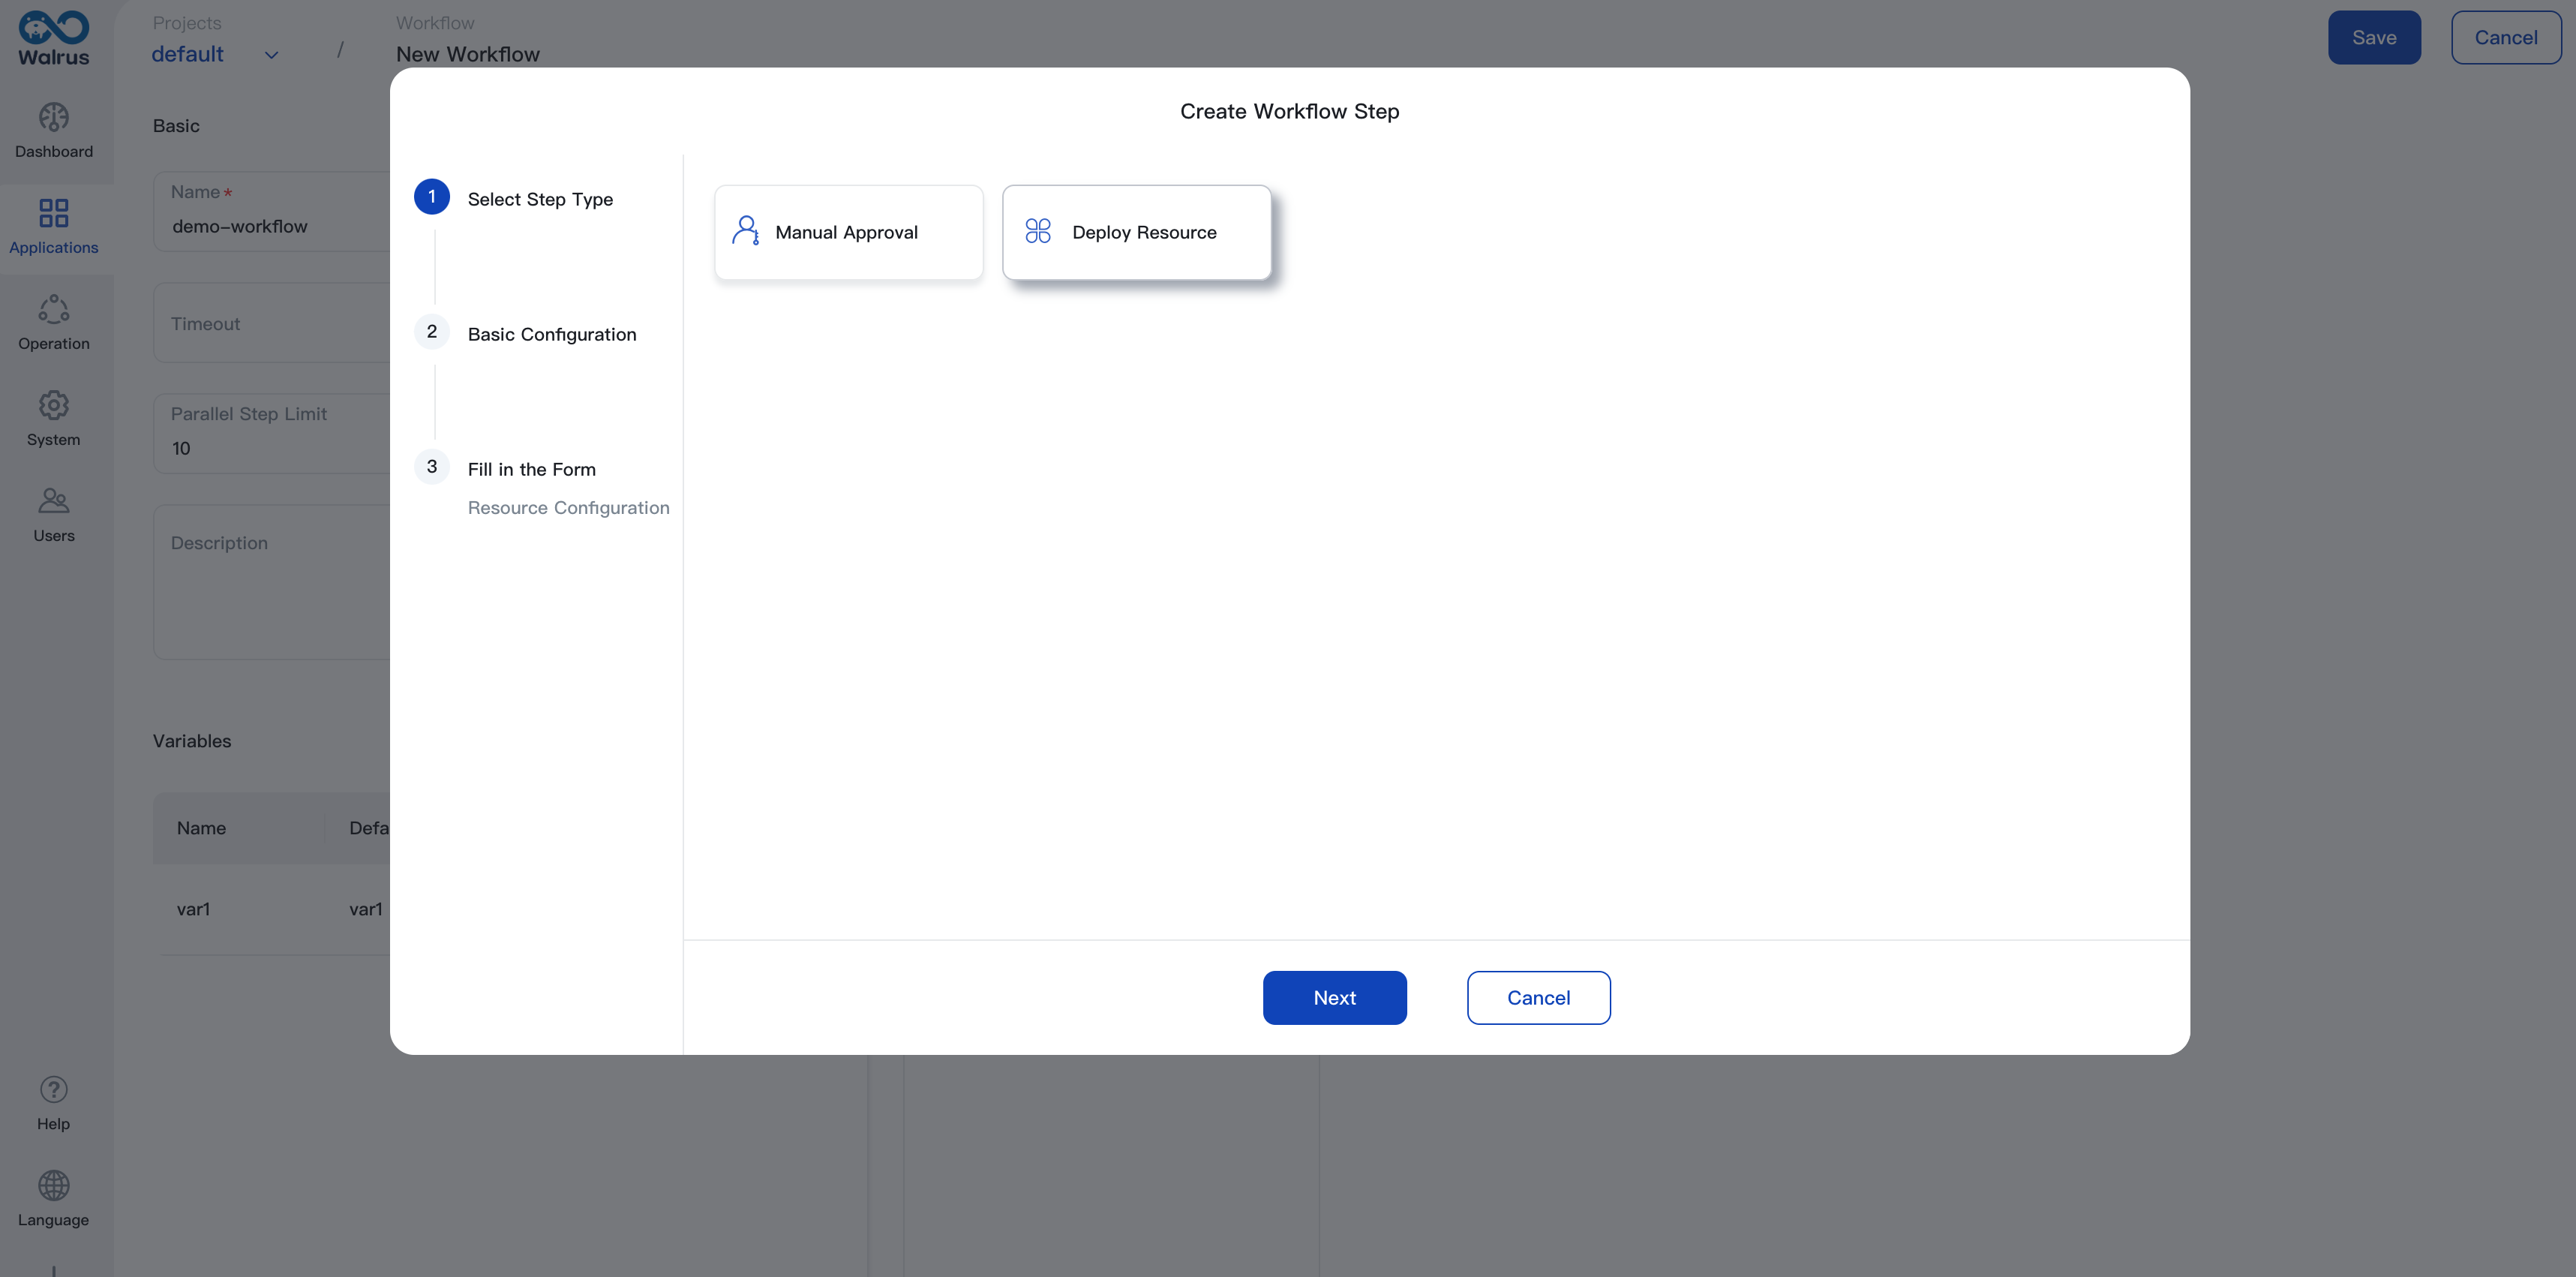
- Add Stage and Step: Create a new stage, click the add icon to add a new stage. Click
New Stepto add steps in the stage, select the step type, add the step configuration and enter corresponding configurations like timeout, retry, etc., based on the requirements of the step.
Variables can be referenced in the step configuration using ${workflow.var.variableName}. It will be replaced with the variable value when the workflow is executed.

After adding the step, click the Save button to save the workflow configuration.
Edit Workflow
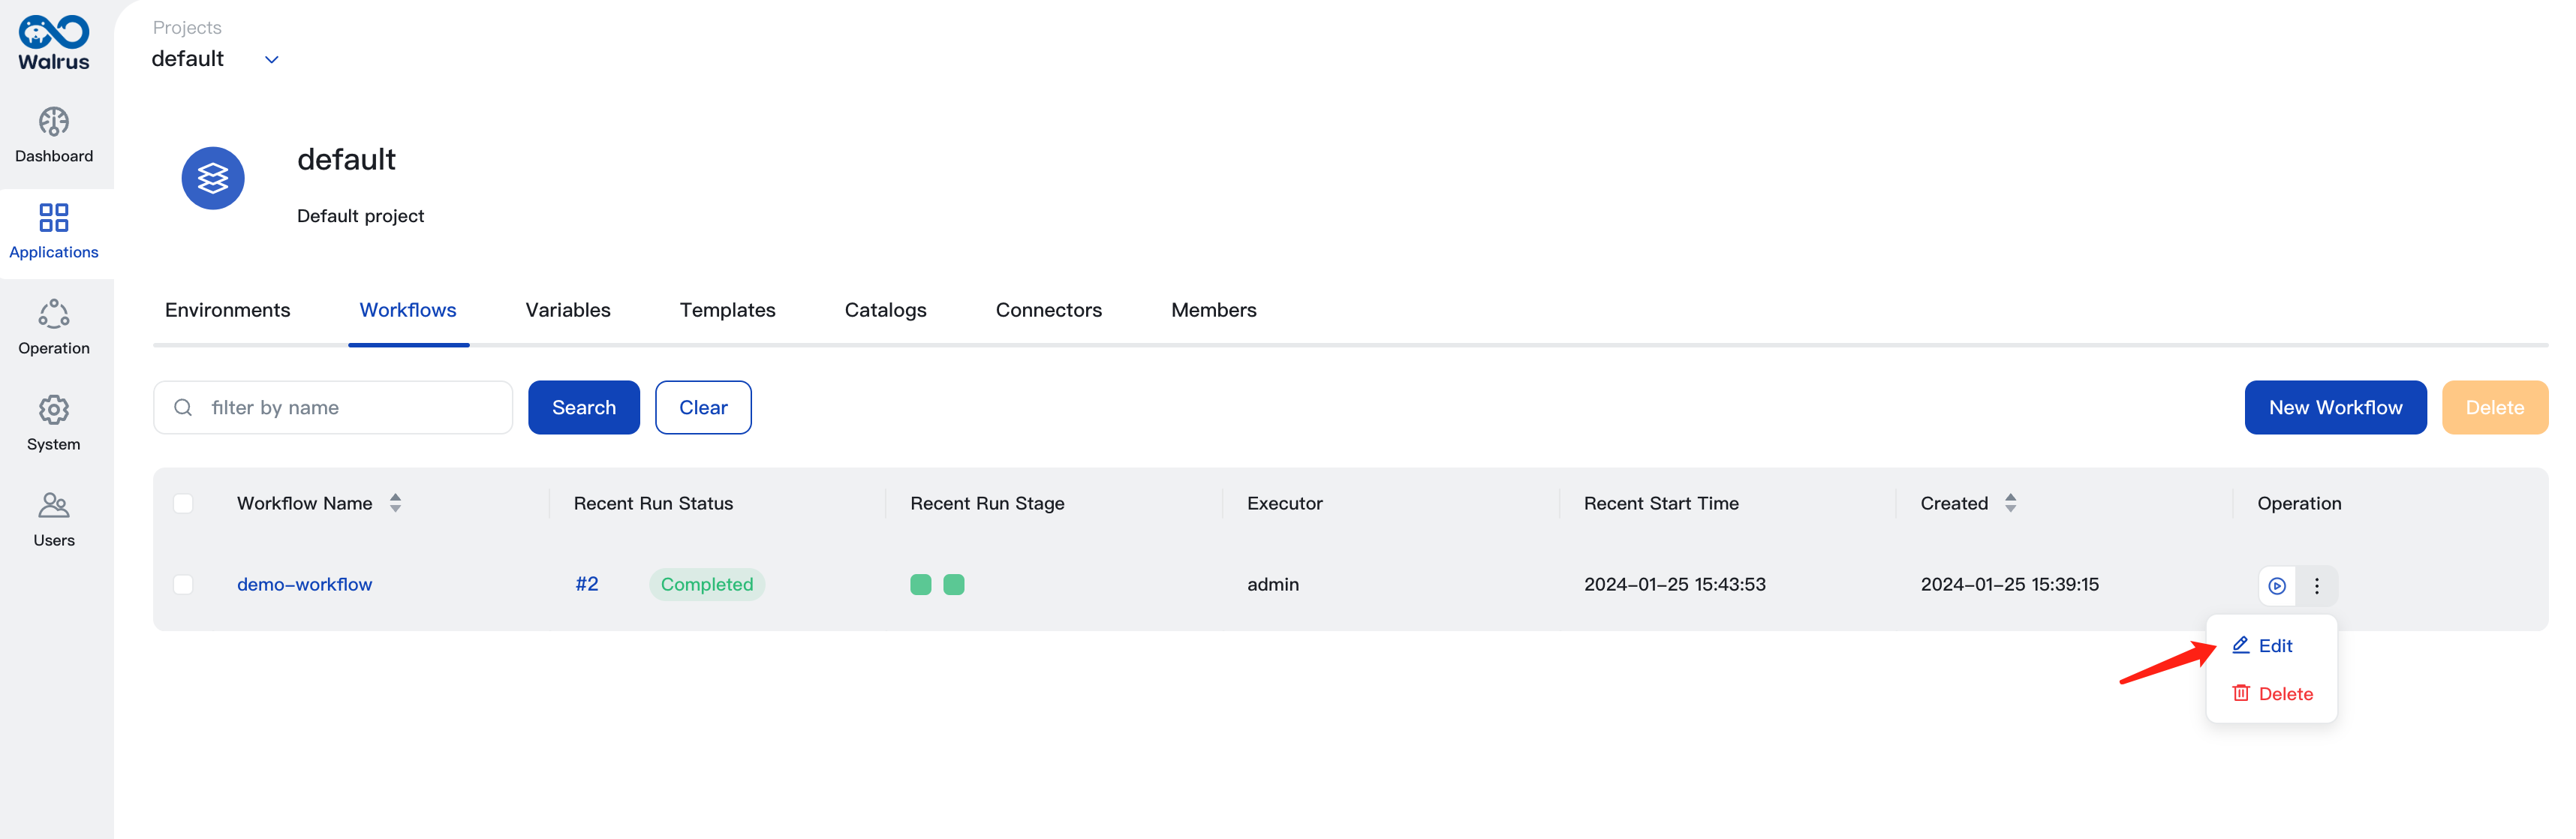
- Access the list page by viewing the workflow list.
- Select the workflow to edit by clicking the Edit button.
- Modify the workflow configuration and add or delete stages and steps.
- Click the
Savebutton to save the workflow.
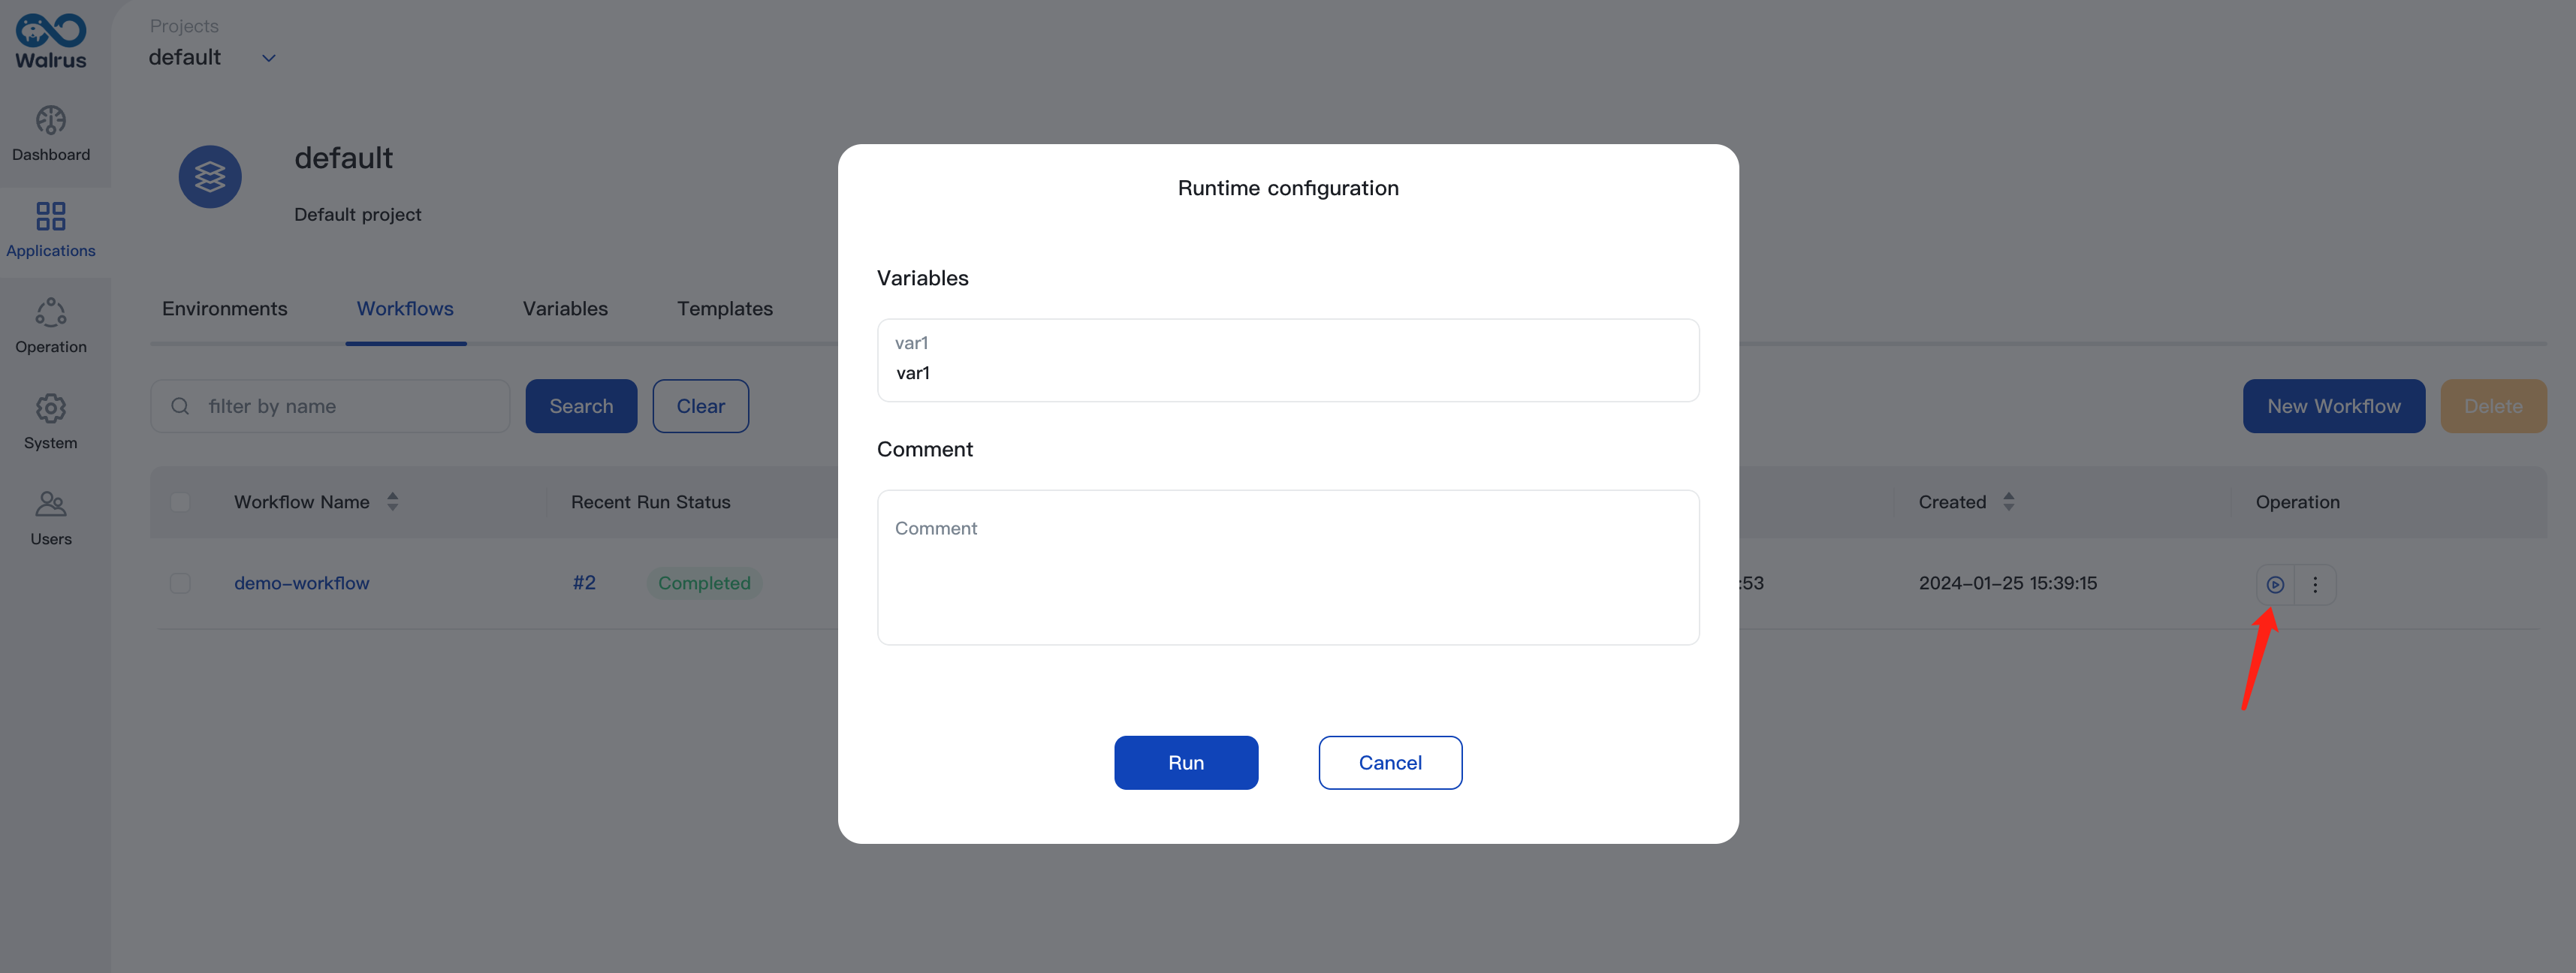
Run Workflow
- Access the list page by viewing the workflow list.
- Select the workflow to run and click the Run button.
- Fill in the workflow variables and execution description, then click the
Runbutton to execute the workflow.
View Workflow Execution
- Access the list page by viewing the workflow list.
- Select the workflow that you need to view and click the name of the workflow to enter the workflow execution list page.
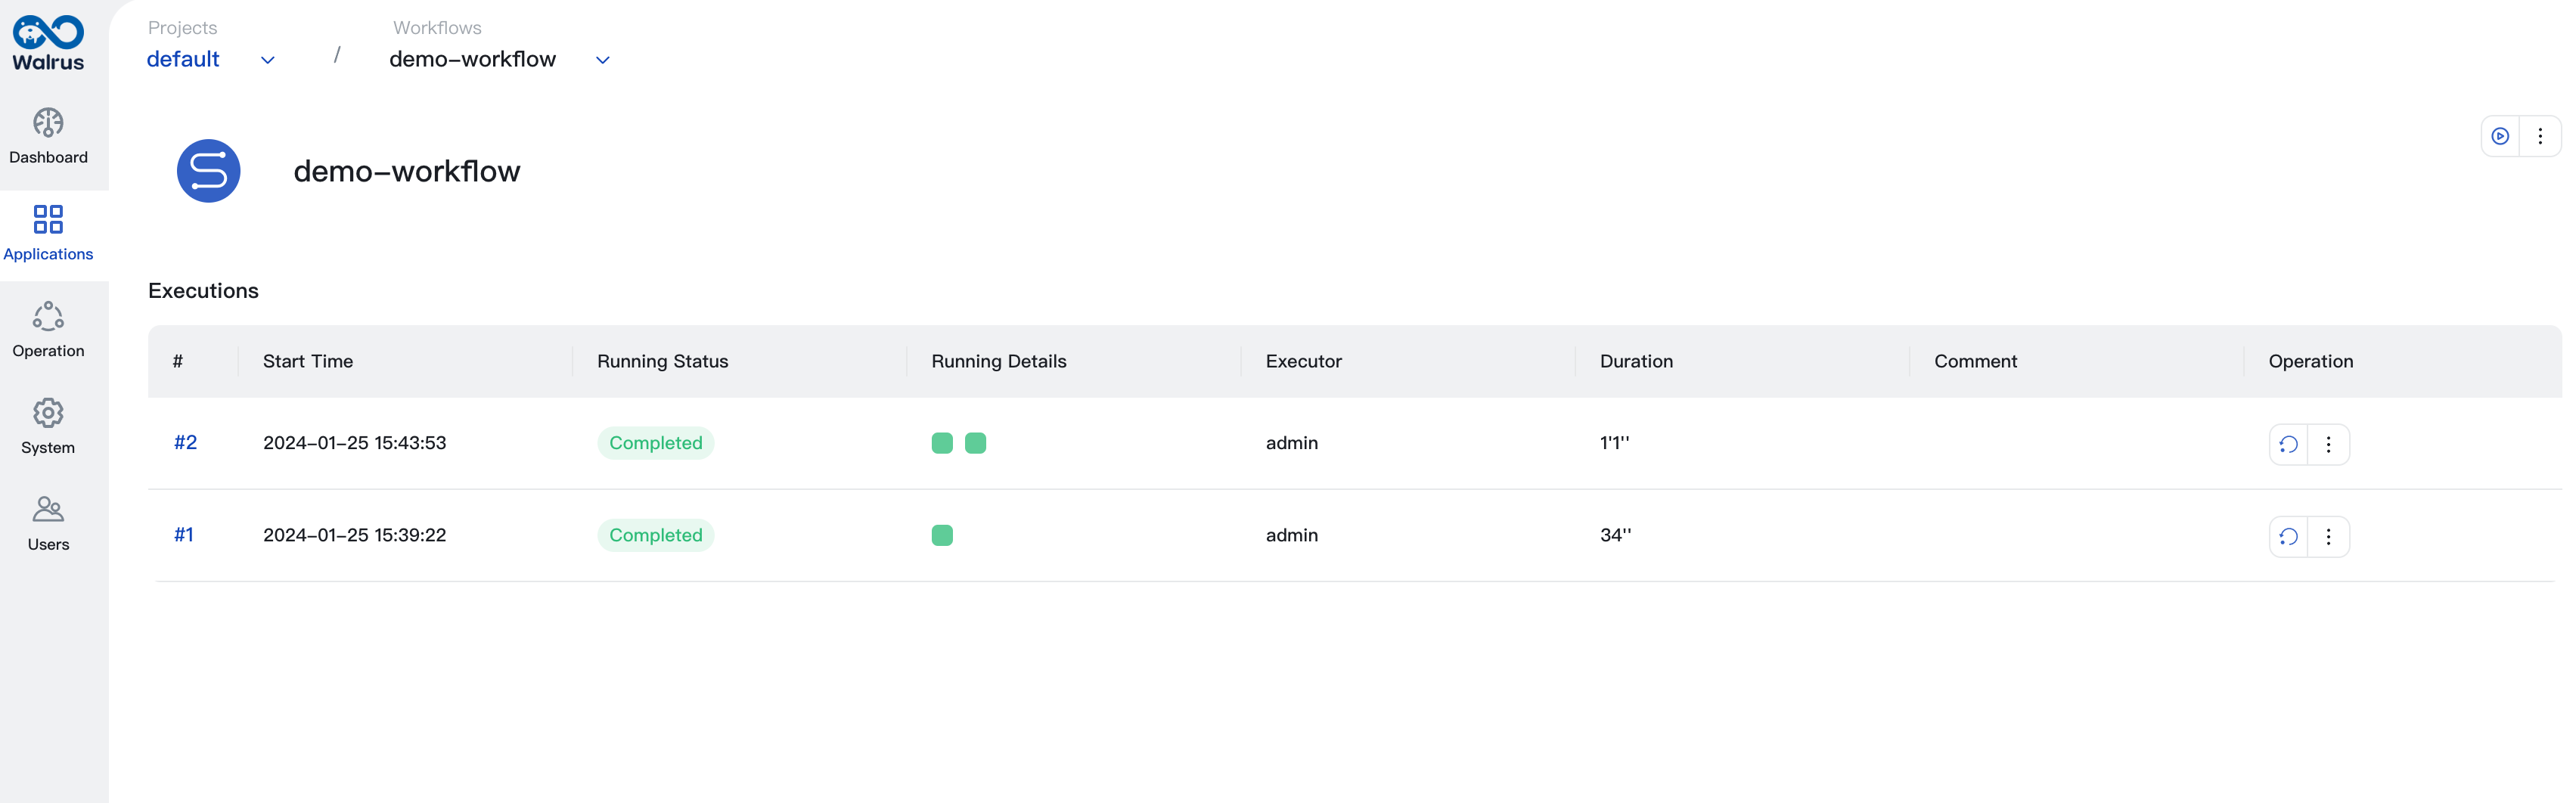
- You can view the workflow execution details by clicking the workflow execution name.
- View the workflow execution logs by clicking the
Logsbutton.
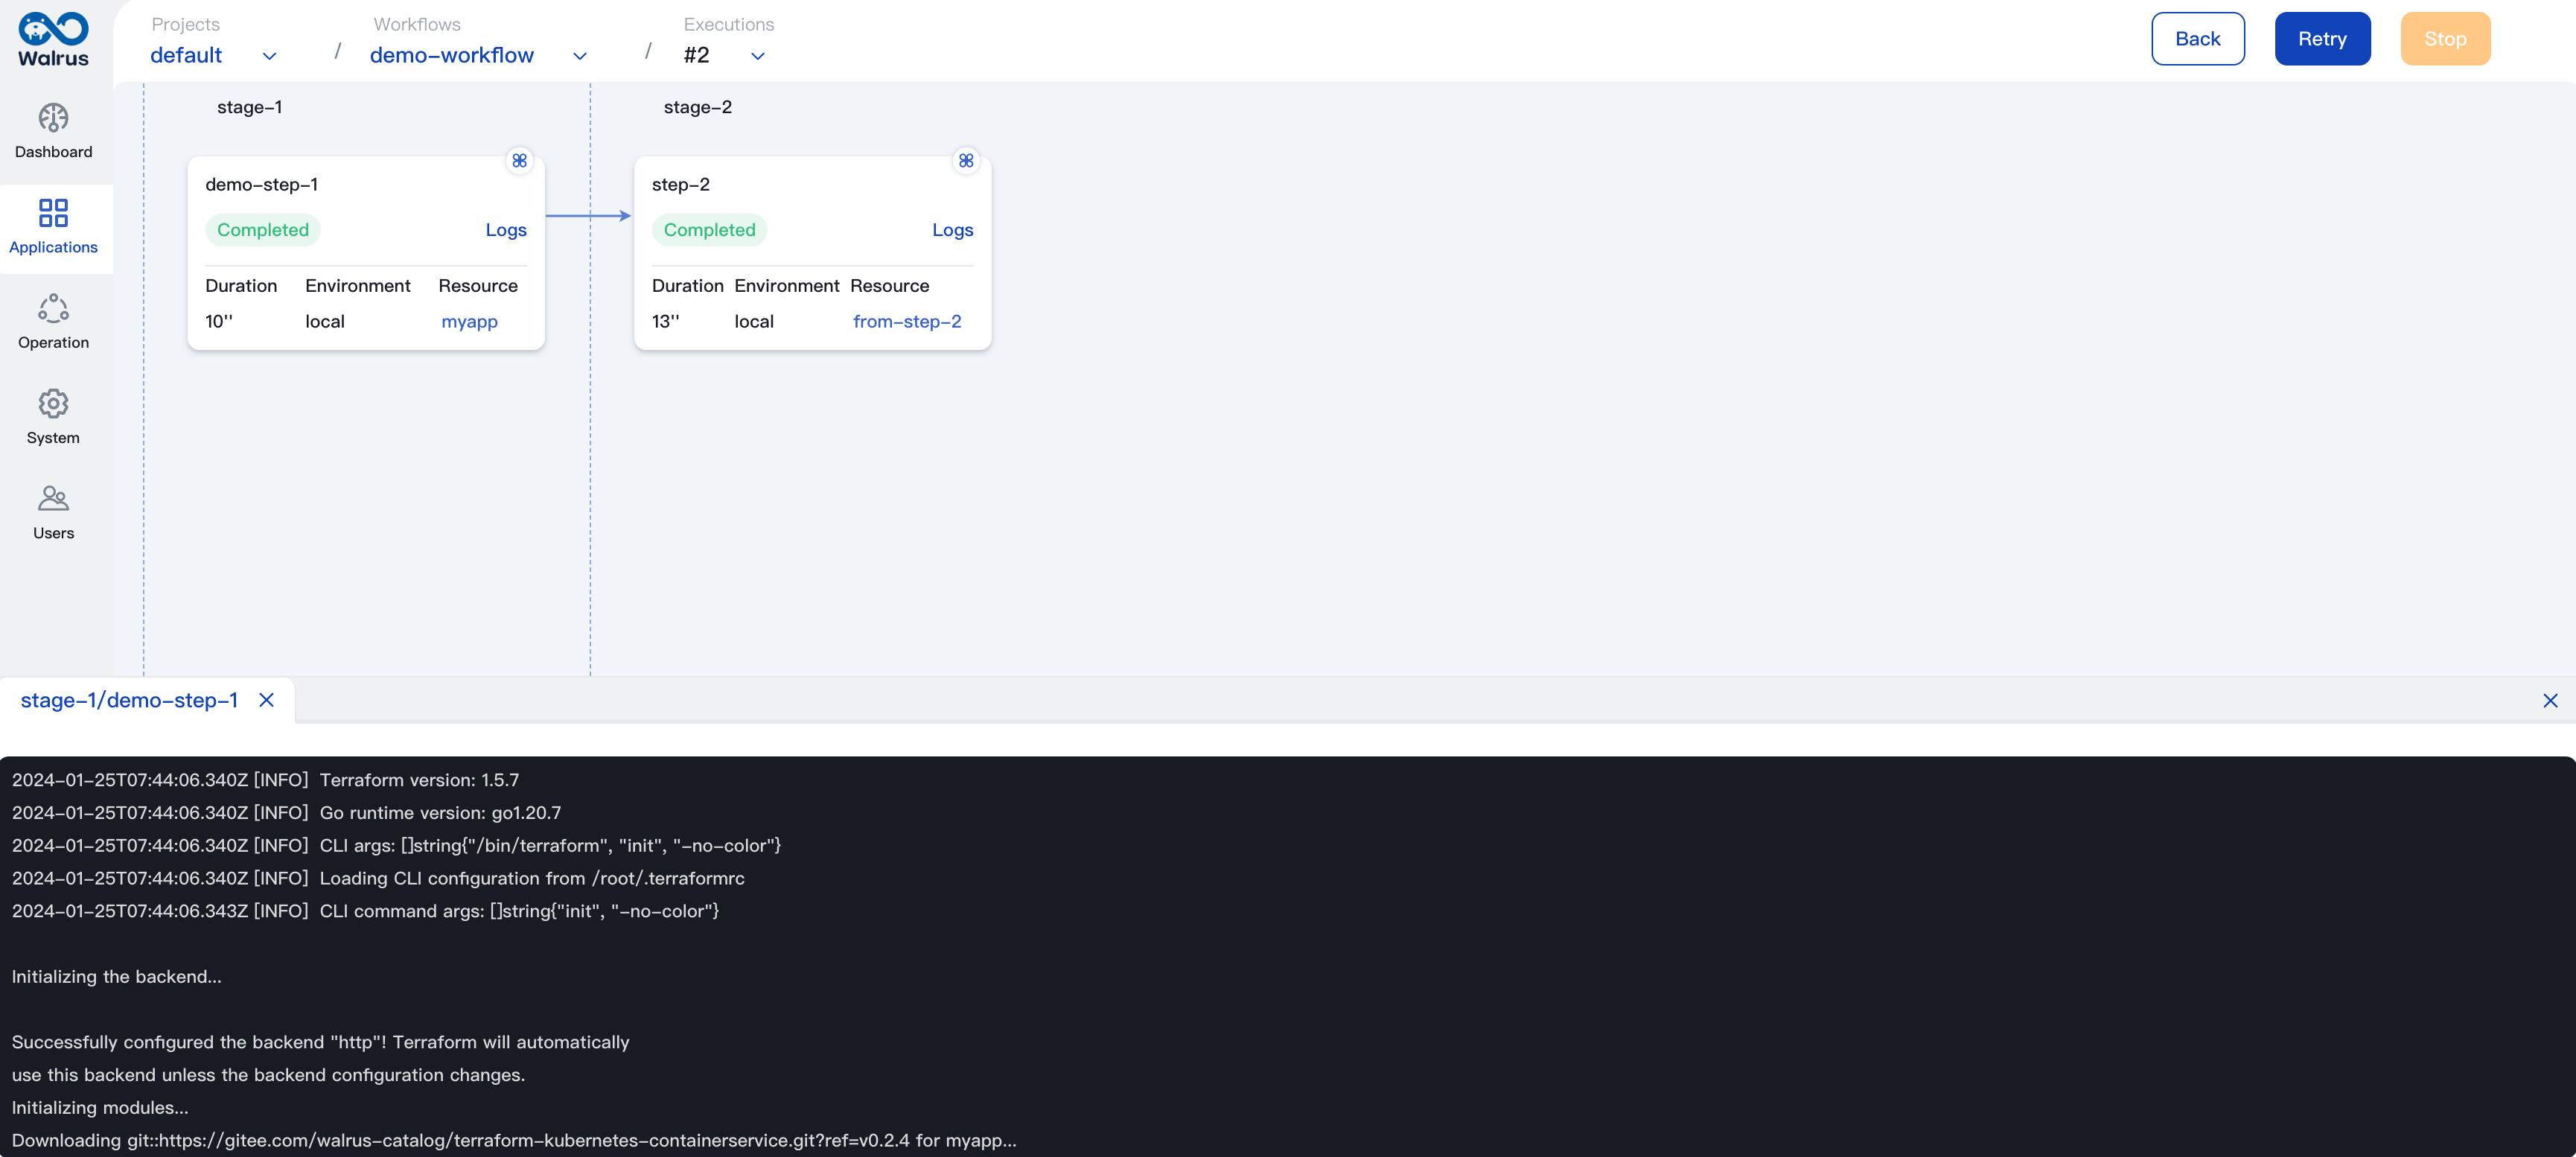
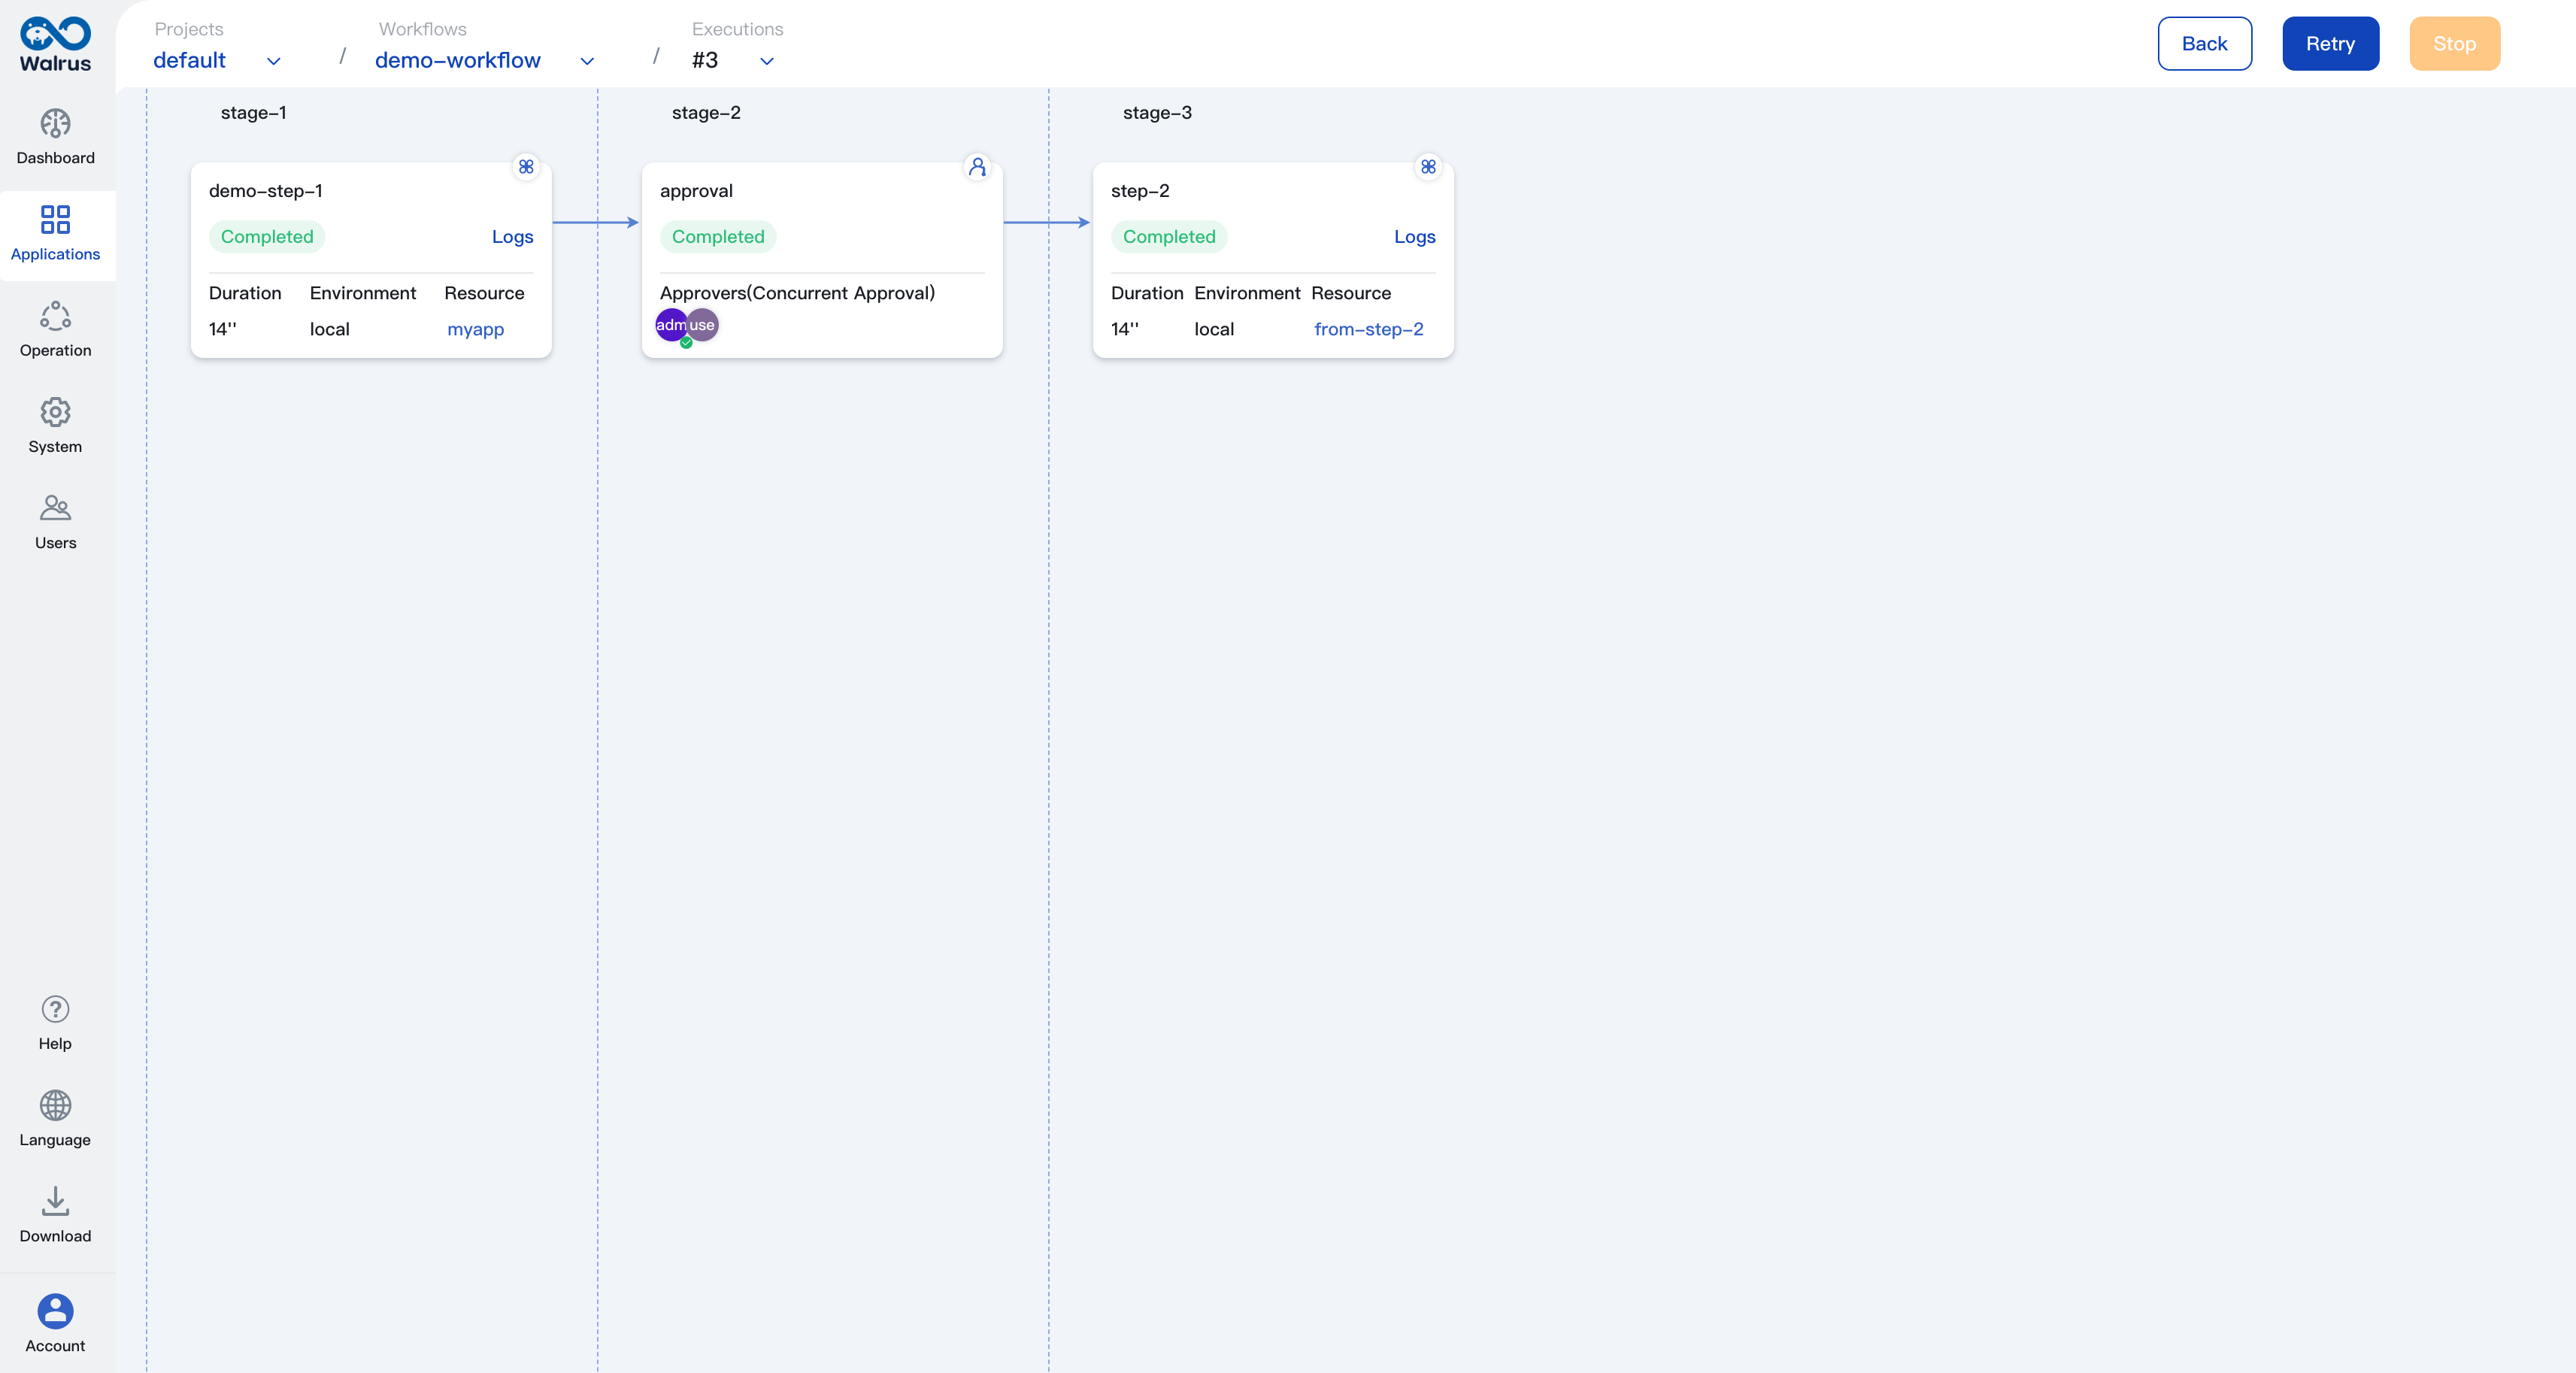
- Once the workflow execution is completed, you can view the workflow execution results on the workflow execution detail page. You can view the resources deployed or upgraded by the workflow in the deploy-resource type steps and approval results in the approval steps.
Workflow execution can be stopped by clicking the Stop button or re-executed by clicking the Retry button.
Delete Workflow
- Navigate to
Applicationsand enter the environment view, then click theWorkflowstab. - Select the workflow that you need to delete and click the
Deletebutton to remove the workflow.