Deploy llama-2 on AWS
This tutorial demonstrates how to deploy llama-2 using Walrus on AWS with CPU, and utilize it through a user-friendly web UI.
Prerequisites
To follow this tutorial, you will need:
- An AWS account with associated credentials, and sufficient permissions to create EC2 instances.
- Walrus installed.
Note: While using CPU is cheaper than GPU, it still incurs costs corresponding to the EC2 instance.
The Simple Way
With Walrus, you can have a running llama-2 instance on AWS with a user-friendly web UI in about a minute. Just follow these steps:
Add the llama-2 Template
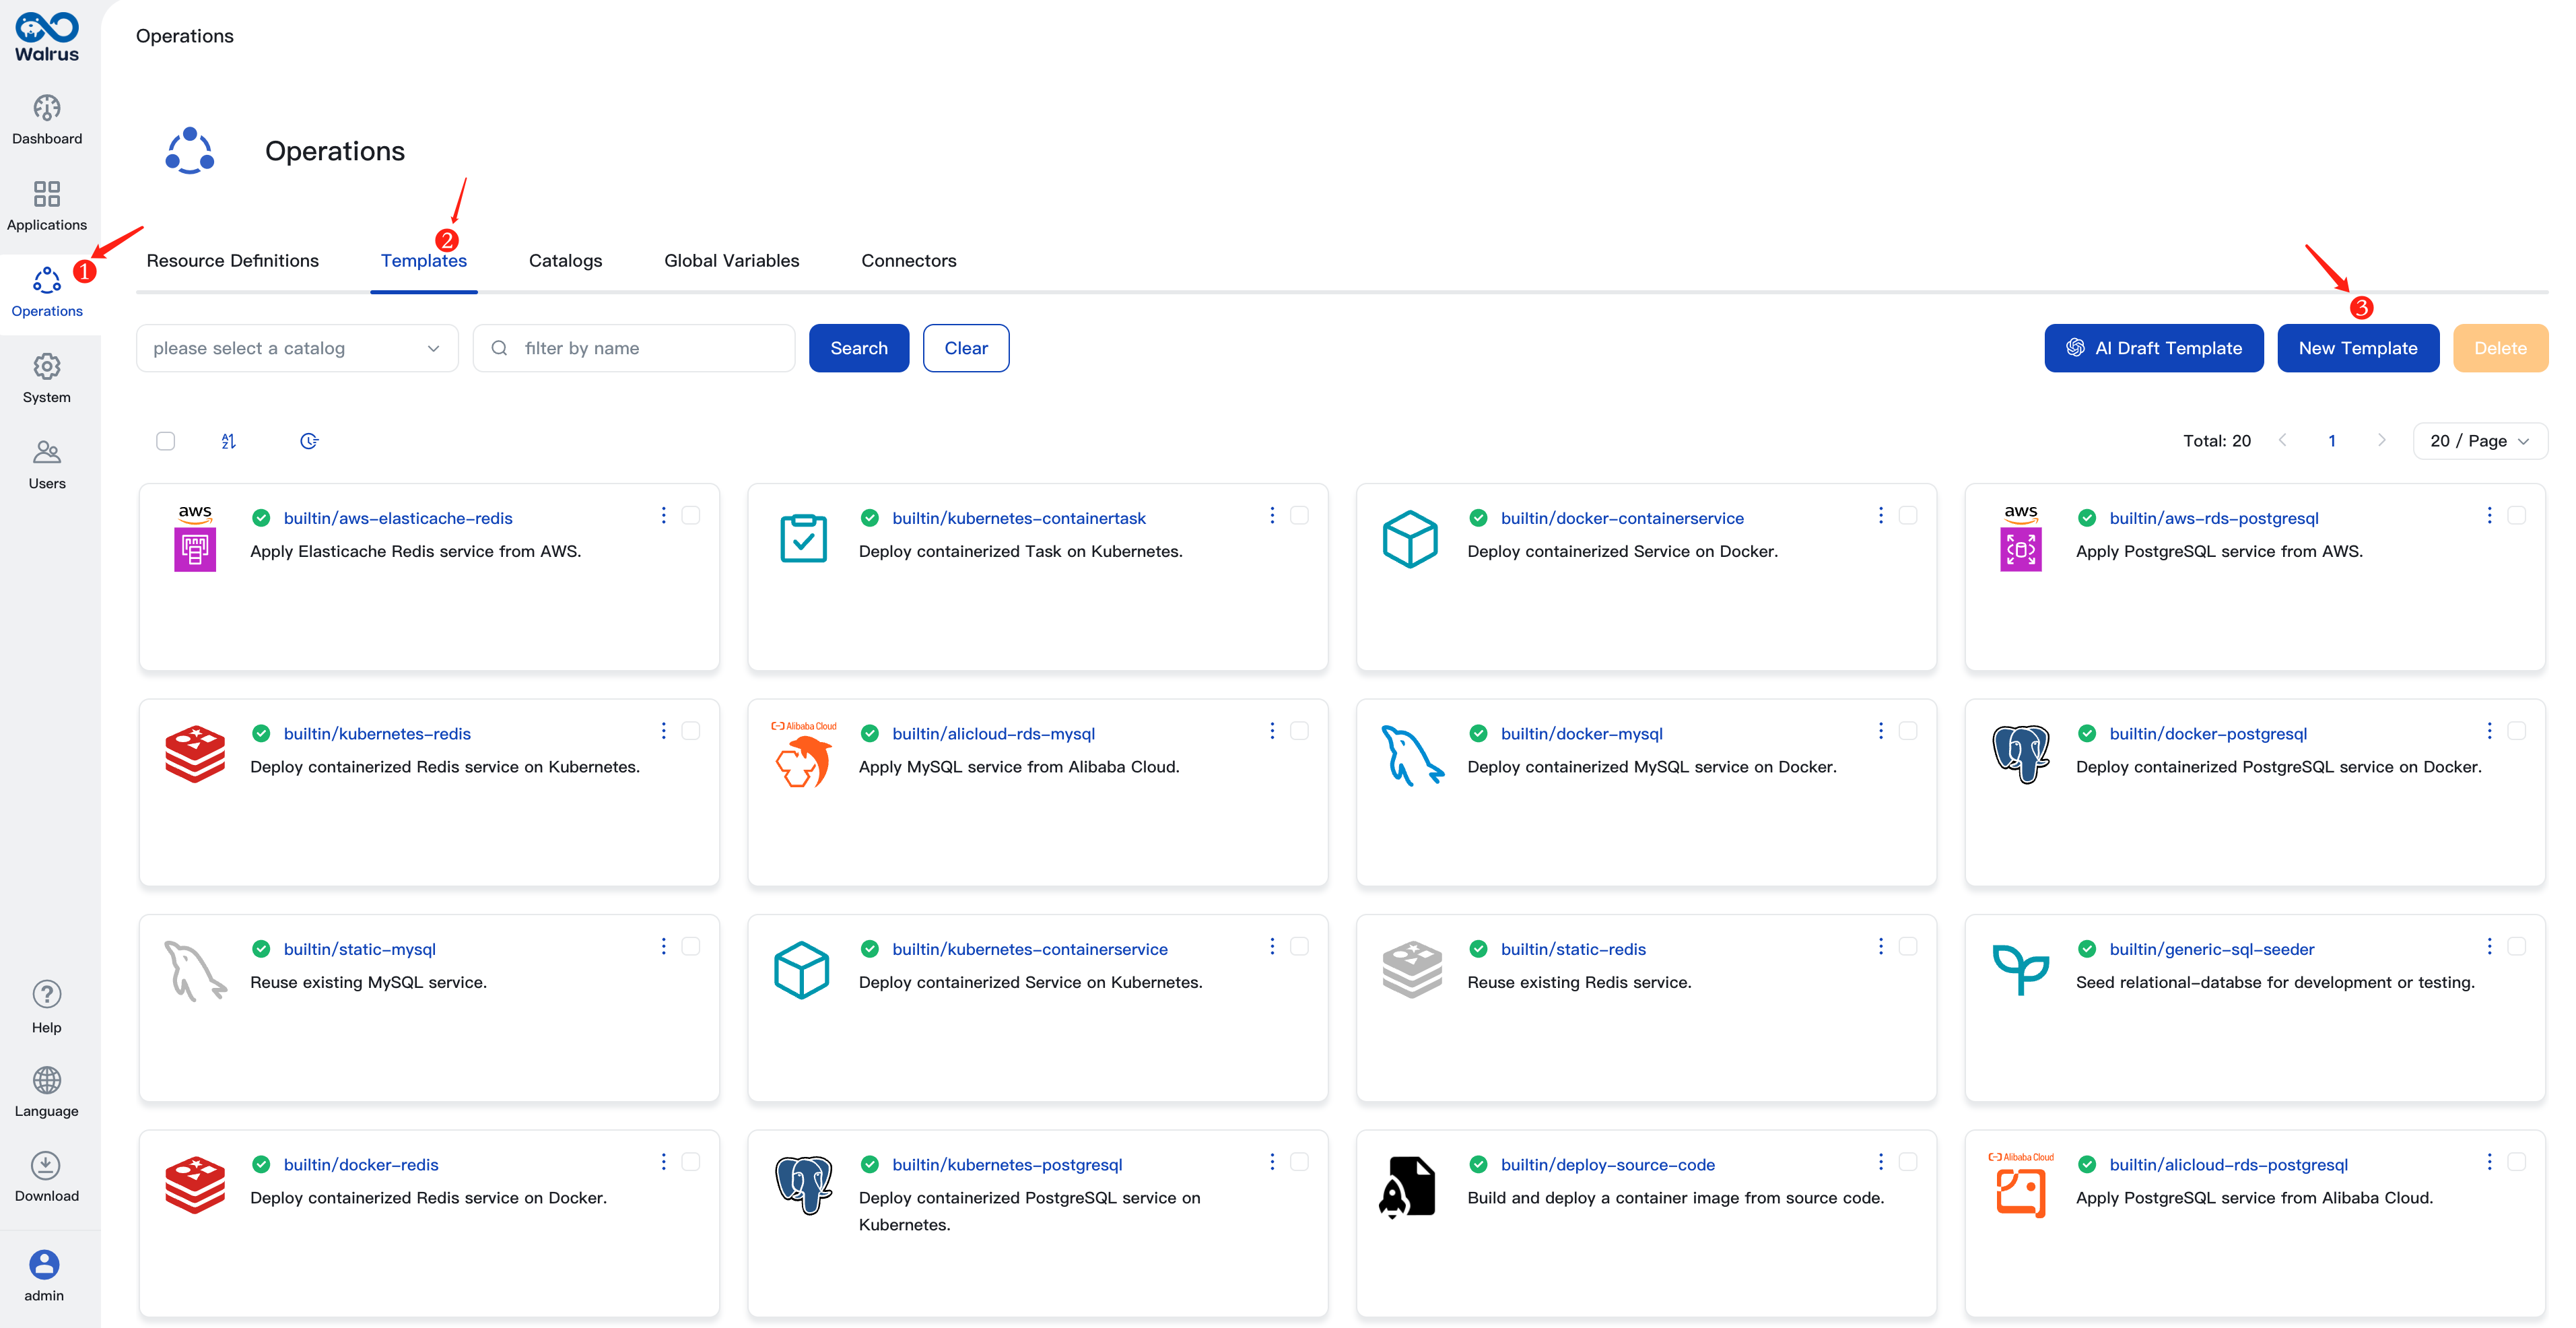
- Log in to Walrus, click on
Operationsin the left navigation, go to theTemplatestab, and click theNew Templatebutton. - Enter a template name, e.g.,
llama-2. - In the source field, enter
https://github.com/walrus-tutorials/llama2-on-aws. - Click
Save.
Configure AWS Credentials
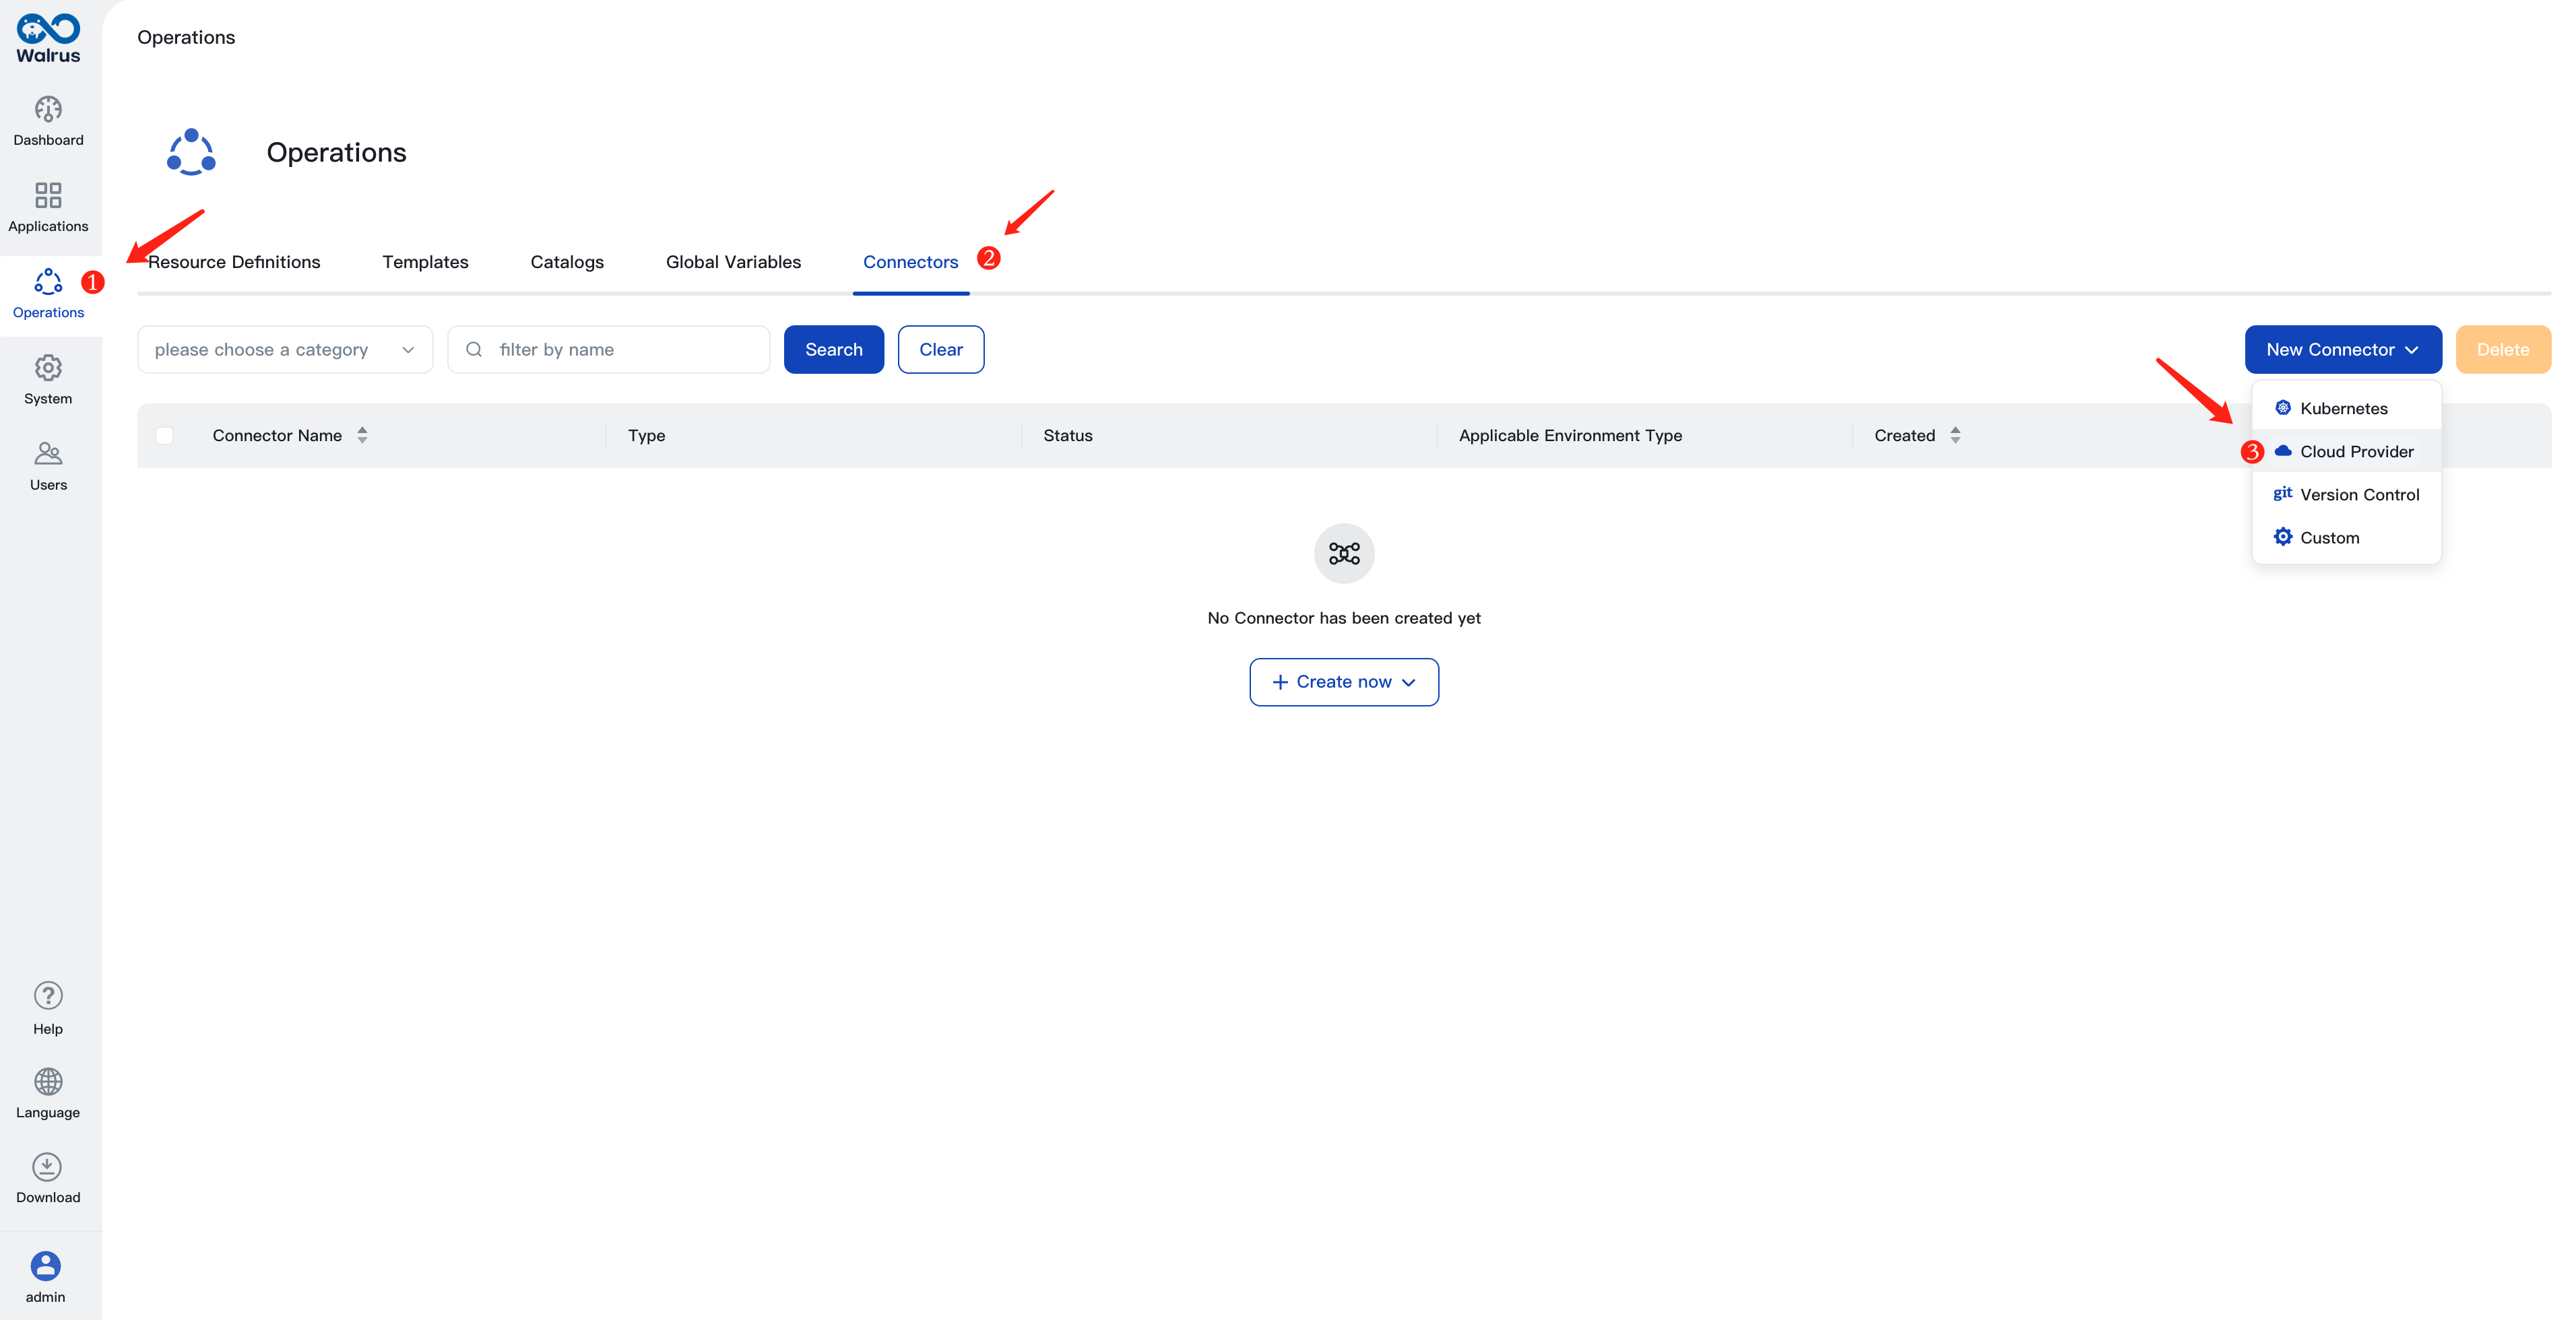
- In the left navigation, click on
Operationsand click theConnectorstab. - Click the
New Connectorbutton and select theCloud Providertype. - Enter a connector name, e.g.,
aws. - Choose
Developmentfor theApplicable Environment Typeoption. - Choose
AWSfor theTypeoption. - Select
Tokyo (ap-northeast-1)for theRegionoption. - Click
Save.
Note: The specified region is used here because the subsequent steps involve using an AMI from that region. If you want to use a different region, you can export the AMI to your region or refer to the following sections on how to build the llama-2 image from scratch.
Configure Environment
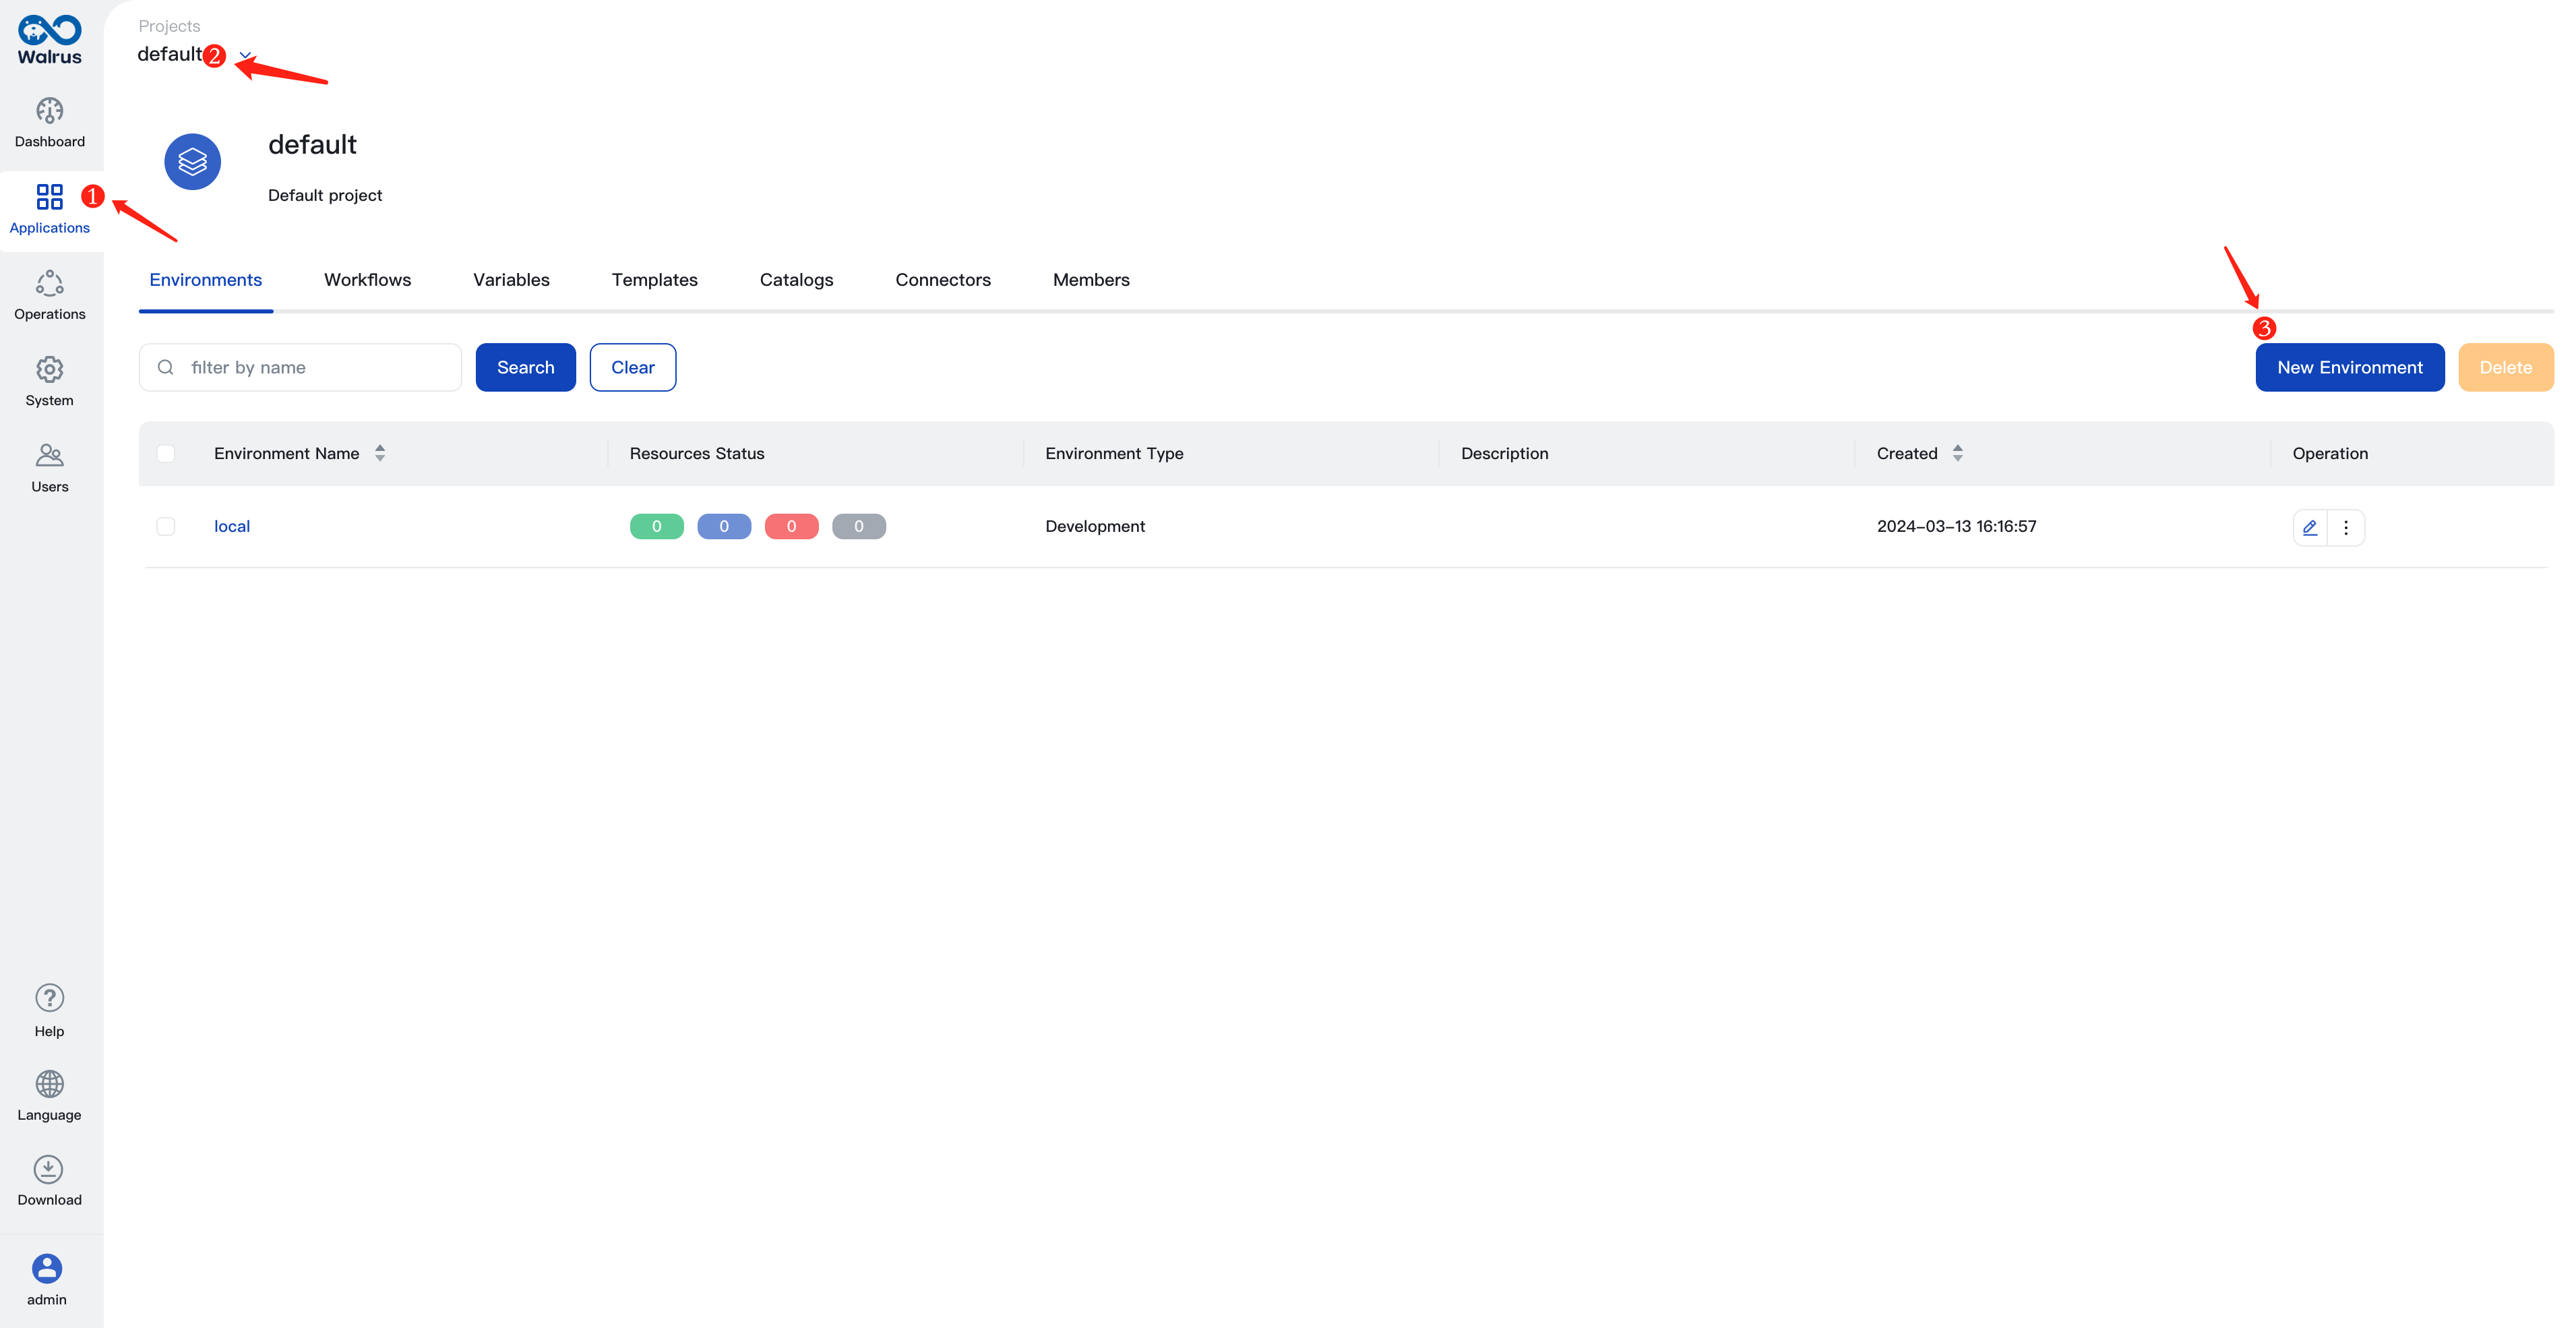
- In the left navigation, click on
Applicationsand click thedefaultproject in breadcrumb on the top. - In the
Environmentstab, click theNew Environmentbutton. - Enter an environment name, e.g.,
dev. - Choose
Developmentfor theEnvironment Typeoption. - Click the
Add Connectorbutton and select theawsconnector created in the previous step. - Click
Save.
Create the llama-2 Service
- In the
Environmentstab, click on the name of thedevenvironment to enter its view. - Click the
New Resourcebutton. - Enter a resource name, e.g.,
my-llama-2. - Enable the
Use Templateoption. - Choose
llama-2in theTemplateoption. - Click
Save.
Note: The default configuration assumes your AWS account has a default VPC in the corresponding region. If you don't have a default VPC, create a new VPC, associate a subnet and a security group with it in the AWS VPC console. The security group needs to open port 7860 TCP (for accessing the llama-2 web UI). You can set your VPC name and security group name in the configuration.
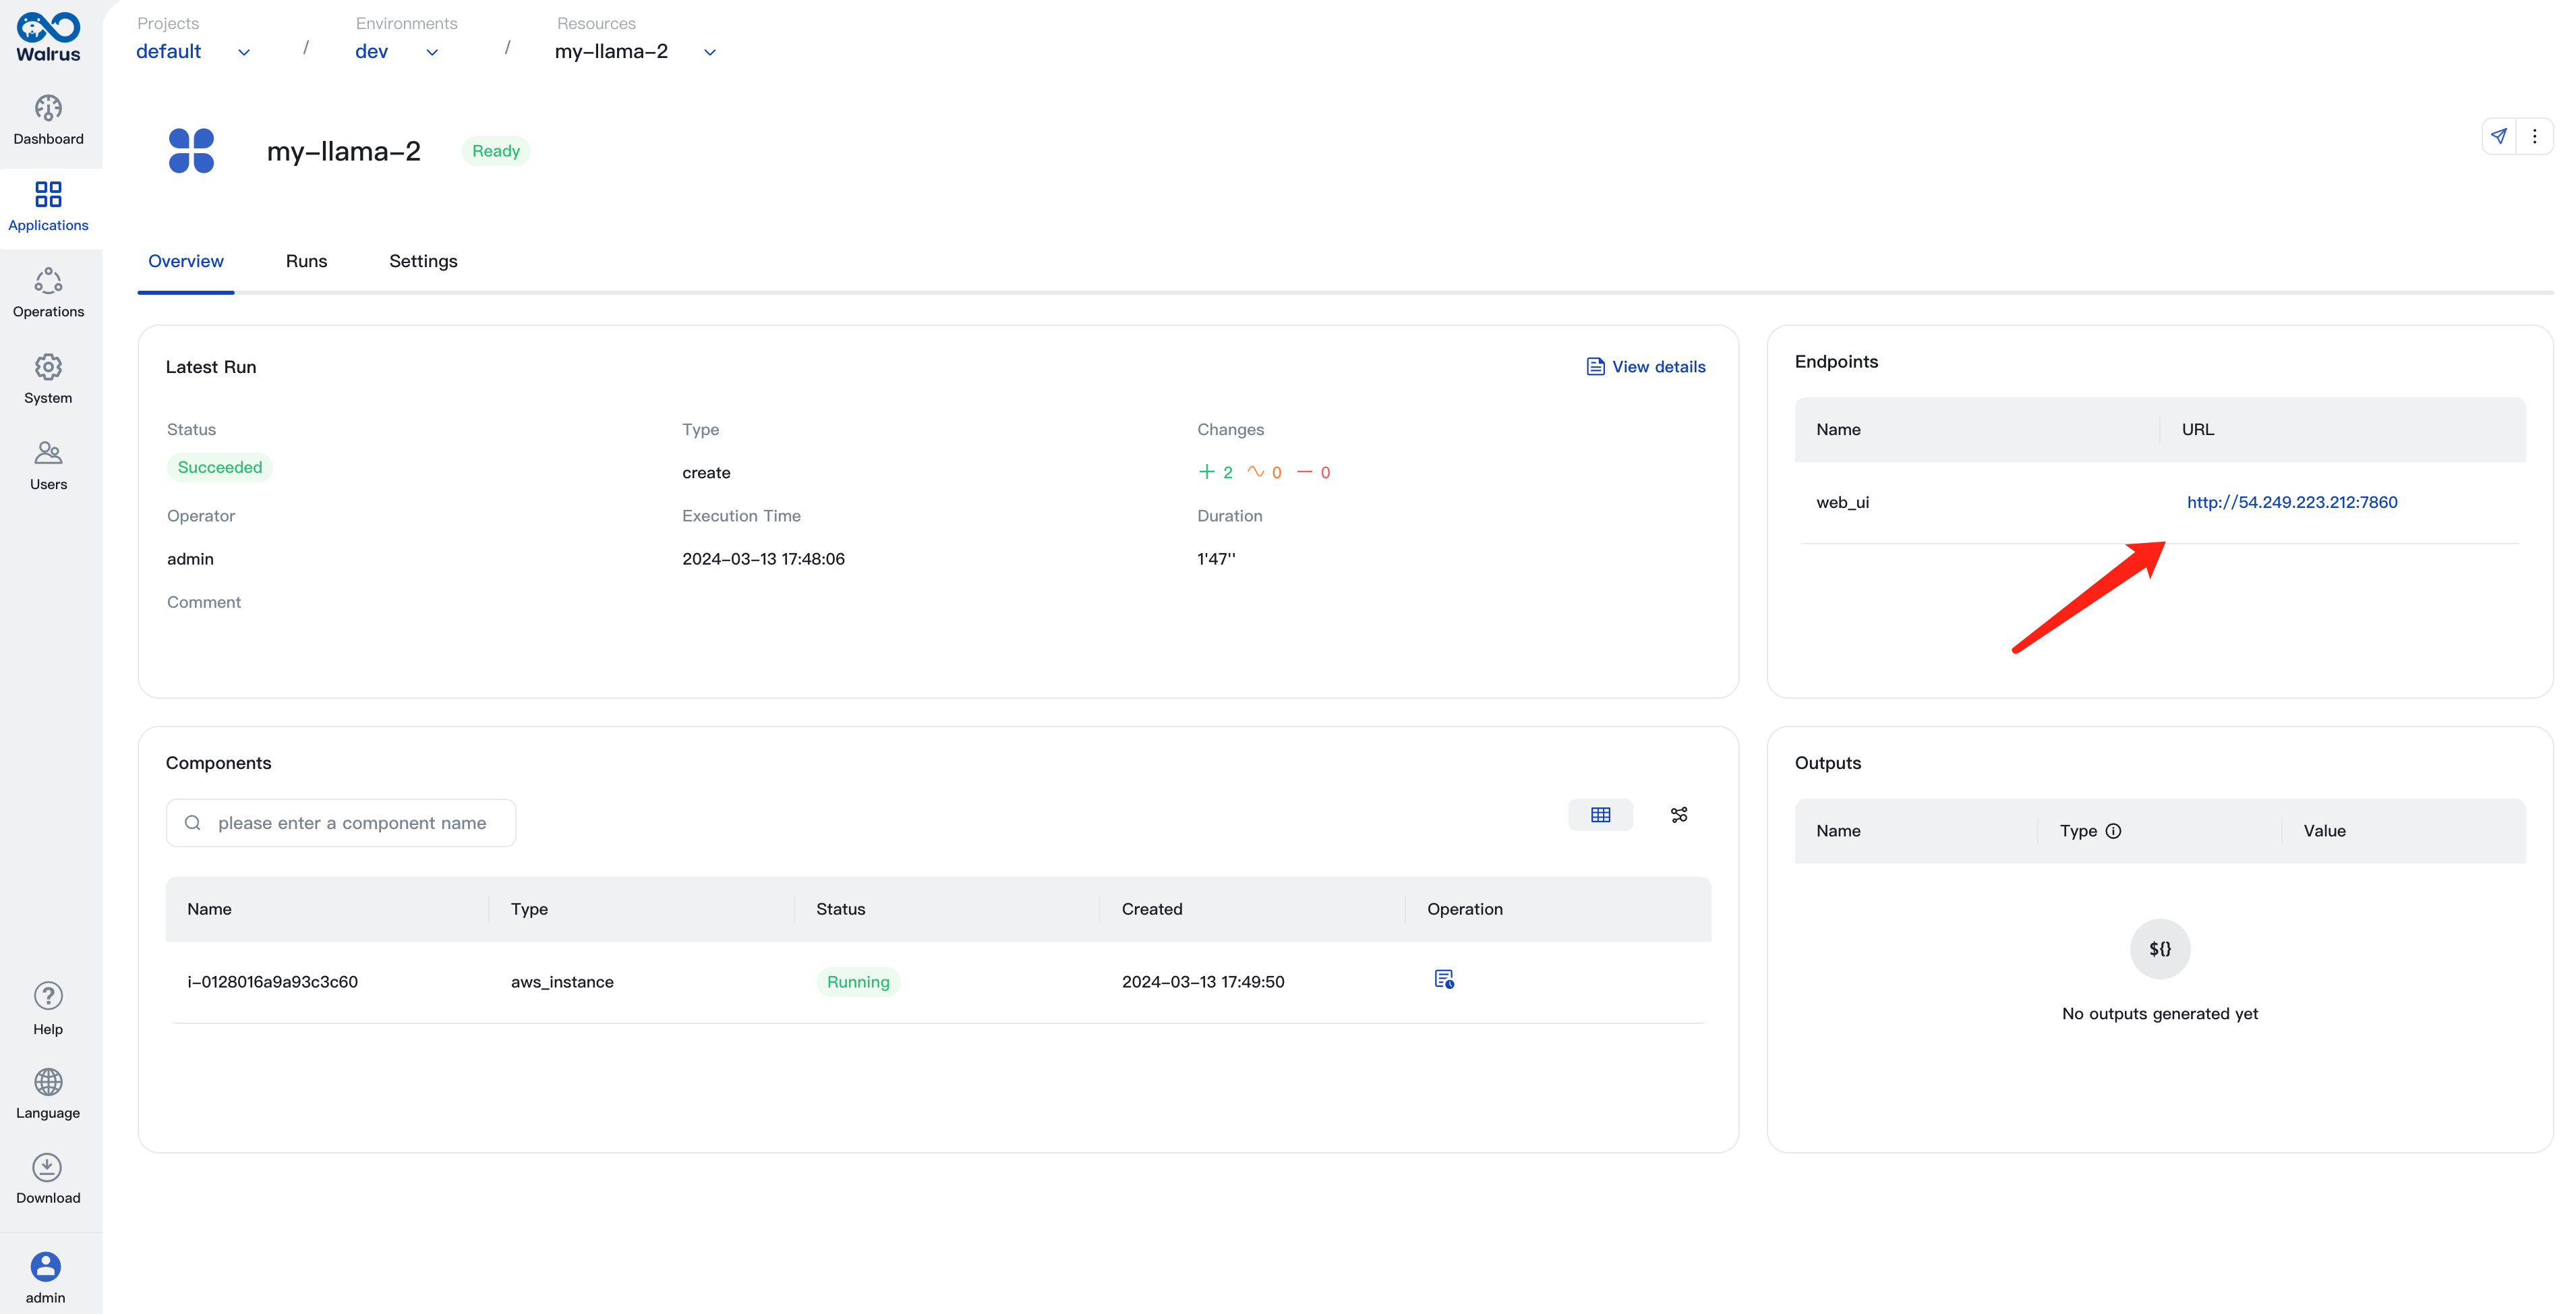
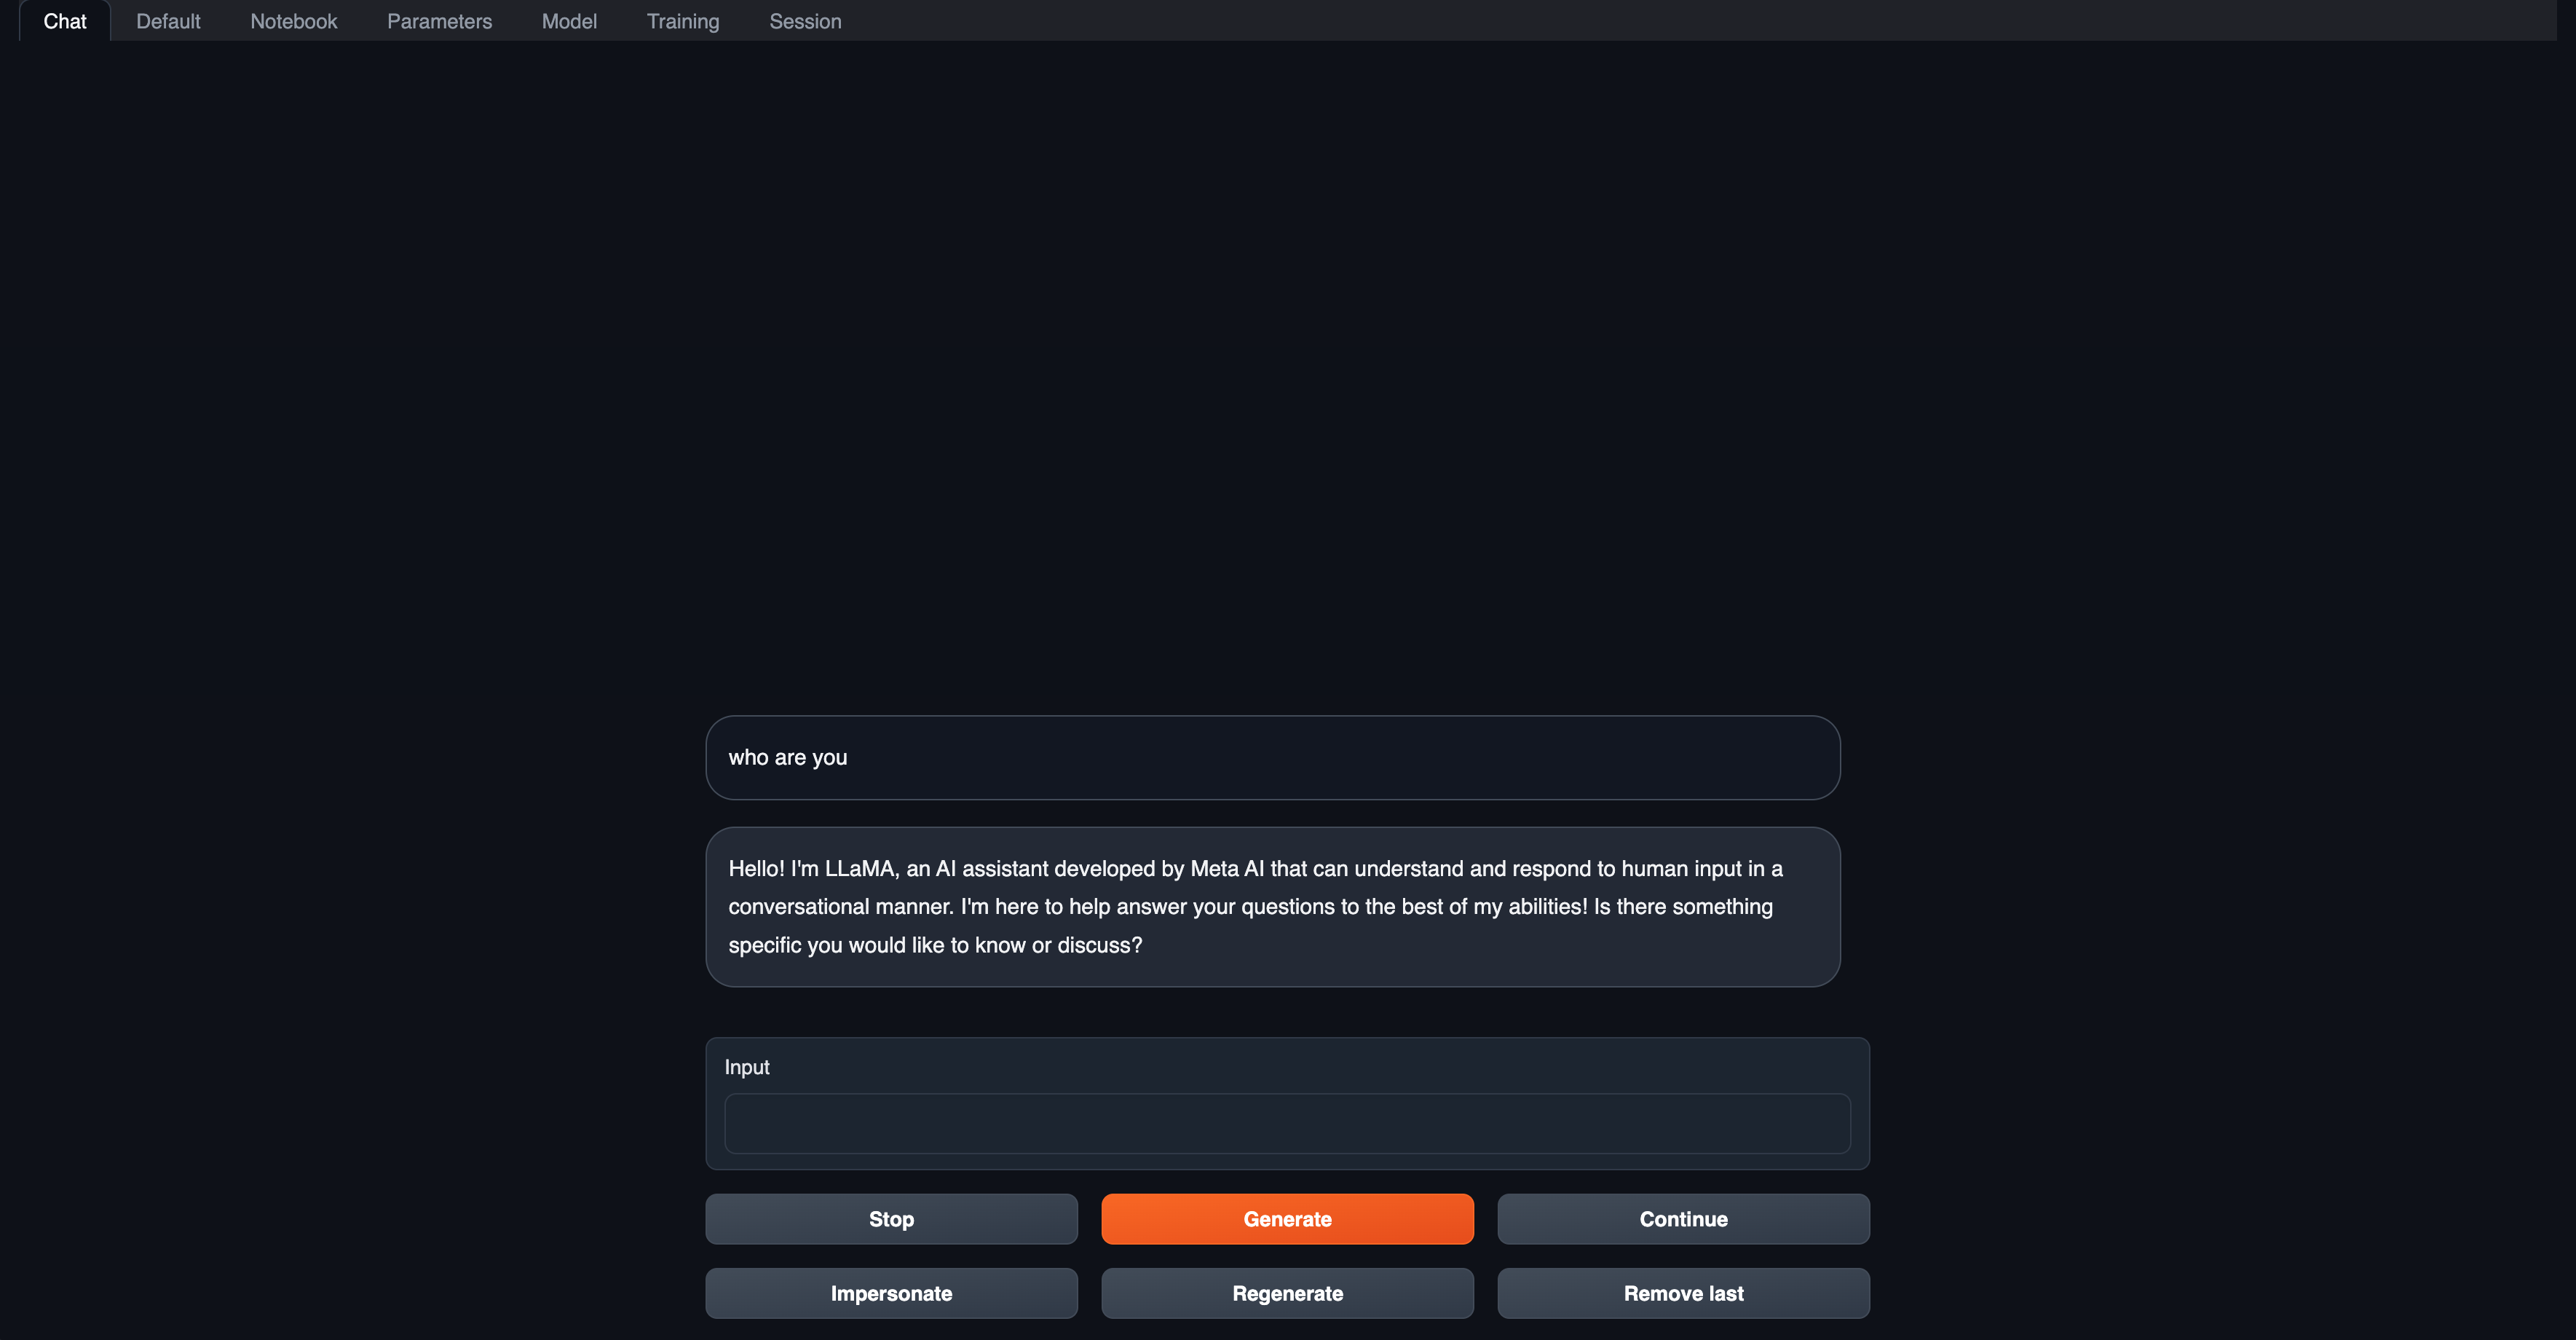
Accessing the llama-2 Web UI
You can see the deployment and running status of the llama-2 service on its details page. Once the llama-2 service deployment is completed, you can access its web UI by clicking the access link of the resource in the Walrus UI.
Deep Dive: Building the llama-2 Image from Scratch
The above instructions utilized a pre-built llama-2 image. This approach saves time as you don't need to download the large language model (often with a significant file size) or build the inference service when creating a new llama-2 instance. This section explains how such a llama-2 image is built.
You can find the complete build process here.
Key steps include:
# get text-generation-webui
git clone https://github.com/oobabooga/text-generation-webui && cd text-generation-webui
# configure text-generation-webui
ln -s docker/{Dockerfile,docker-compose.yml,.dockerignore} .
cp docker/.env.example .env
sed -i '/^CLI_ARGS=/s/.*/CLI_ARGS=--model llama-2-7b-chat.ggmlv3.q4_K_M.bin --wbits 4 --listen --auto-devices/' .env
sed -i '/^\s*deploy:/,$d' docker/docker-compose.yml
# get quantized llama-2
curl -L https://huggingface.co/TheBloke/Llama-2-7B-Chat-GGML/resolve/main/llama-2-7b-chat.ggmlv3.q4_K_M.bin --output ./models/llama-2-7b-chat.ggmlv3.q4_K_M.bin
# build and run
docker compose up --build
In essence, this process downloads the quantized llama-2-7b-chat model, then builds and utilizes text-generation-webui to launch the llama-2 service.