Resource Definitions
A resource definition specifies a new type of resource, detailing its name, type, matching rules, and schema for deployment and usage under certain conditions. This enables Walrus to understand and manage the lifecycle of this resource type effectively.
Viewing the Resource Definition List
- Click on
Operation Hubin the left-hand sidebar. - Select the
Resource Definitionstab to view the list of resource definitions.

Viewing Resource Definition Details
- Navigate to
Operation Hub->Resource Definitionsin the left-hand sidebar to access the list of resource definitions. - Locate the resource definition you wish to view and click on its name to open its detailed page.
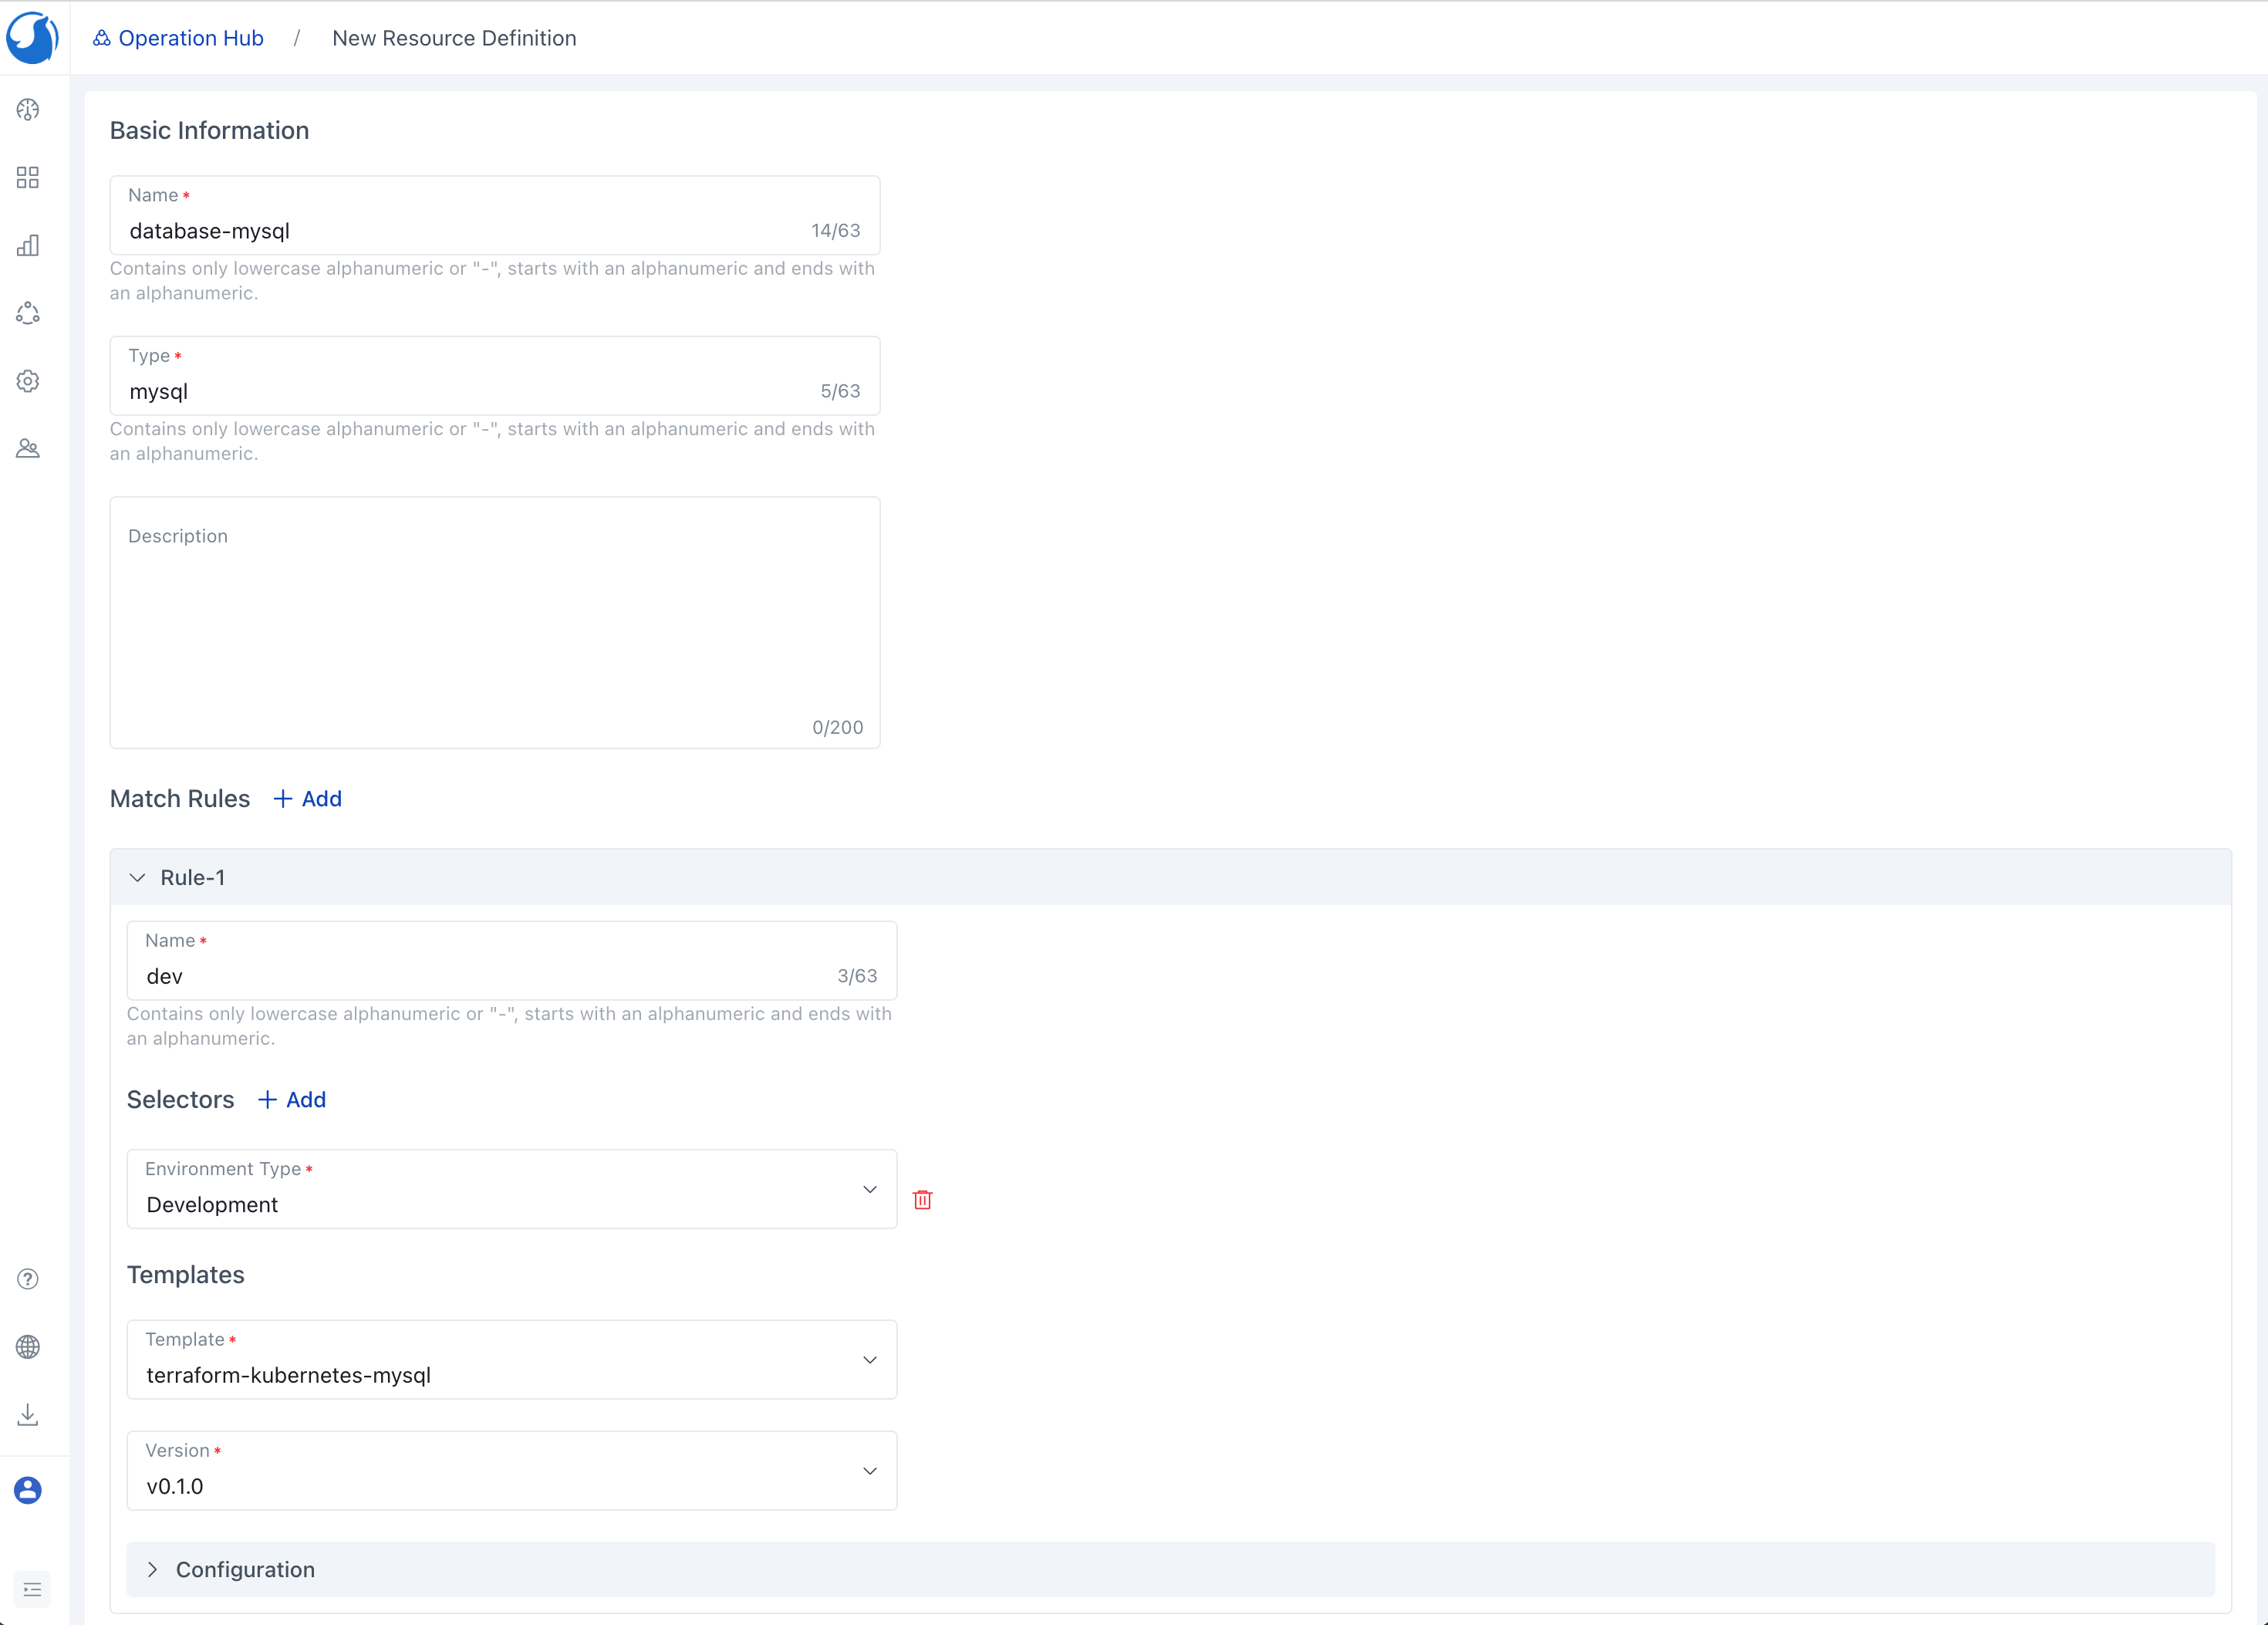
Creating a Resource Definition
- Select
New Resource Definitionin the list of resource definitions. - Complete the form.
Nameserves as the identifier of the resource definition, whileTypedenotes the resource's type. BothNameandTypemust be unique within the system.Matching Rulesspecify how resources of this type align with templates under certain conditions. For more information, refer to Resource Definition Matching Rules. - Click
Saveto finalize the creation.
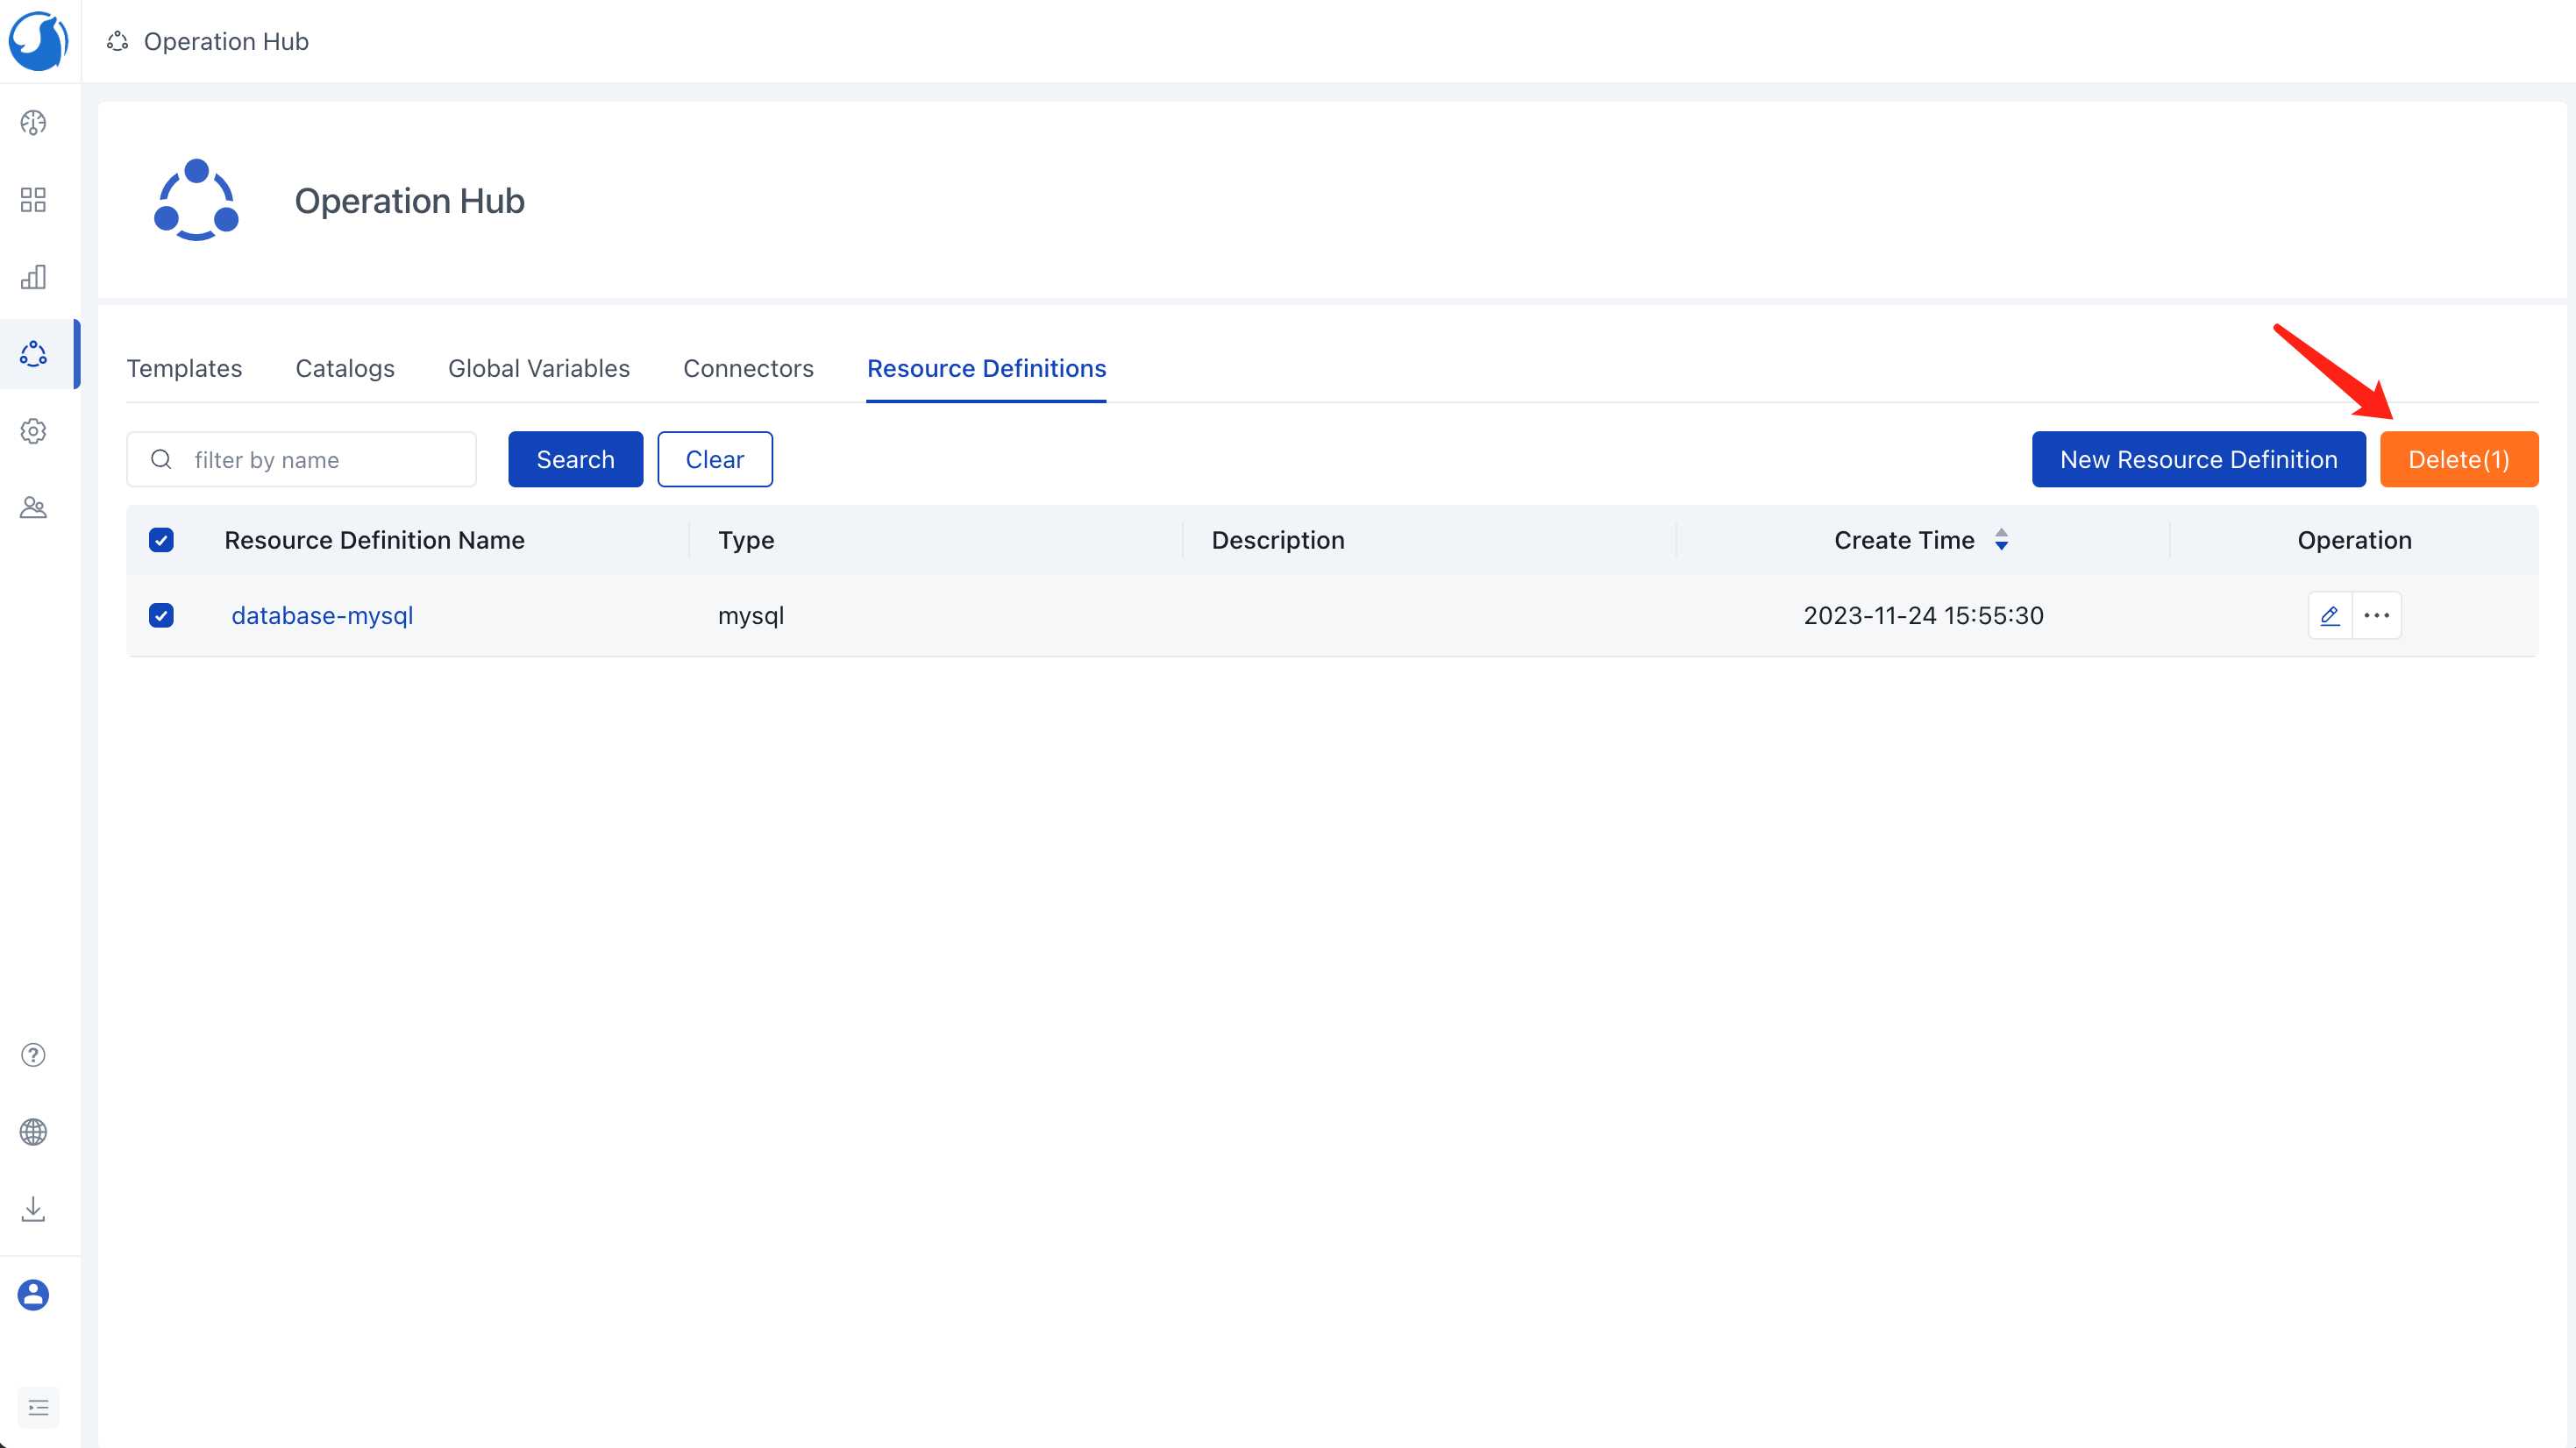
Deleting a Resource Definition
- Go to
Operation Hub->Resource Definitionsin the left-hand sidebar to view the list of resource definitions. - Identify the resource definition you intend to delete.
- Before selecting the resource definition for deletion, ensure no existing resources depend on it. Then, click the
Deletebutton. - Confirm the deletion by clicking the
Confirmbutton.
Resource Definition Matching Rules
The matching rules for resource definitions dictate the template and configuration used when deploying that type of resource.
Selectors
A single matching rule can include multiple selectors. These selectors are based on equality, and their combination functions through a logical AND operation. A resource aligns with a matching rule if it meets all of the rule's selectors, leading to the application of the associated template and configuration during deployment.
For instance, a matching rule with selectors Project Name=foo and Environment Name=dev matches a resource in
the foo project's dev environment, whereas it doesn't match a resource in the test environment.
Rule Precedence
Matching rules are not required to be exclusive. That is, multiple rules can match a single resource. In such scenarios, the first matched rule is selected based on the order of the matching rules in the resource definition.
Template Configuration
Template configurations within each matching rule are applied during the deployment of a resource following that rule. If a configuration is outlined in the resource definition schema and set by users in resource attributes,
Resource Definition Schema
The schema (input variables and outputs) of a resource definition is generated automatically from the combined schema of all templates included in its matching rules.
For example, consider a resource definition that uses Templates A and B in its matching rules.
- Template A includes inputs
imageandsize, and outputsendpointandstatus. - Template B includes inputs
imageandregion, and outputsendpointandcreate_time.
Consequently, the resource definition's schema will include the input image and the output endpoint.
Customizing the UI Schema of a Resource Definition
You can customize the UI schema of a resource definition. This is especially useful when you want to simplify or modify the configurations available to users for resources of that type.
- Access
Operation Hub->Resource Definitionsin the left-hand sidebar to view the list of resource definitions. - Locate the desired resource definition and click on its name to view its details.
- Select the
UI Schematab. - Click on the ellipsis (
...) button in the top-right corner and selectEdit. - Modify the schema in the UI editor as needed. You can toggle between editing and preview modes by clicking
PrevieworSchema. - Save your changes by clicking
Save.